Hand Quilting
Oh, how nice it is to do a little hand quilting every now and then, isn't it? In such a fast-paced world, with such a busy and stressful routine, being able to take a moment, even if it's just a short one, and do a little hand quilting like people did years ago, is wonderful, a necessary and rewarding gift!
It's like being able to disconnect from everything, make time stop for a while, feel the present moment, something that is so difficult nowadays and so necessary for our mental health! It's the same feeling as spending a few days in the countryside, on a farm, where time goes slower and you really seem to be alive!
And we should have something to do by hand, right? So let's go hand quilting!
I decided to quilt my Upscale Plaid Quilt from @loandbeholdstitchery by hand, a straight and simple quilting, following the seams of the blocks.
Here is a step-by-step guide on how I hand quilt. I'm still working on it, but I plan to finish this quilt soon, especially because I want to use it this winter of 2024!
Let's go to the materials:
HAND QUILTING MATERIAL:
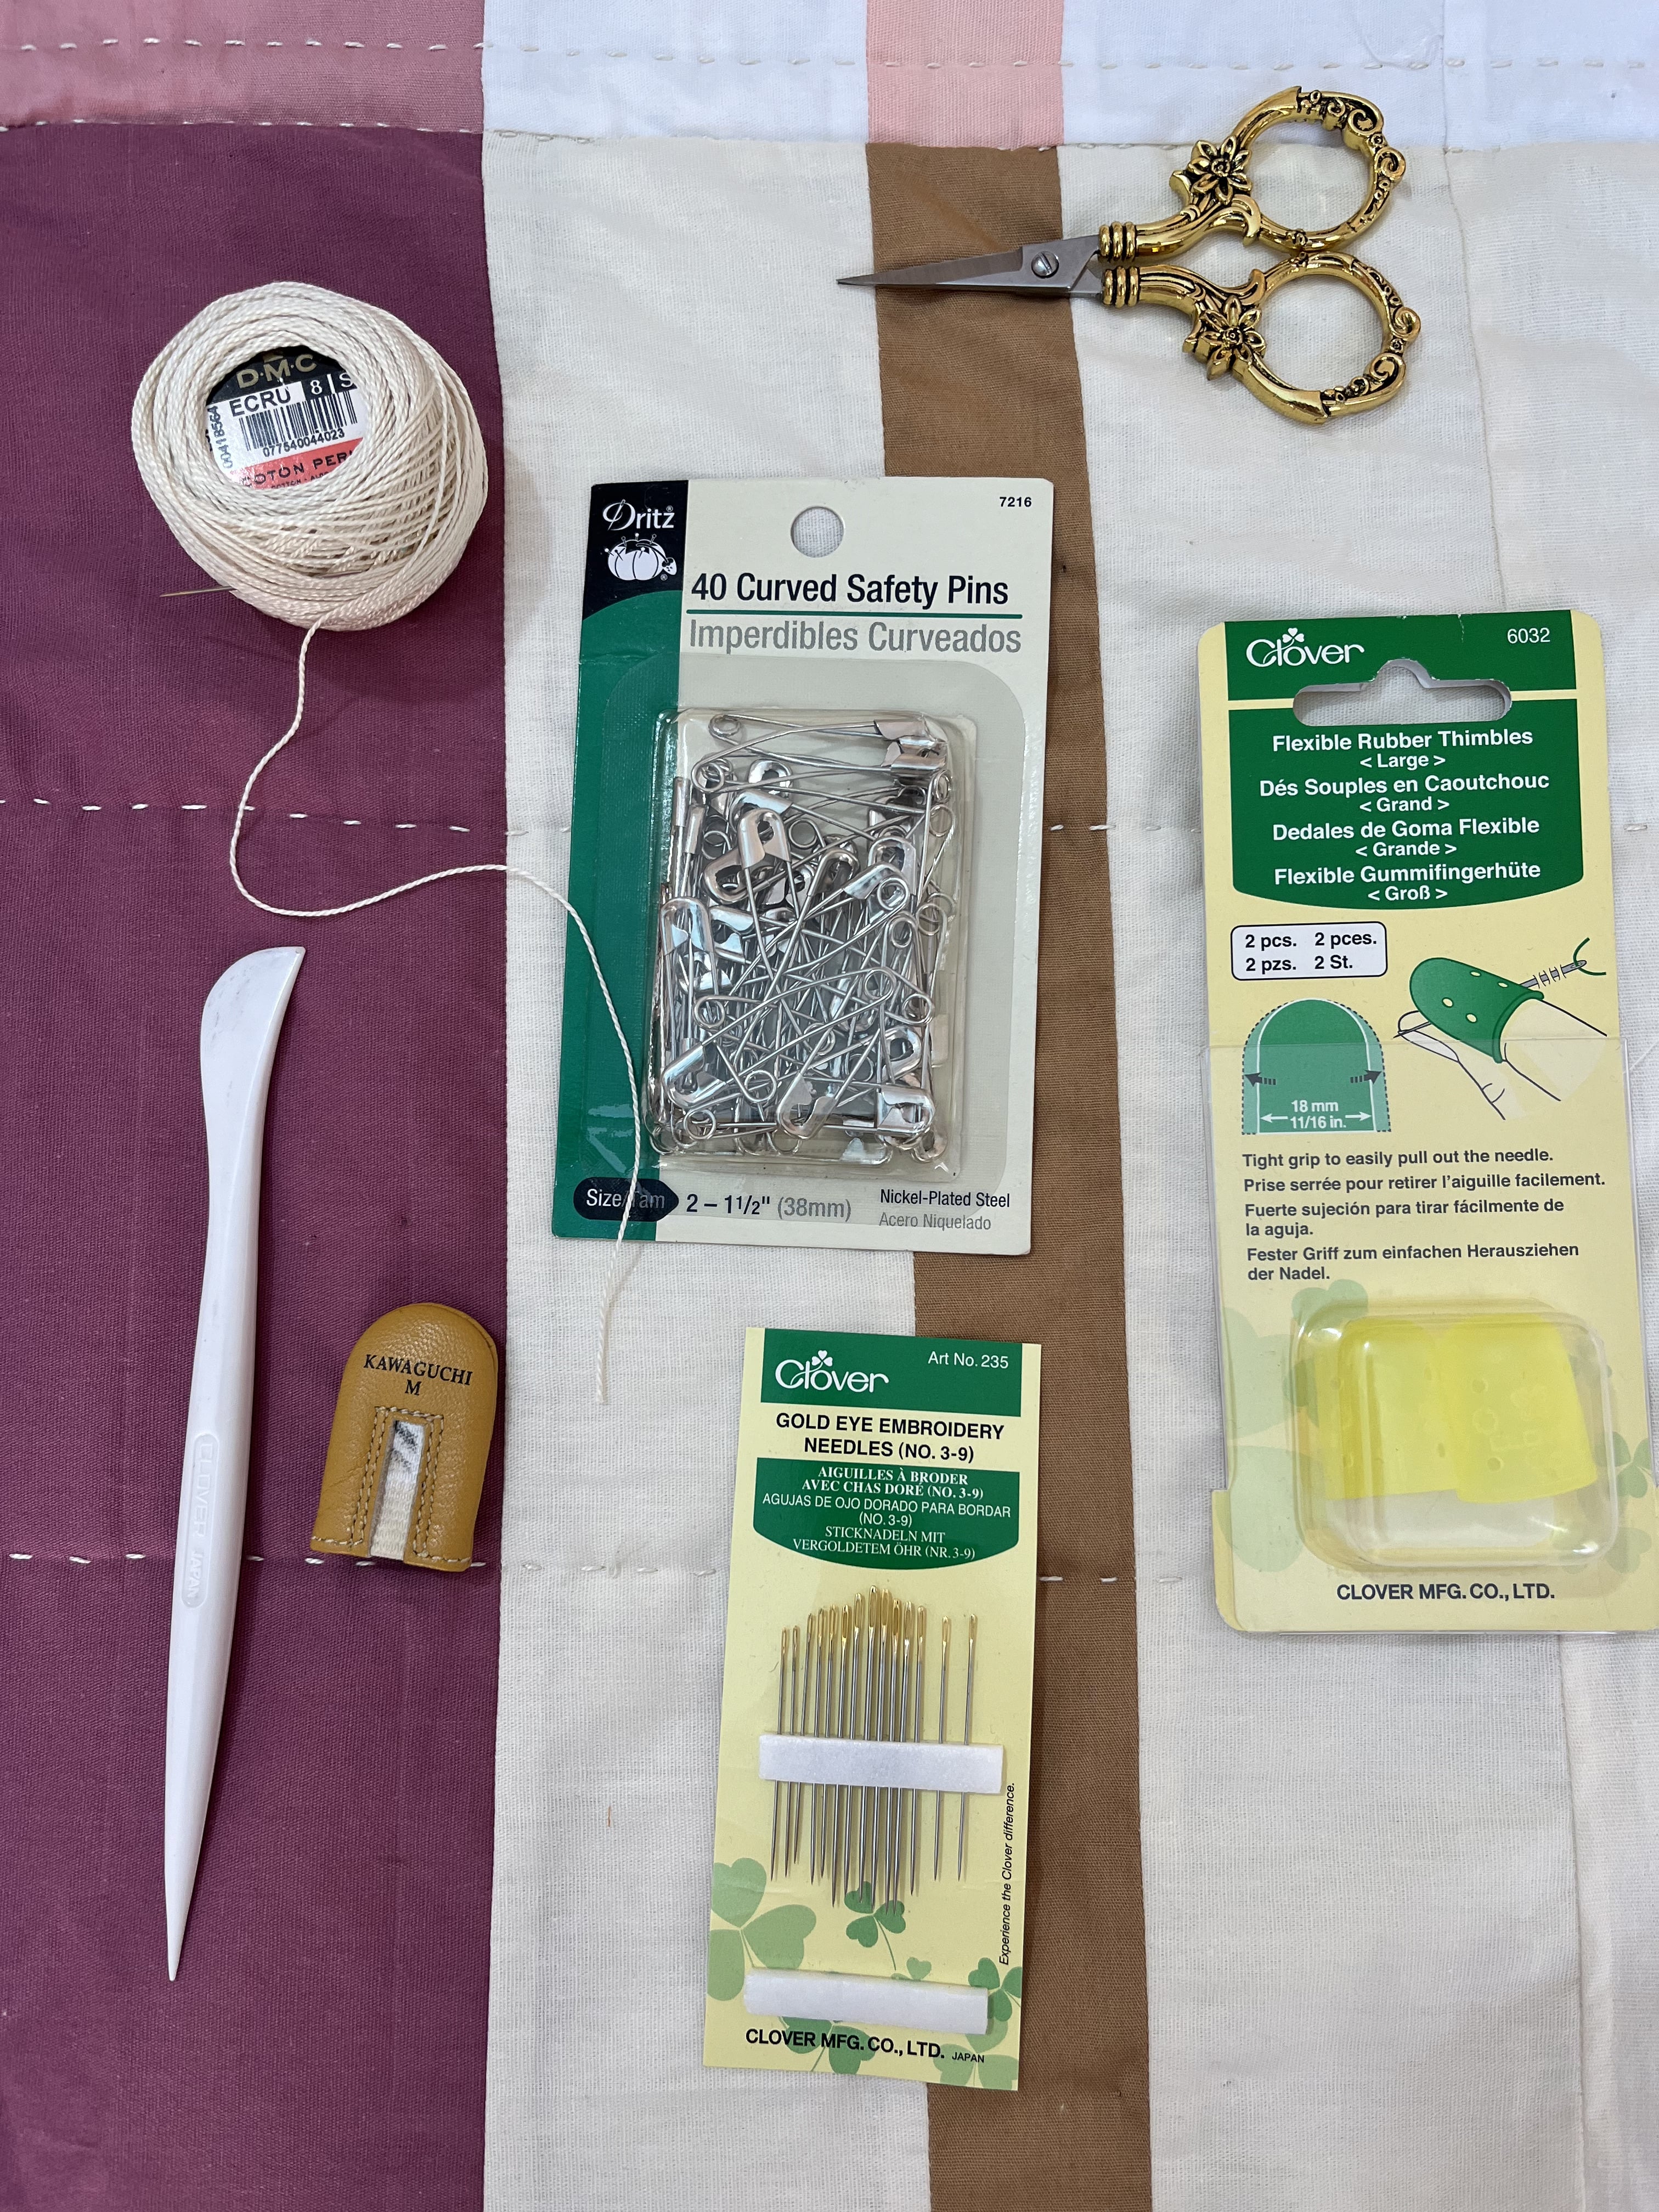
1) DMC embroidery thread (cotton pearl) size 8
2) Clover embroidery needle
3) Clover Silicone Thimble
4) Leather thimble by Clover
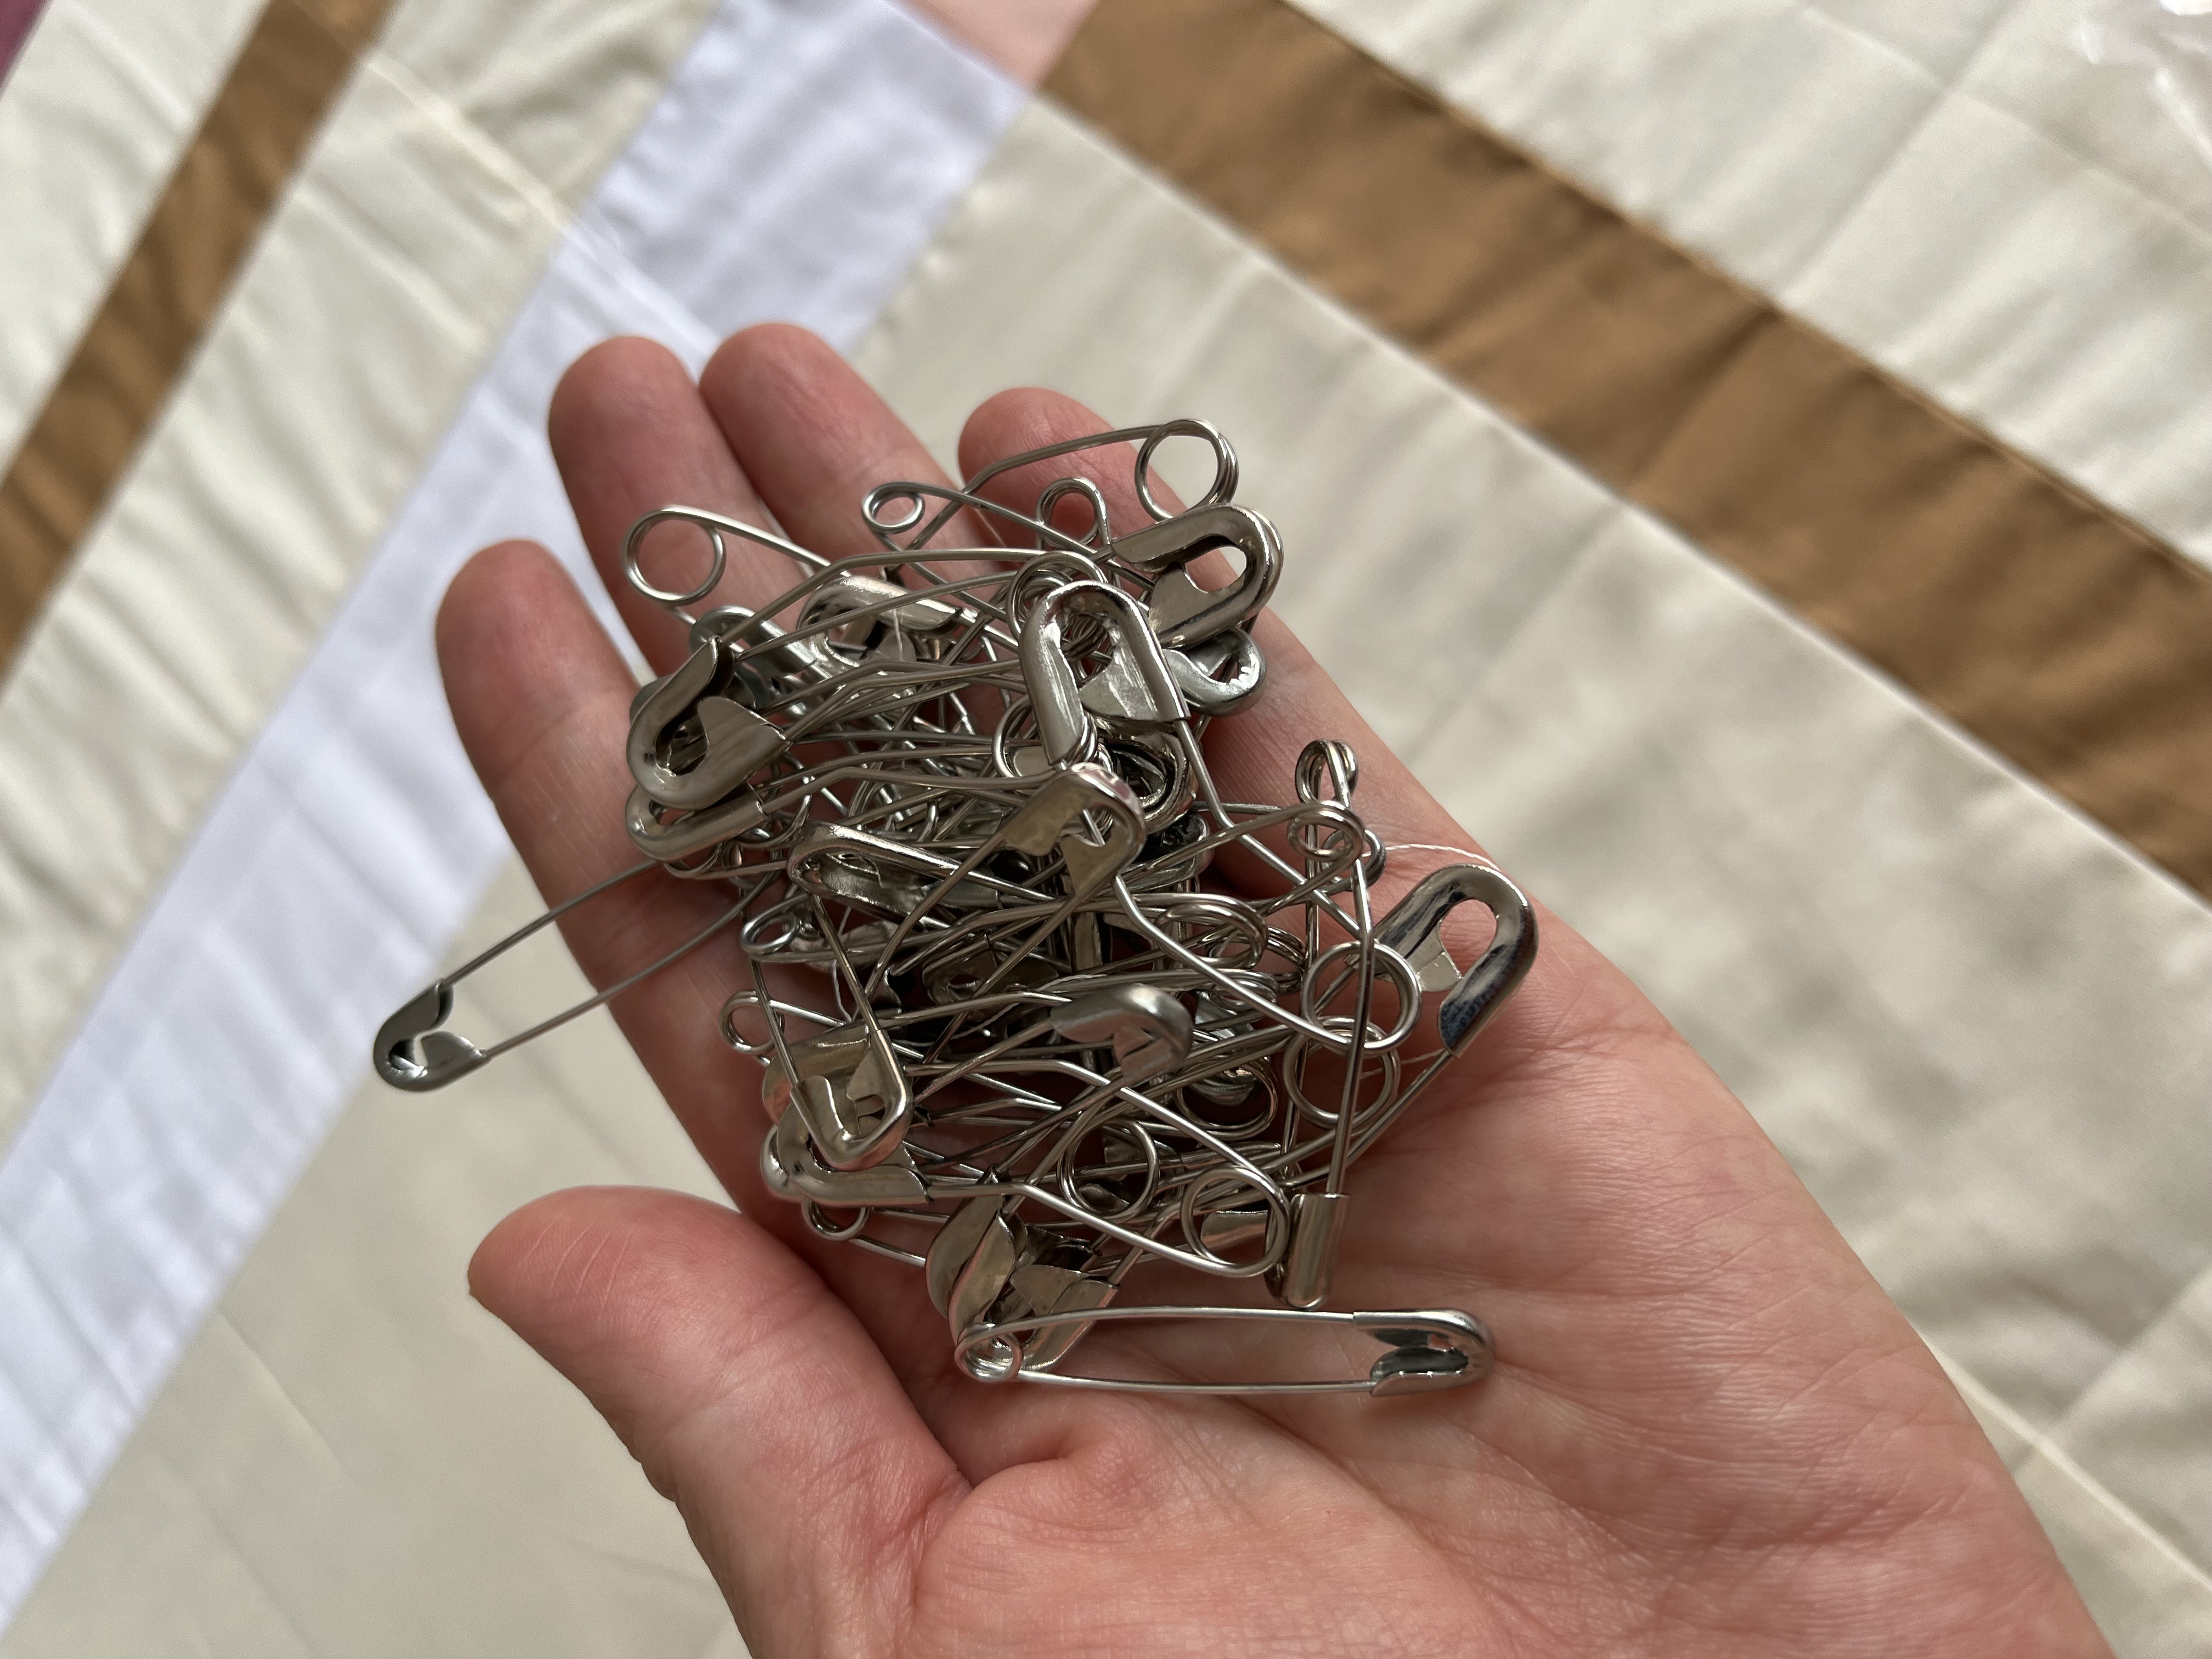
5) Domed pins
6) Ivy marker (to mark quilting lines)
7) Ruler
8) Fine-tipped scissors
Links to find the materials listed at the end of the article.
STEP-BY-STEP EXECUTION
1) MARKING THE RISKS:
First of all we need to sandwich the piece and there are several ways to sandwich it: using spray, pins or basting.
When I hand quilt, I always choose to use pins as spray can make it difficult to do so due to the glue that can stick to the needle when quilting! And here it is very important that the quilting is done in the easiest way possible to work with the needle!
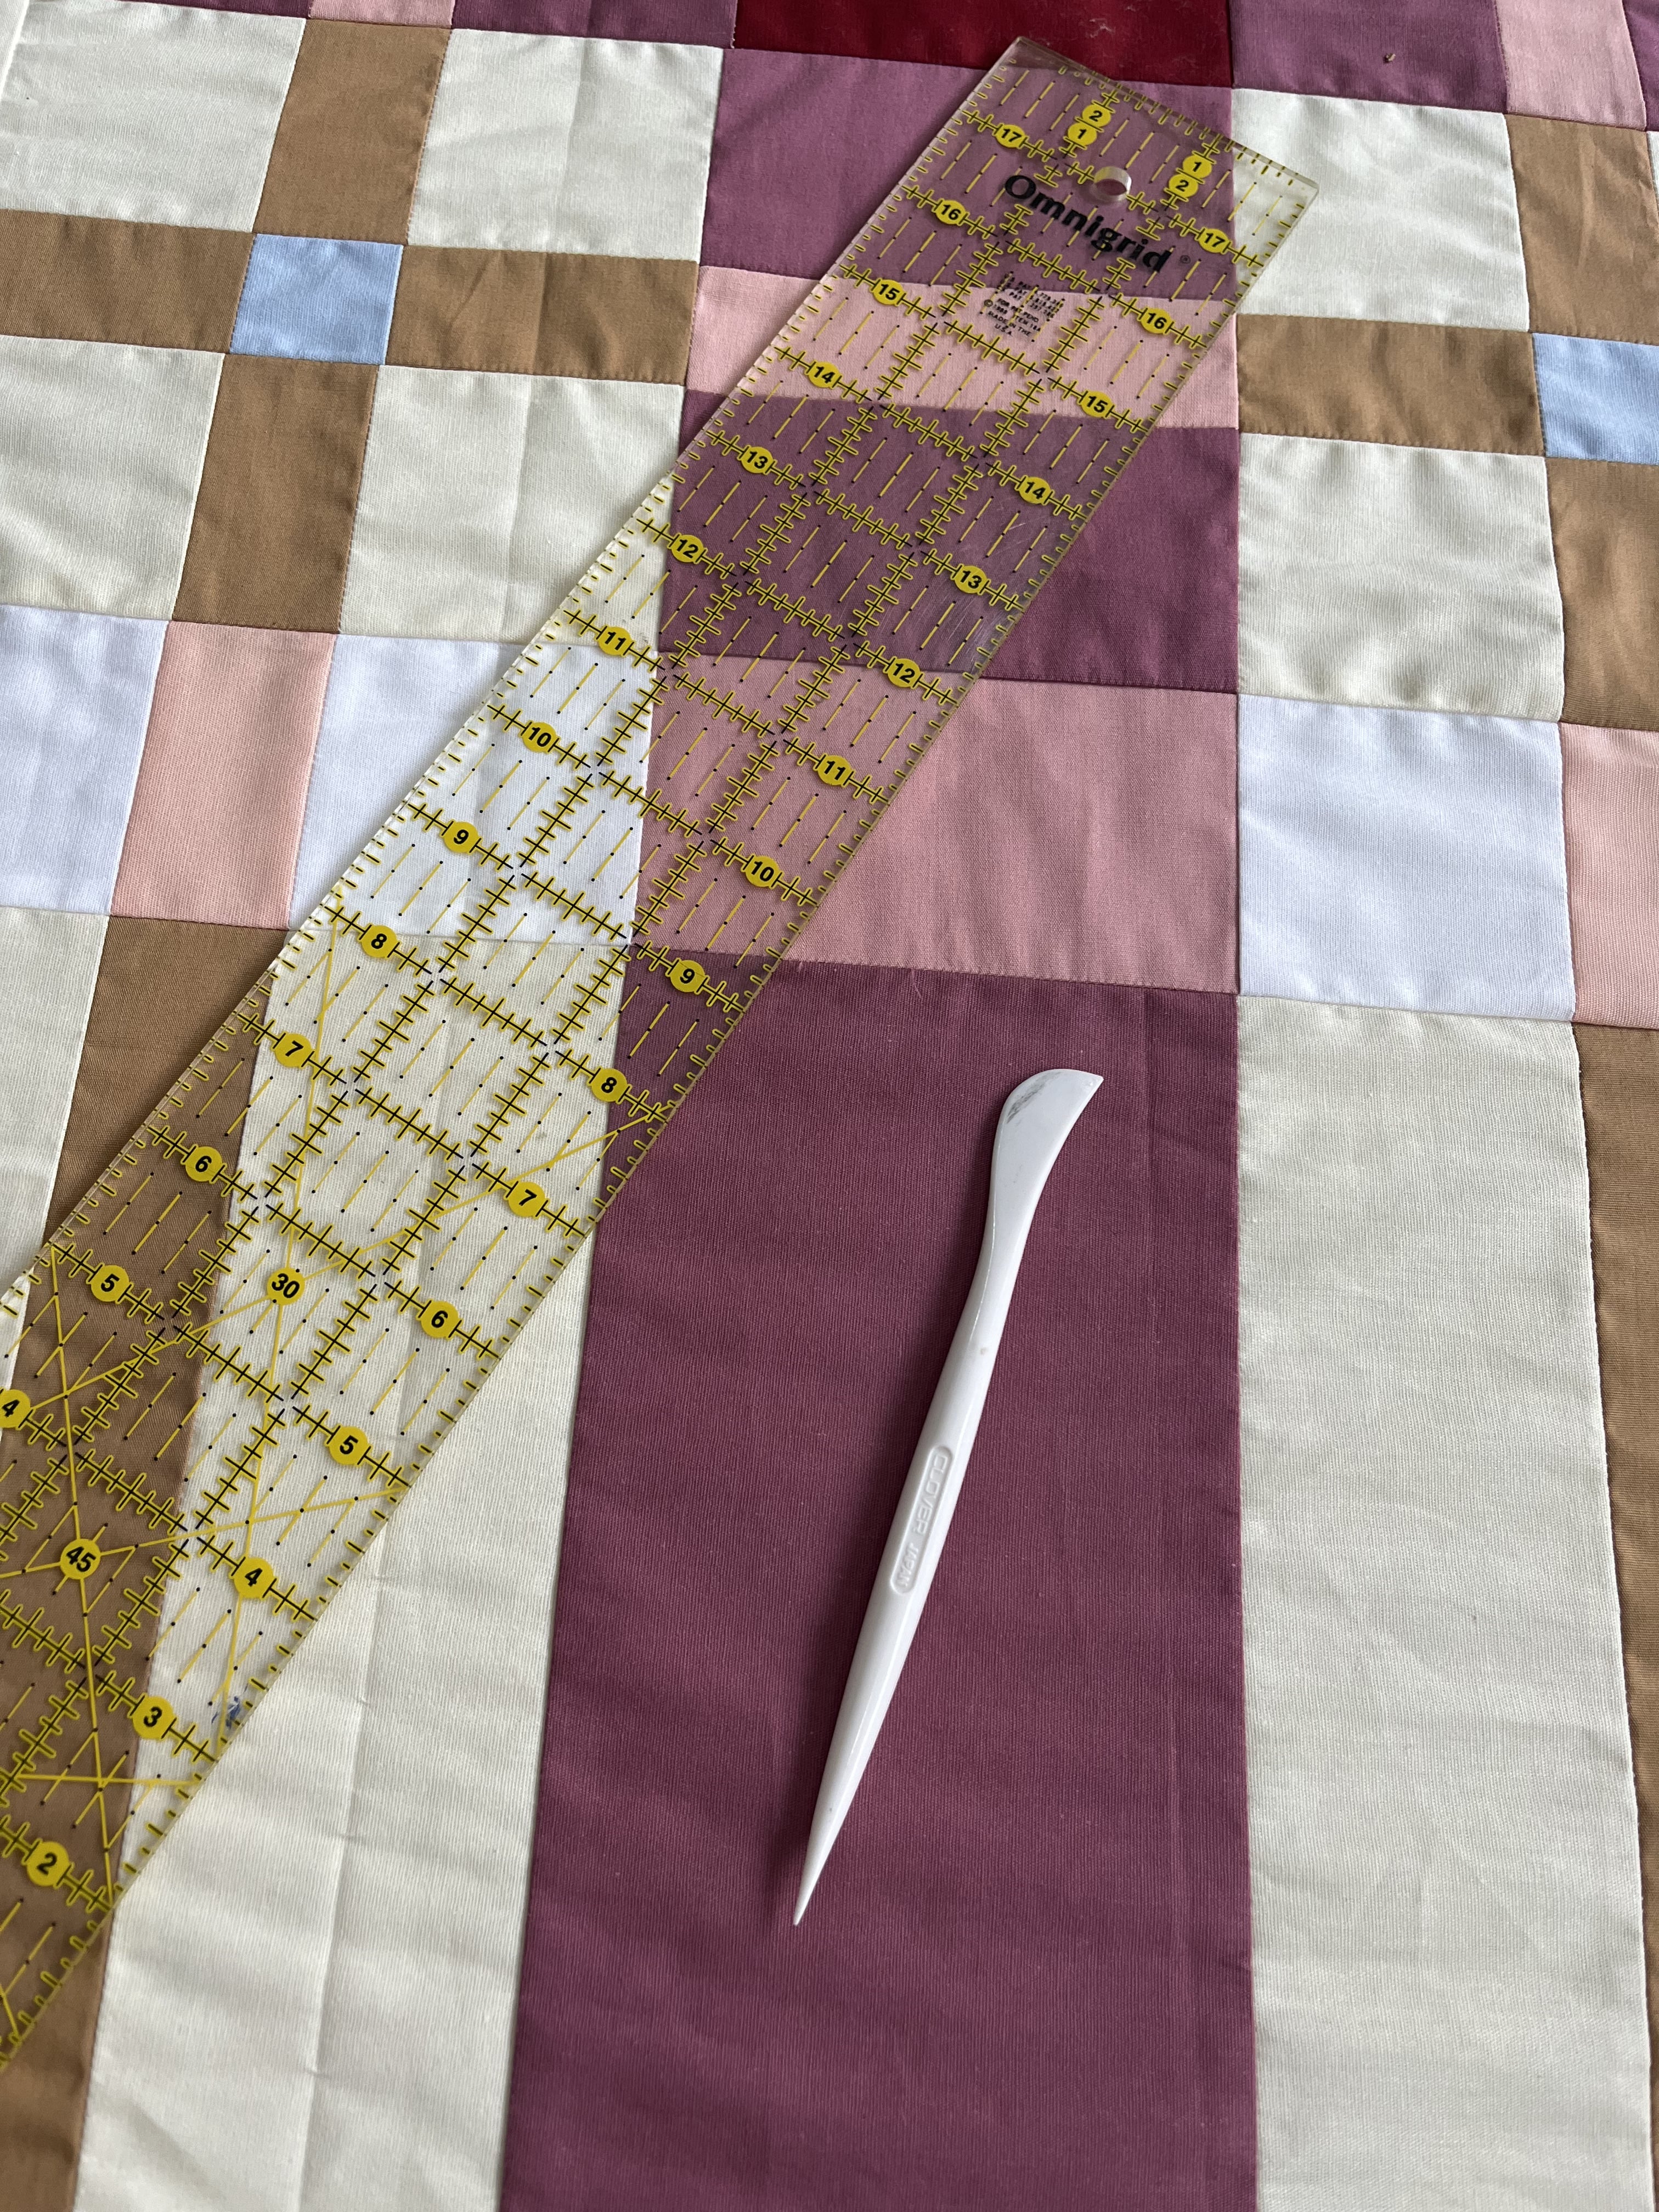
Another detail when I do hand quilting and on large pieces like quilts I prefer to do straight quilting, nothing too elaborate that could make it difficult. In other words, a simple and straight quilting! And for that I use my ivy marker (Clover brand) to crease the quilting lines.
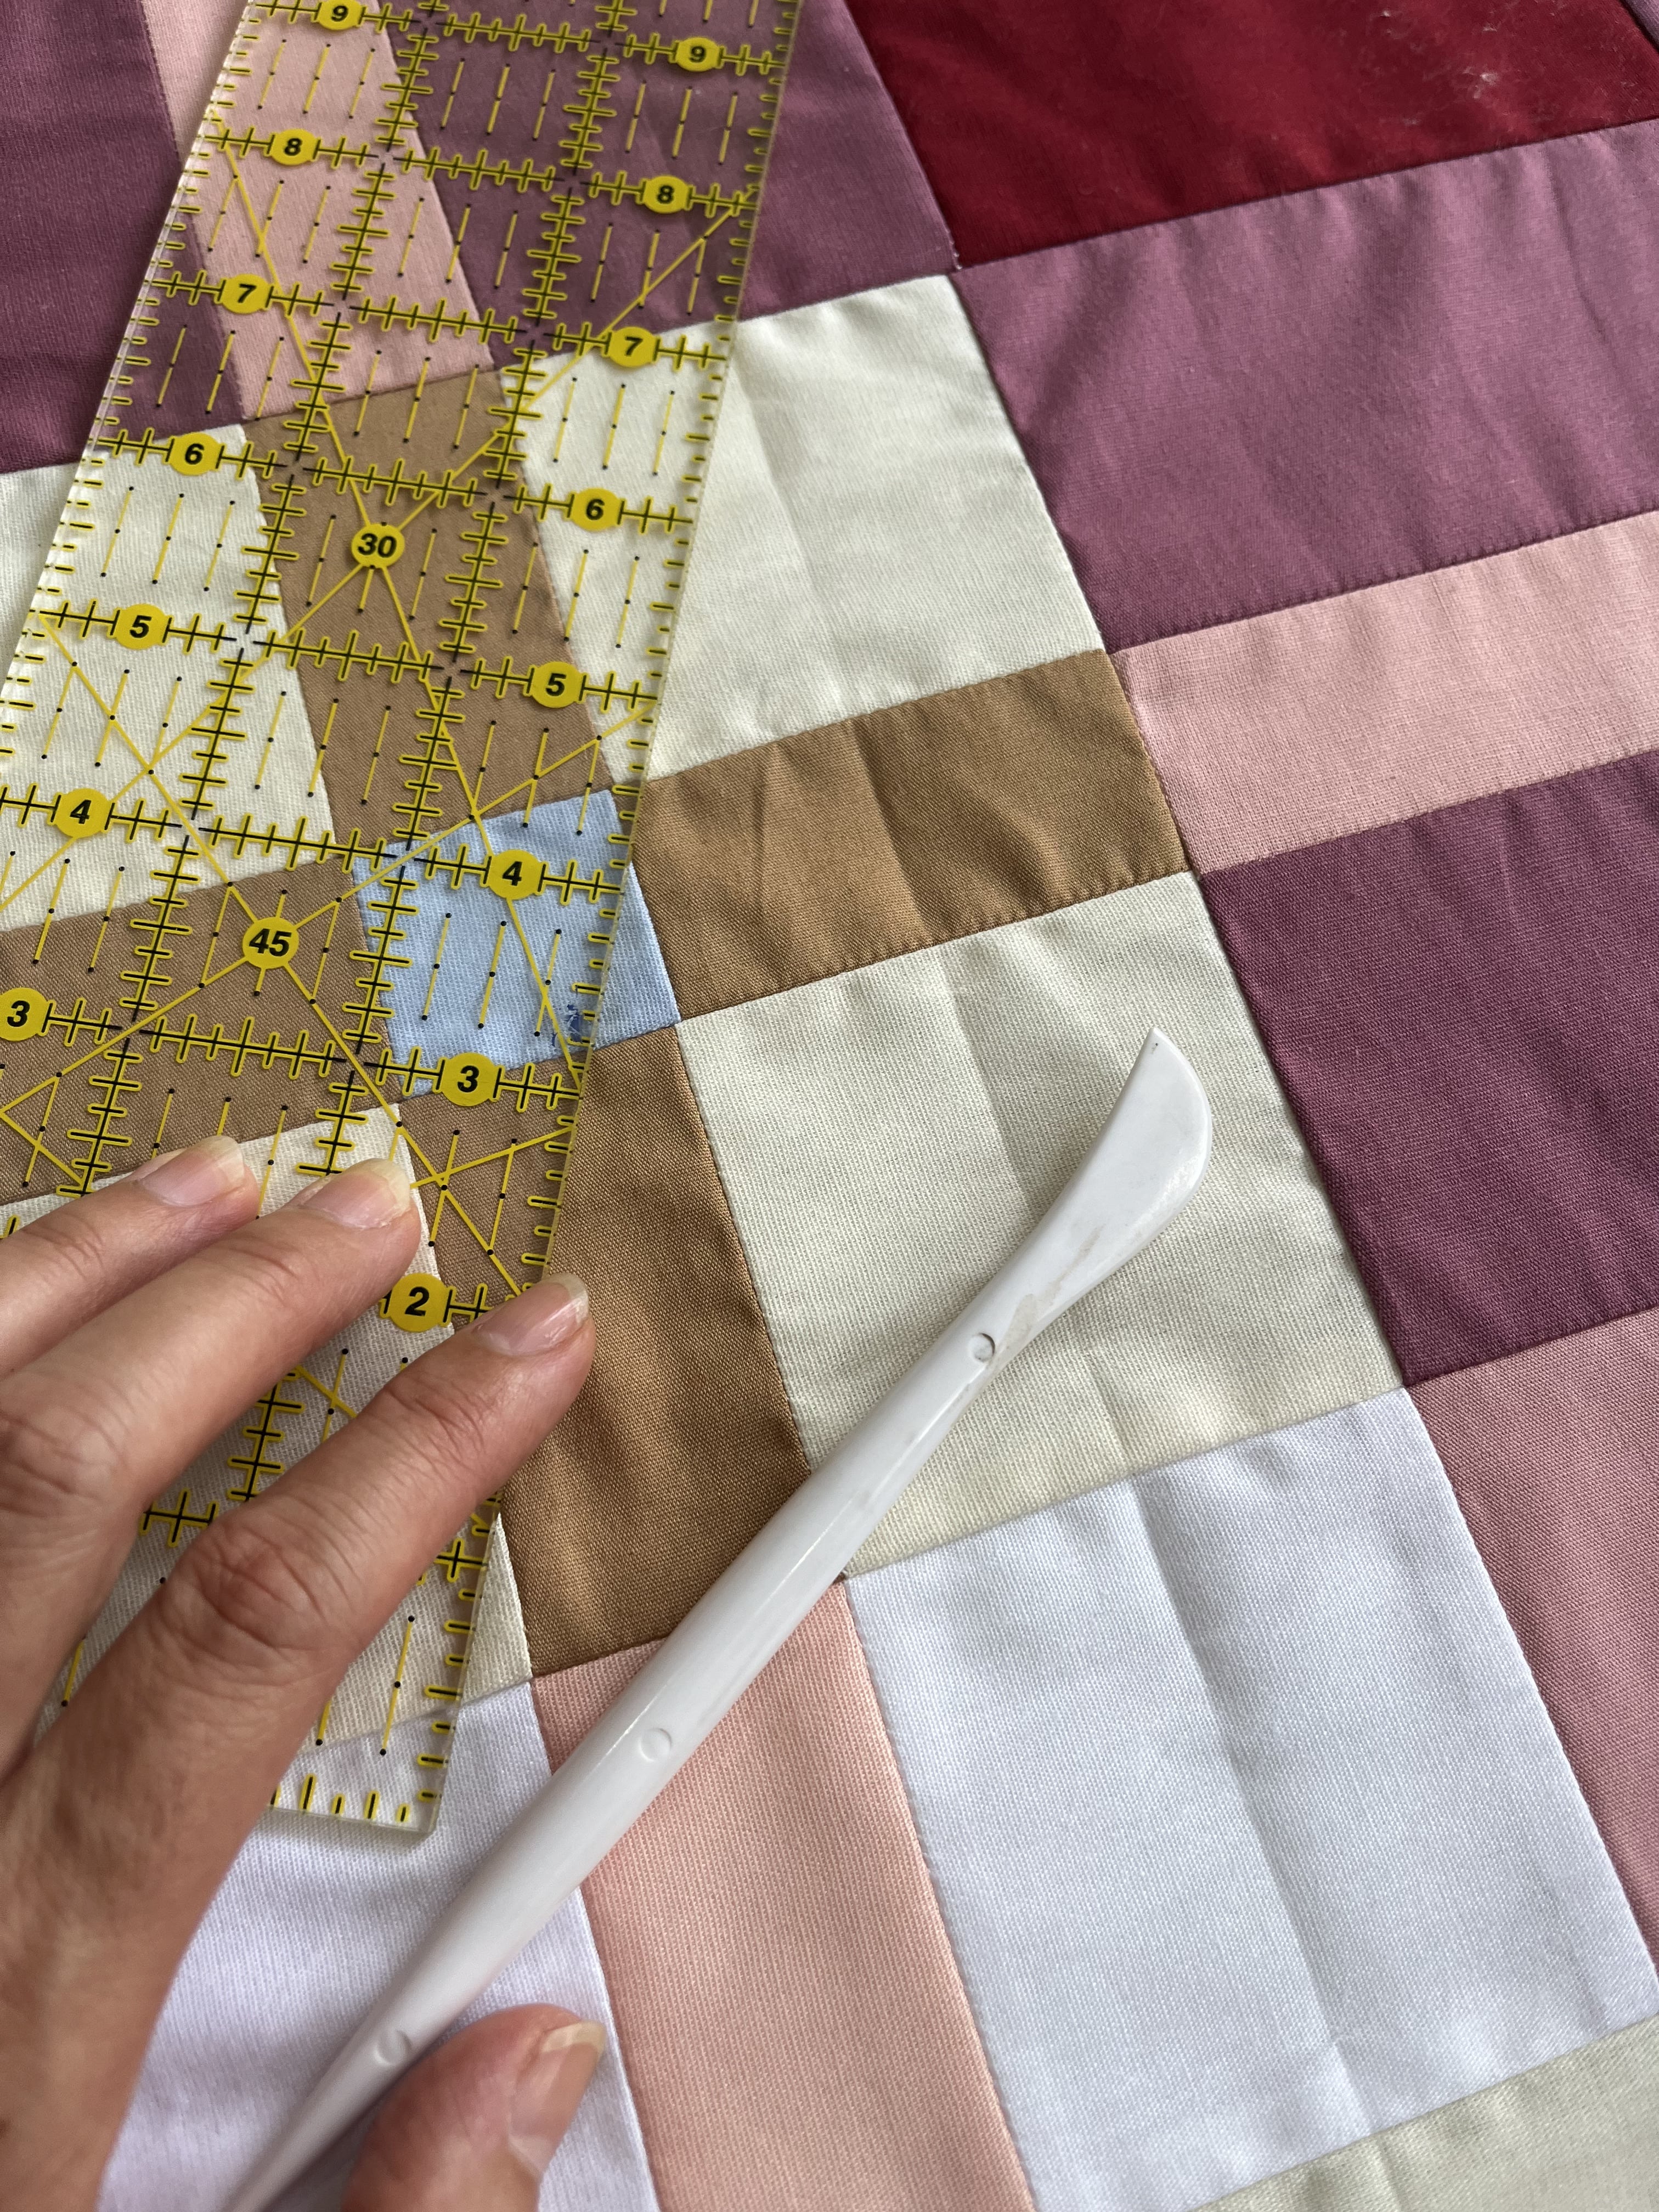
How do I design these patterns? I usually do a straight quilting on the seams of the blocks and between them I see what good spacing is needed so that the quilt has a nice quilting, that is, that it is not too empty or too full because there is no need for it to be an exaggerated quilting.
Since this quilt has all straight blocks, I decided to add a few more lines between them depending on the width. I will quilt along the seams and along these lines! Use a ruler to make it easier to mark! And I always make these markings with the 3 layers together! Without the batting underneath, marking will be difficult, huh!
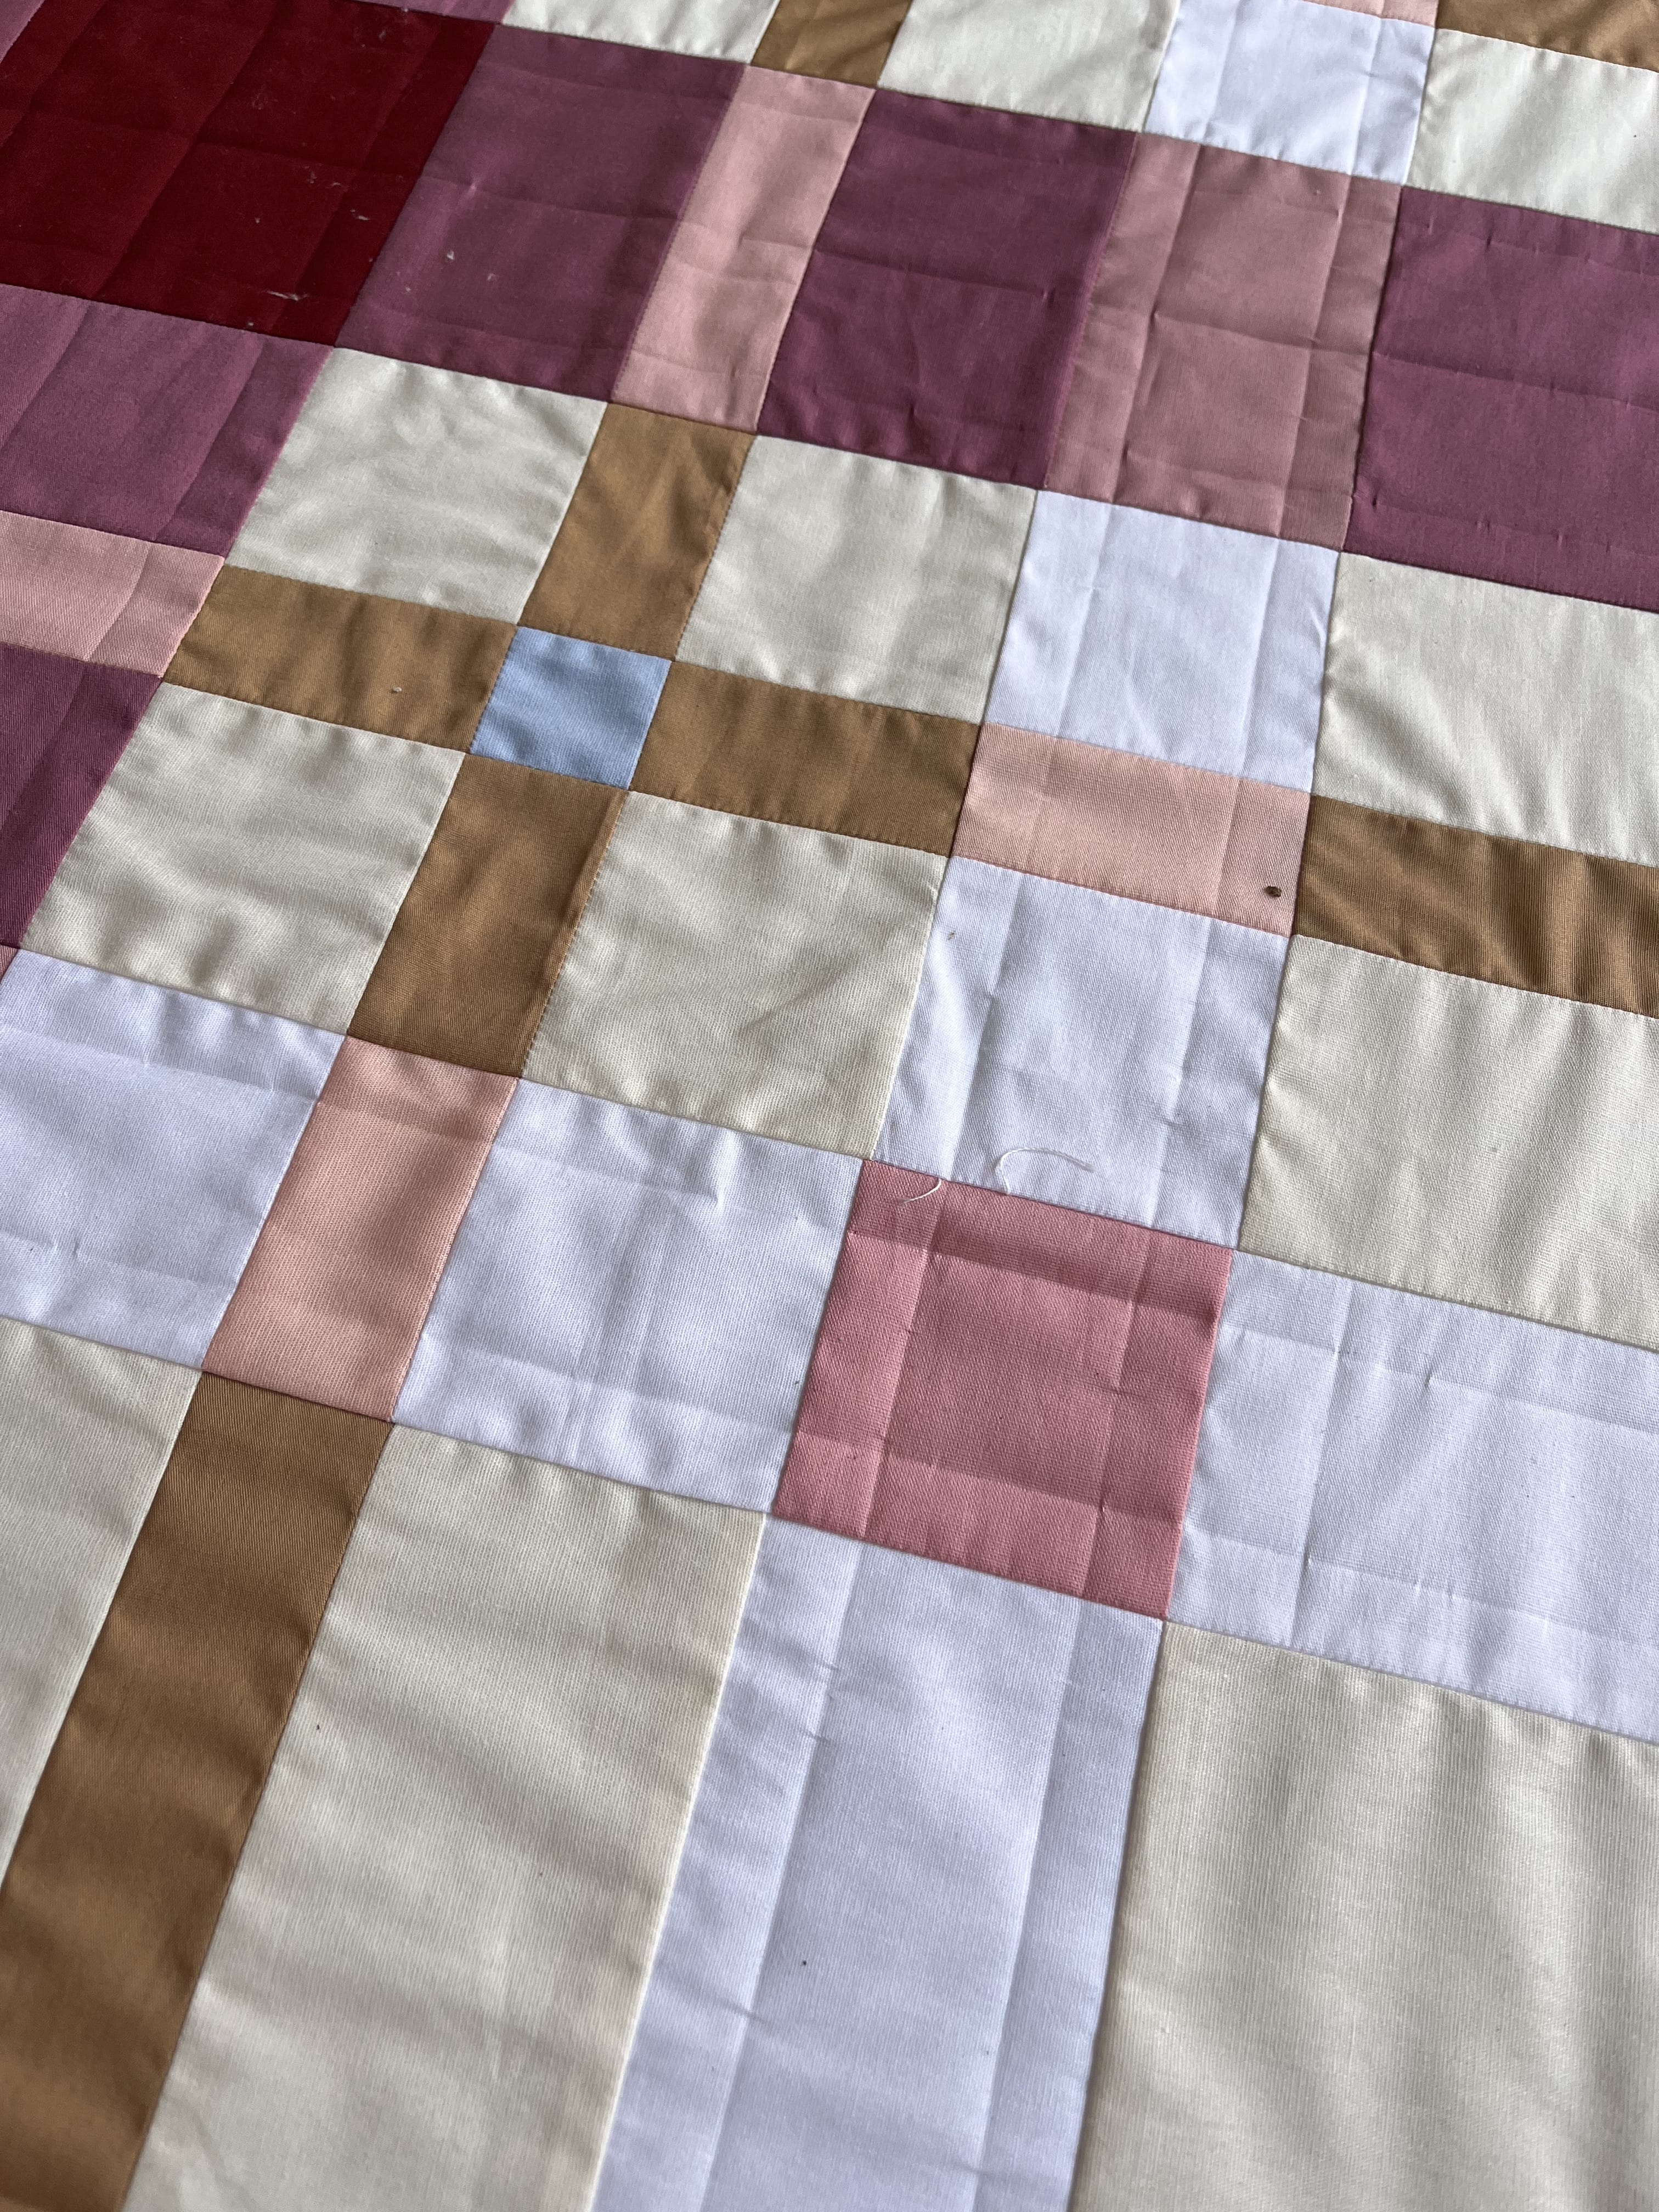
I make these Hera markings before pinning the 3 layers together. I find it easier to mark without pins, but some people prefer to make markings after pinning! Oh, don't worry, the markings don't disappear so easily. They're like when the fabric is wrinkled, and let's face it, depending on how wrinkled it is, you can only remove them with an iron, right?
Of course, as you move, quilt, and for a long time, the creases may disappear, but then you just need to iron it again, nothing that difficult!
2) PINNING
With the outlines made, now it's time to pin the three layers together! In this specific quilt, I used Ambar 200 and flannel lining! Yes, quilters, it's a thicker blanket and the flannel fabric is slightly thicker than calico! I want to use it in the winter, but I think a Poly 100 or 150 would do the trick!
This means that when quilting, it will require more of your hands and dexterity with the needle, but I'm quilting with ease! Now I'm sure that, with a cotton lining and a thinner blanket, it will be a delight and easy to quilt! I guarantee it!
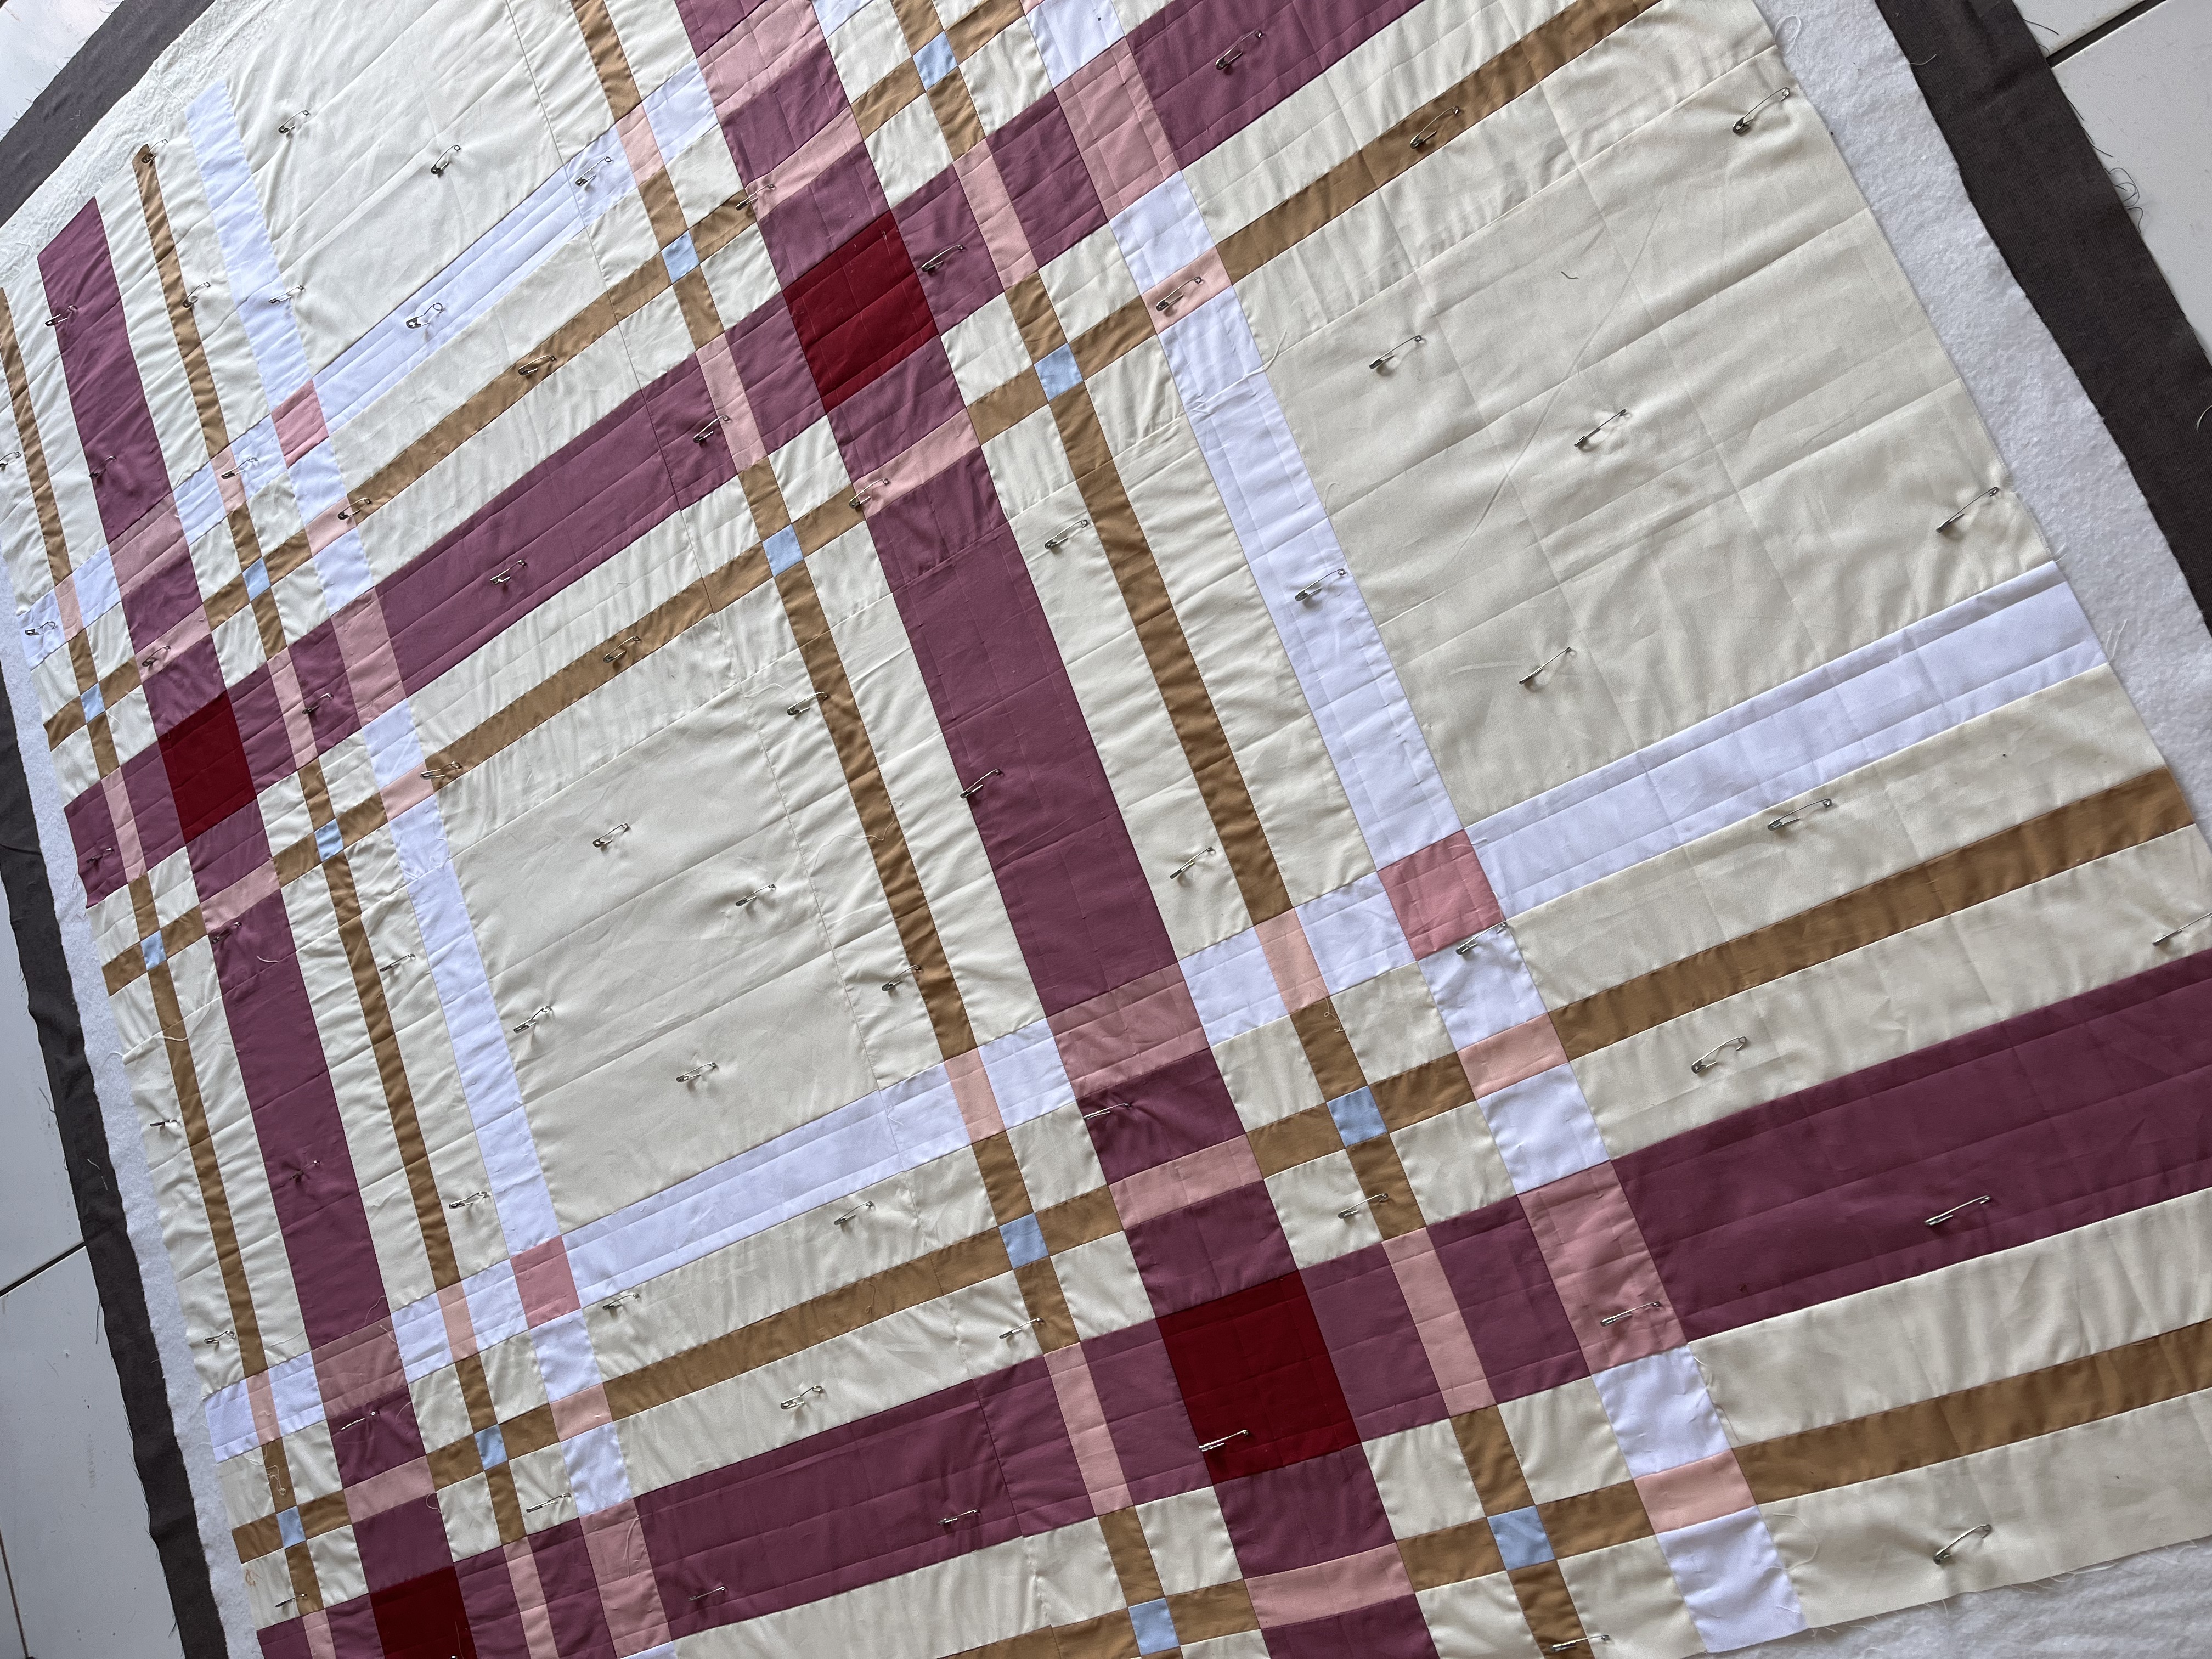
I use a spacing between the pins of approximately 15 to 20 cm and I alternate the rows so that the pins are well spaced!
Oh, one golden tip: if you have a table to do this process of marking, pinning, and sandwiching, it will be better. Even if the quilt doesn't take up the whole table, do it part by part! This will help a lot with your spine and knees! No one deserves you to be crouched down, right?
HAND QUILTING - hands on!
Now start quilting! And this sandwiched way you can take your quilt anywhere ok! Well, when it comes to quilting look for a place that has plenty of lighting and comfort for you! It could be in an armchair with a good lamp, a table with a comfortable chair. I like to use the table because I use the support table to leave my quilt while I'm quilting a certain area, it's easier for me to handle while I'm doing it.
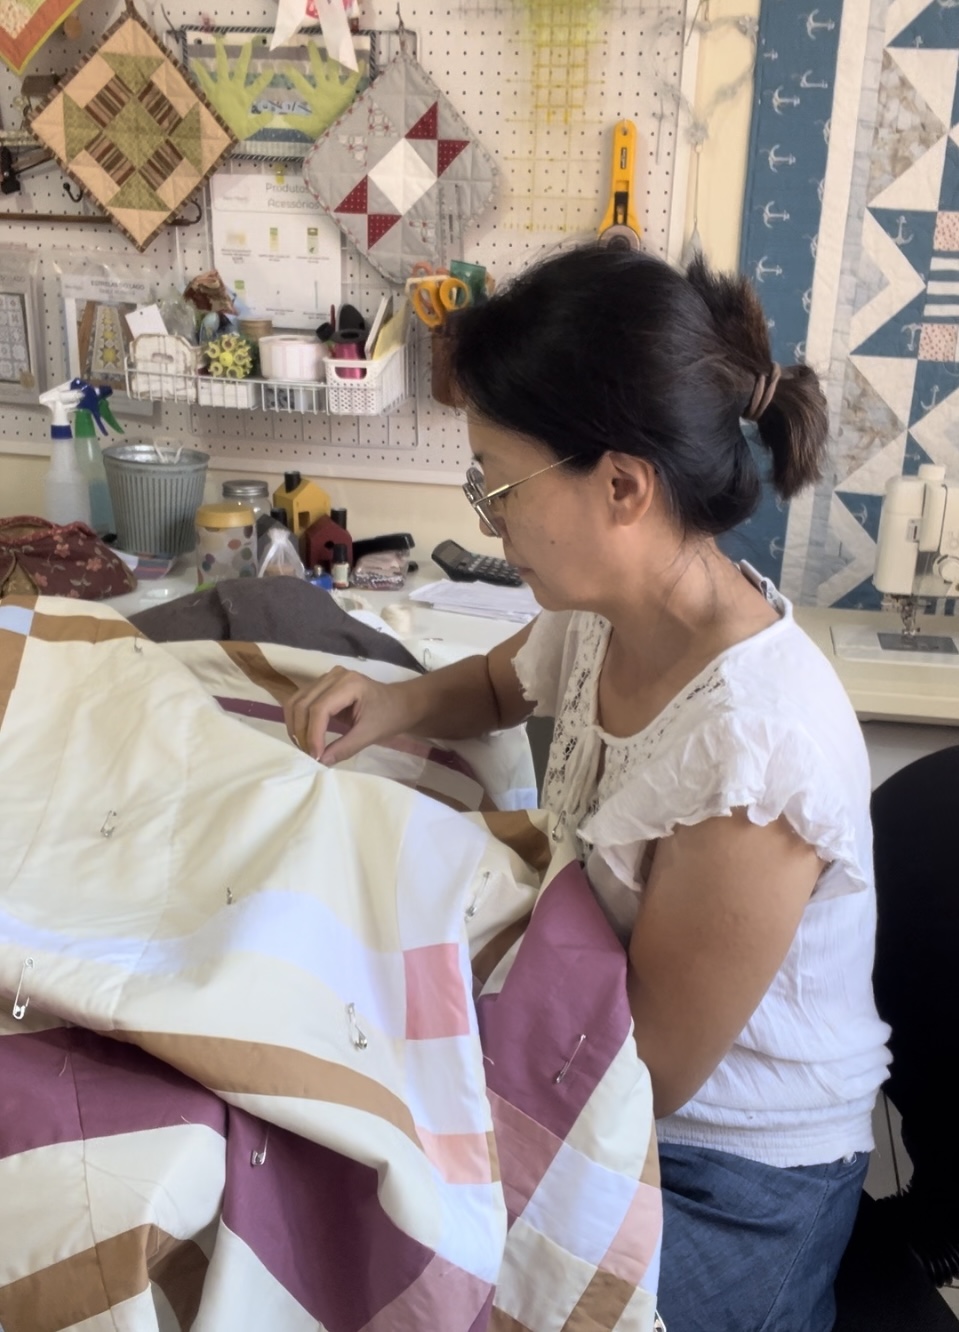
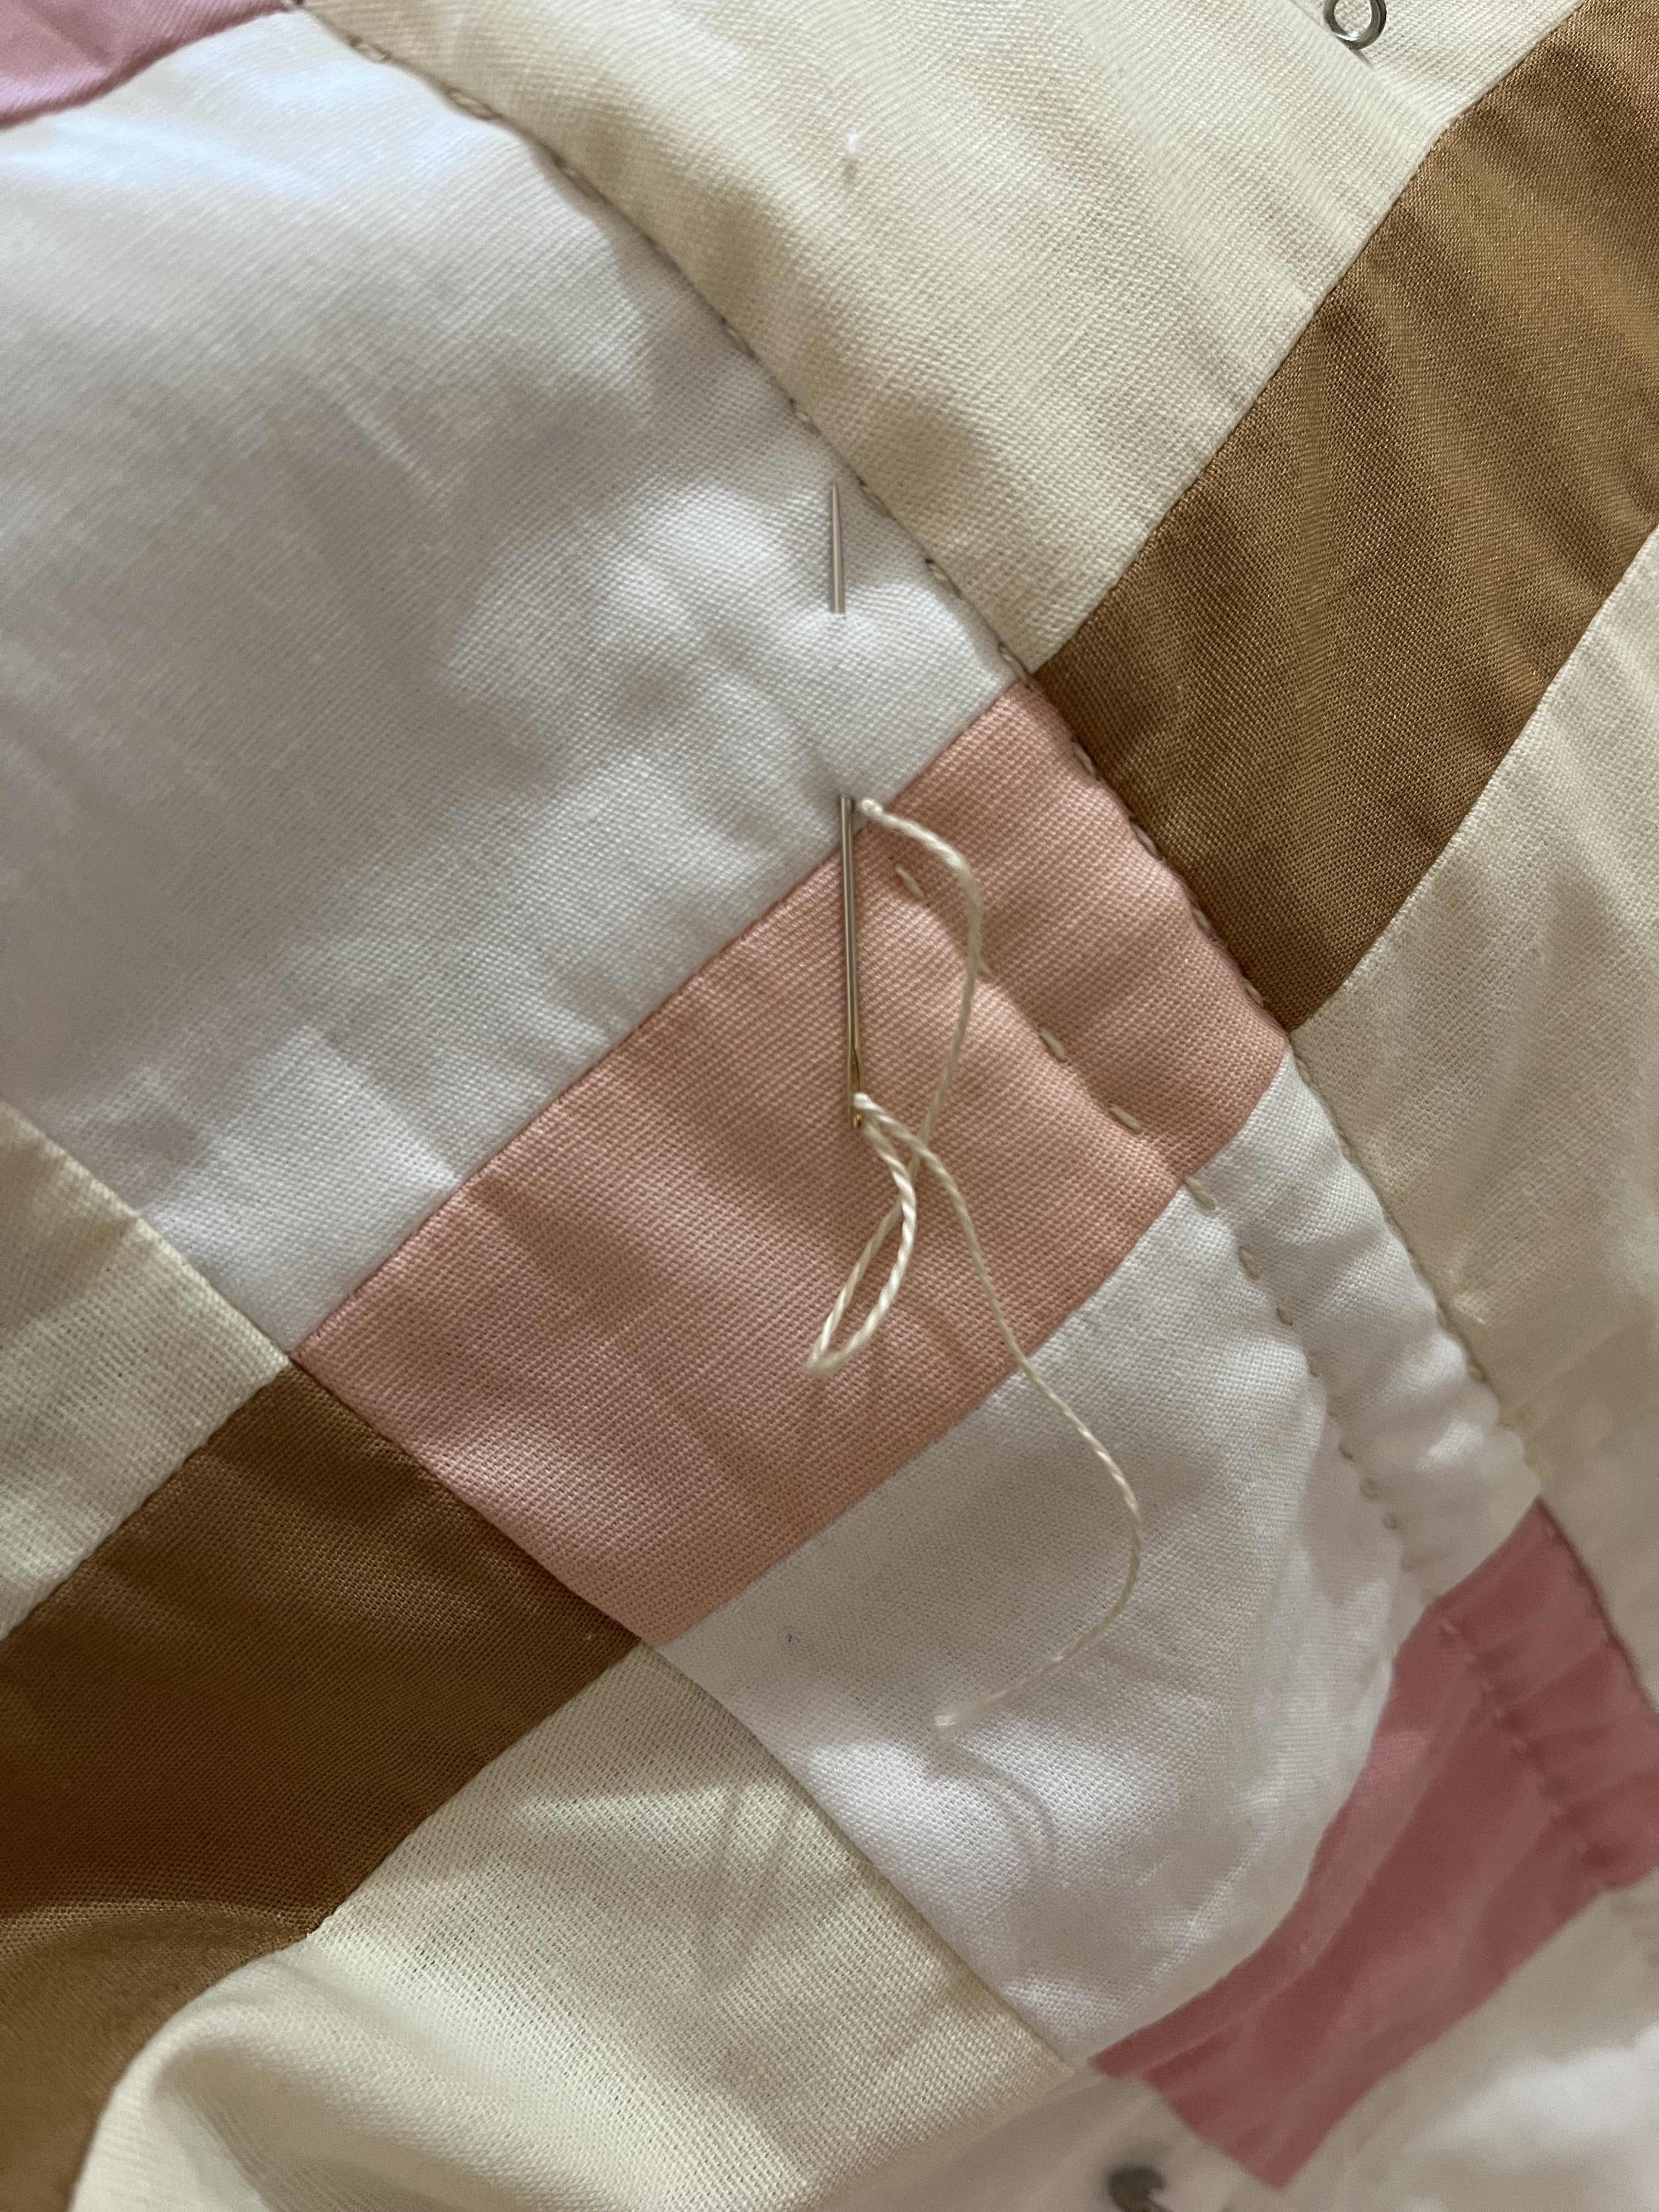
The thread size I use is approximately 45cm and I use a needle threader because the Perle Cotton embroidery thread is thicker, but it passes through the needle holes easily because we are using an embroidery needle! What size needle should I use? It depends on each person, the Clover kit comes with 7 sizes where no. 3 is the largest needle and no. 9 is the smallest, both in thickness and length.
Regarding the length of the line, try not to cut a line that is too long, as this will make it more difficult to start with such a long line!
After inserting the thread, make a simple quilter's knot, with just one turn! And let's get started!
I like to start closer to the center of the quilt and I always insert the needle a little further away from where I will start, so I can hide the knot at the beginning. To hide it, just pull it lightly until it penetrates between the layers and that's it, you can start quilting!
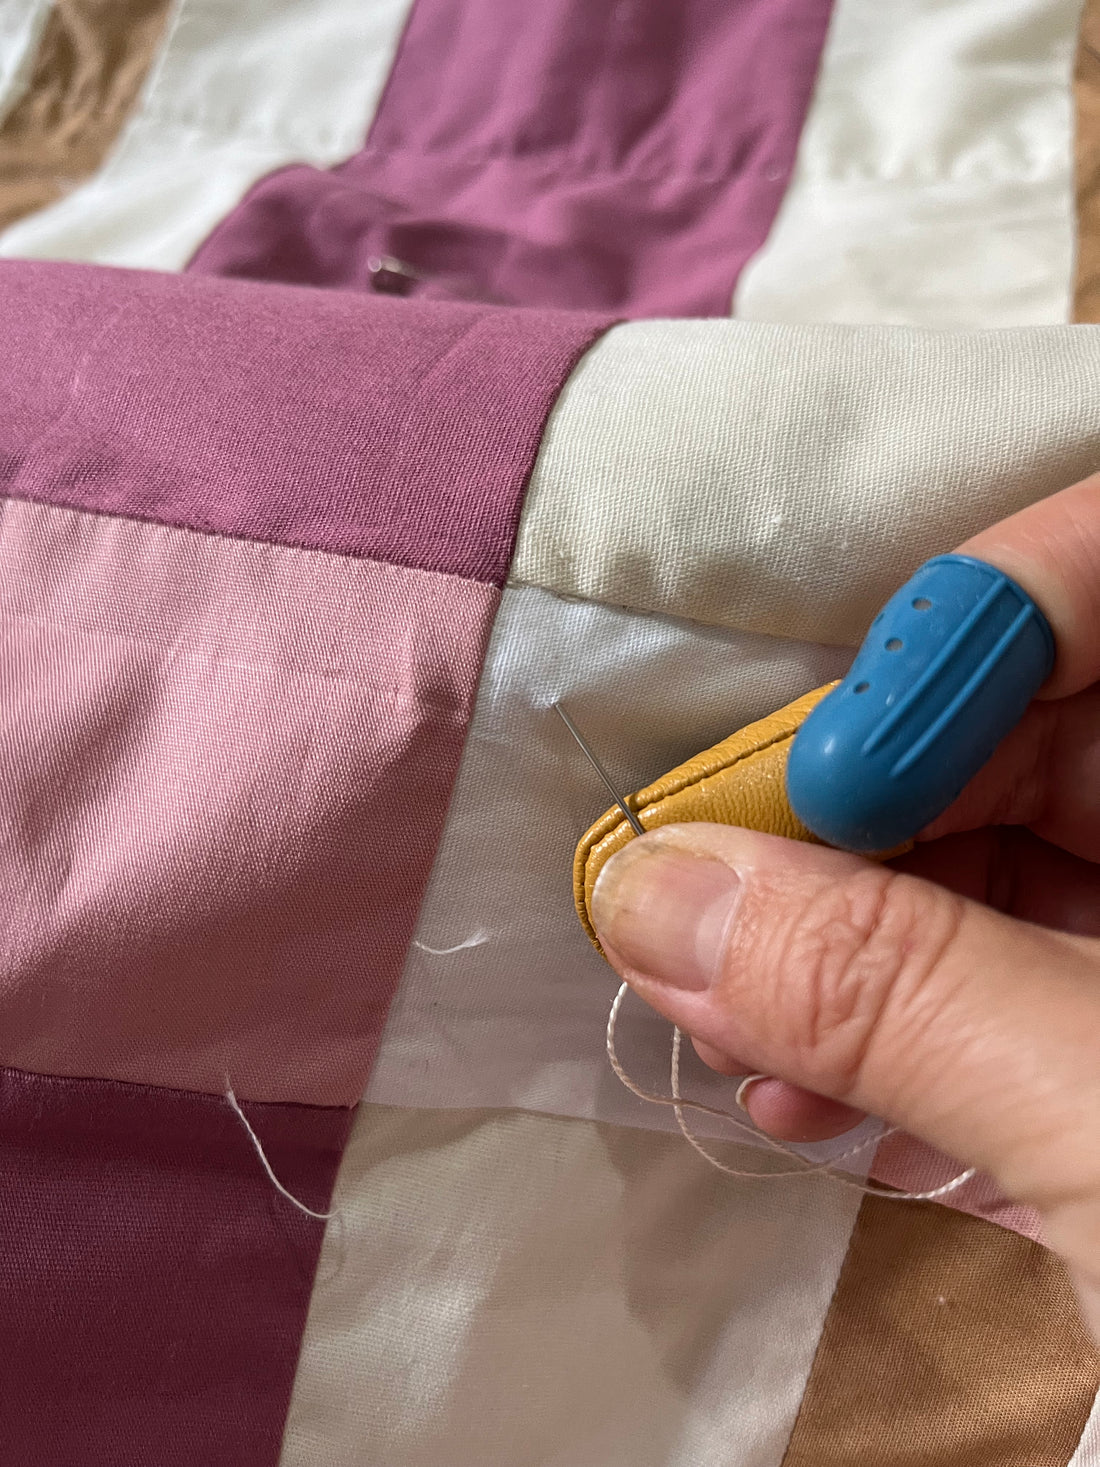
This is when I put my thimbles on. The leather ones go on my middle finger and the silicone ones I like to use on my index finger! But in this quilt, in particular, because I'm using a thicker batting and flannel lining, I'm also using a silicone thimble on my thumb, to make it easier to pull the needle out!
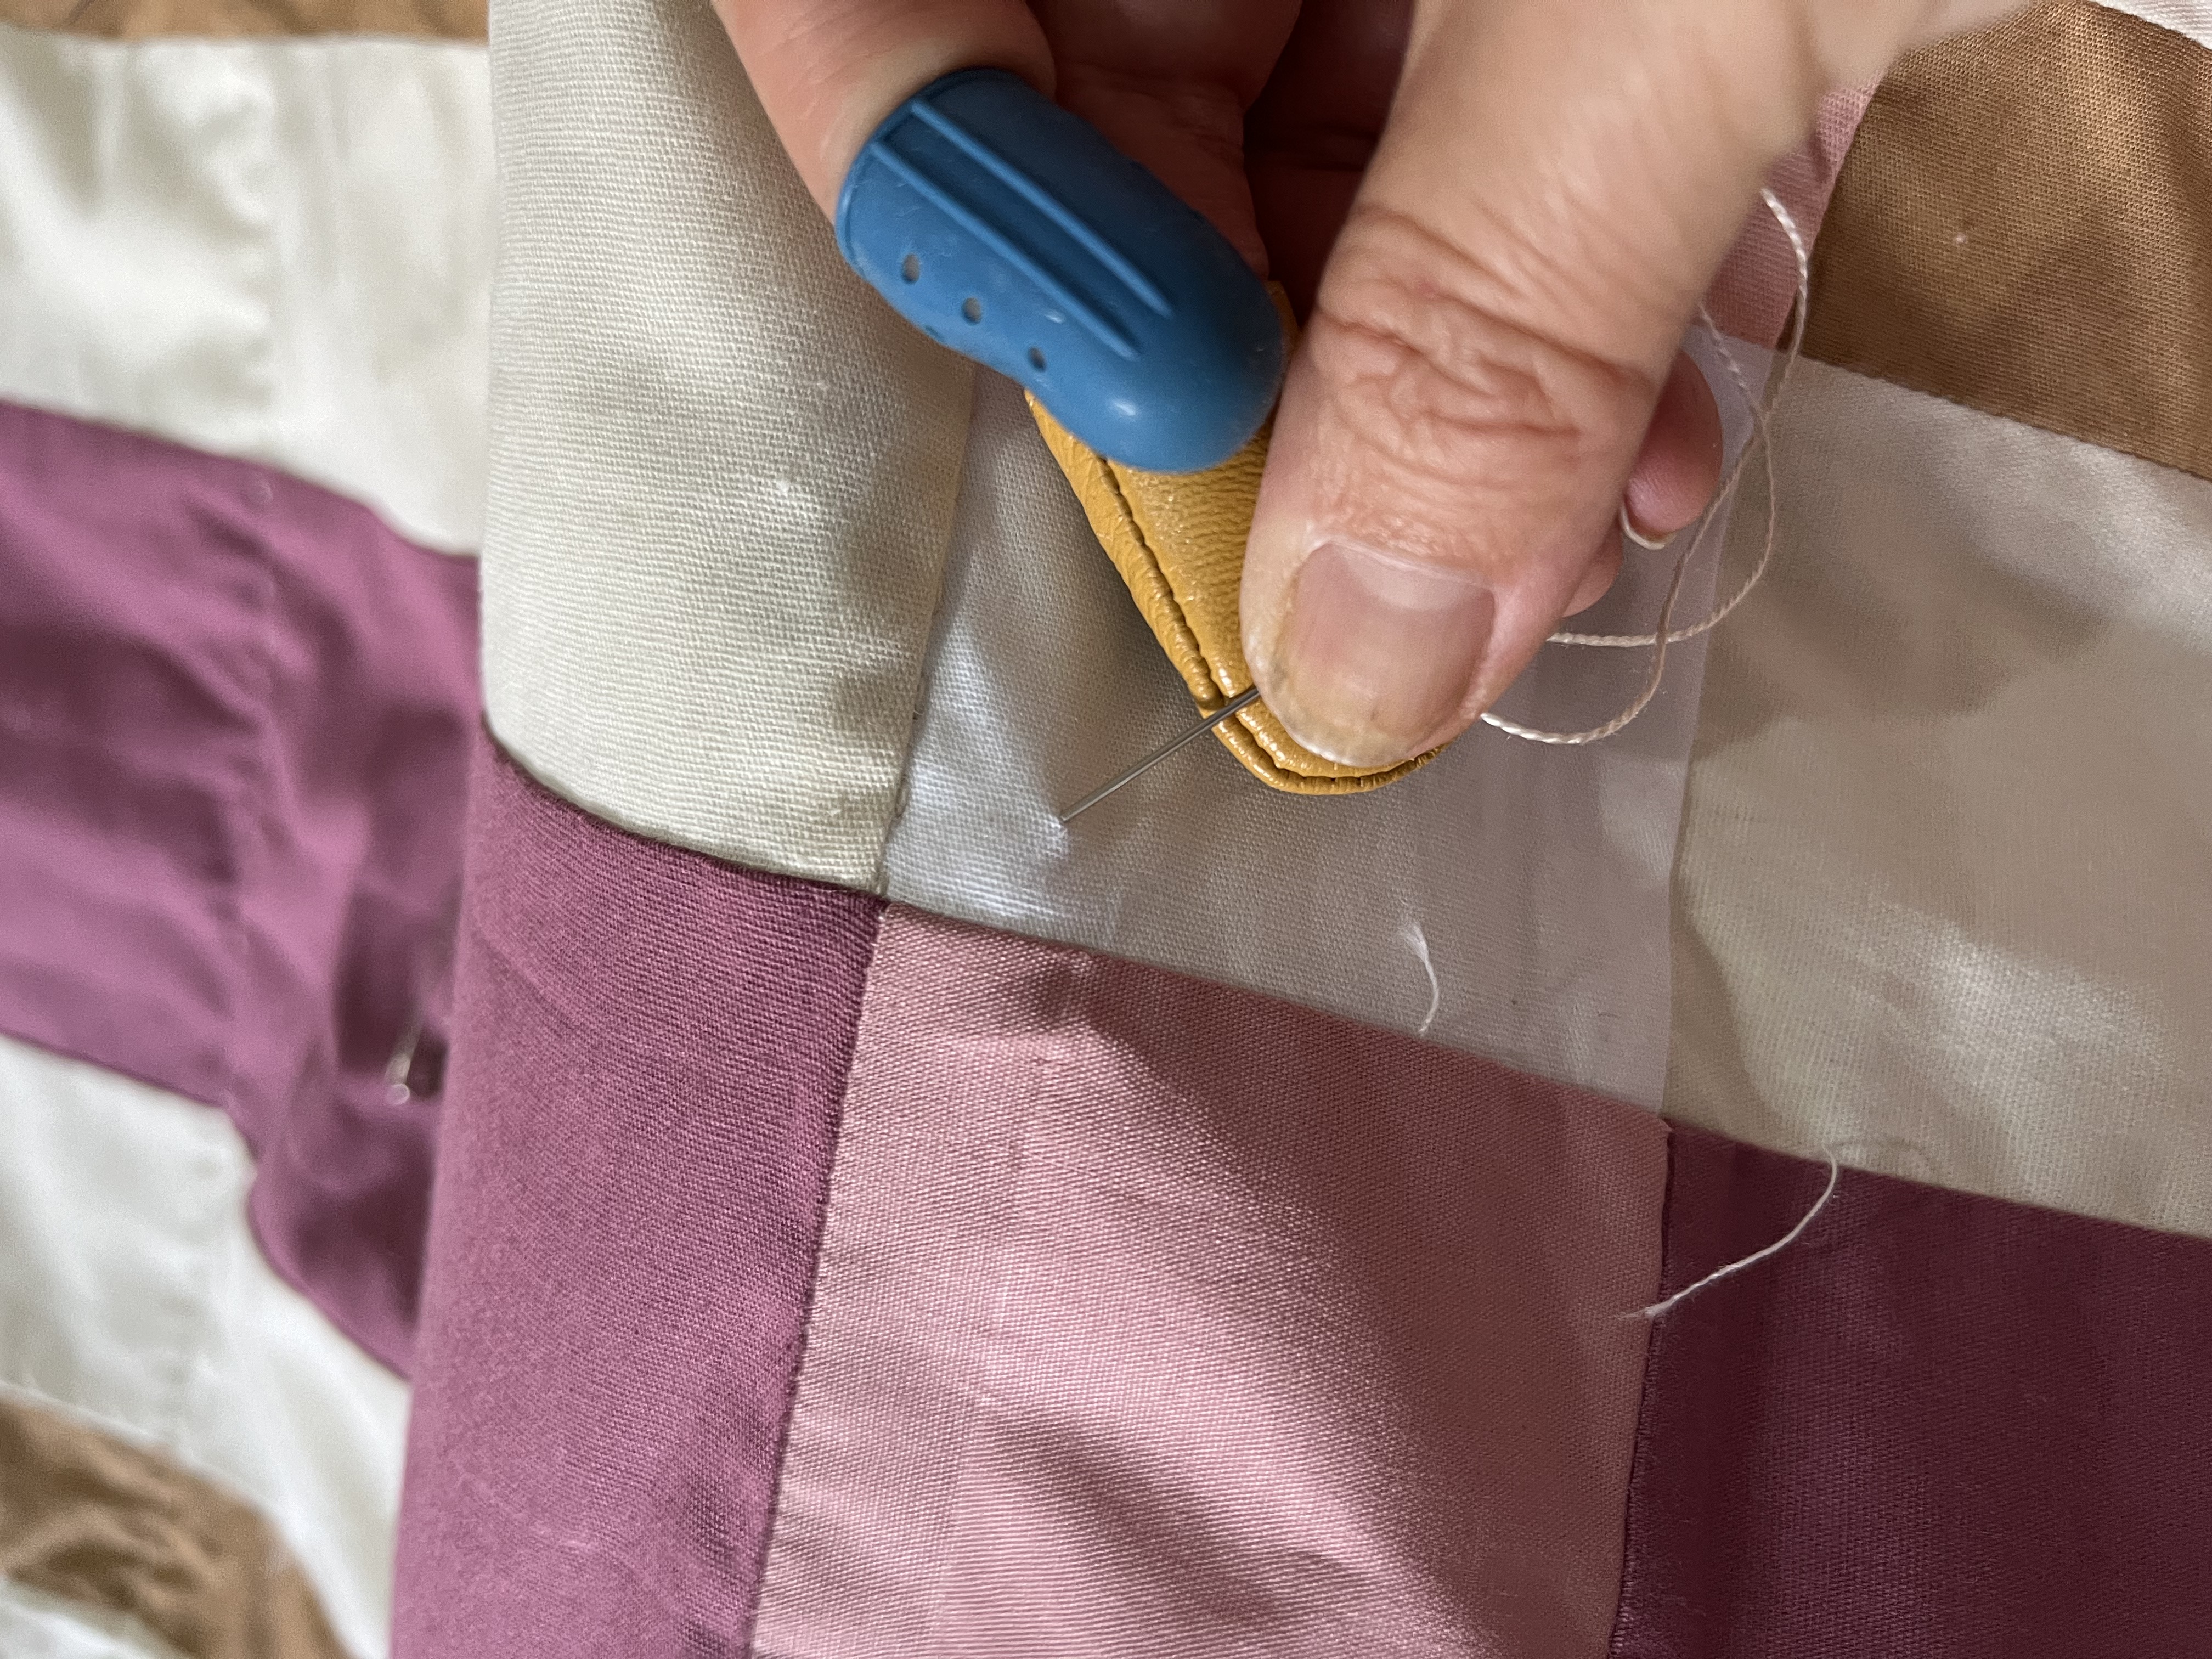
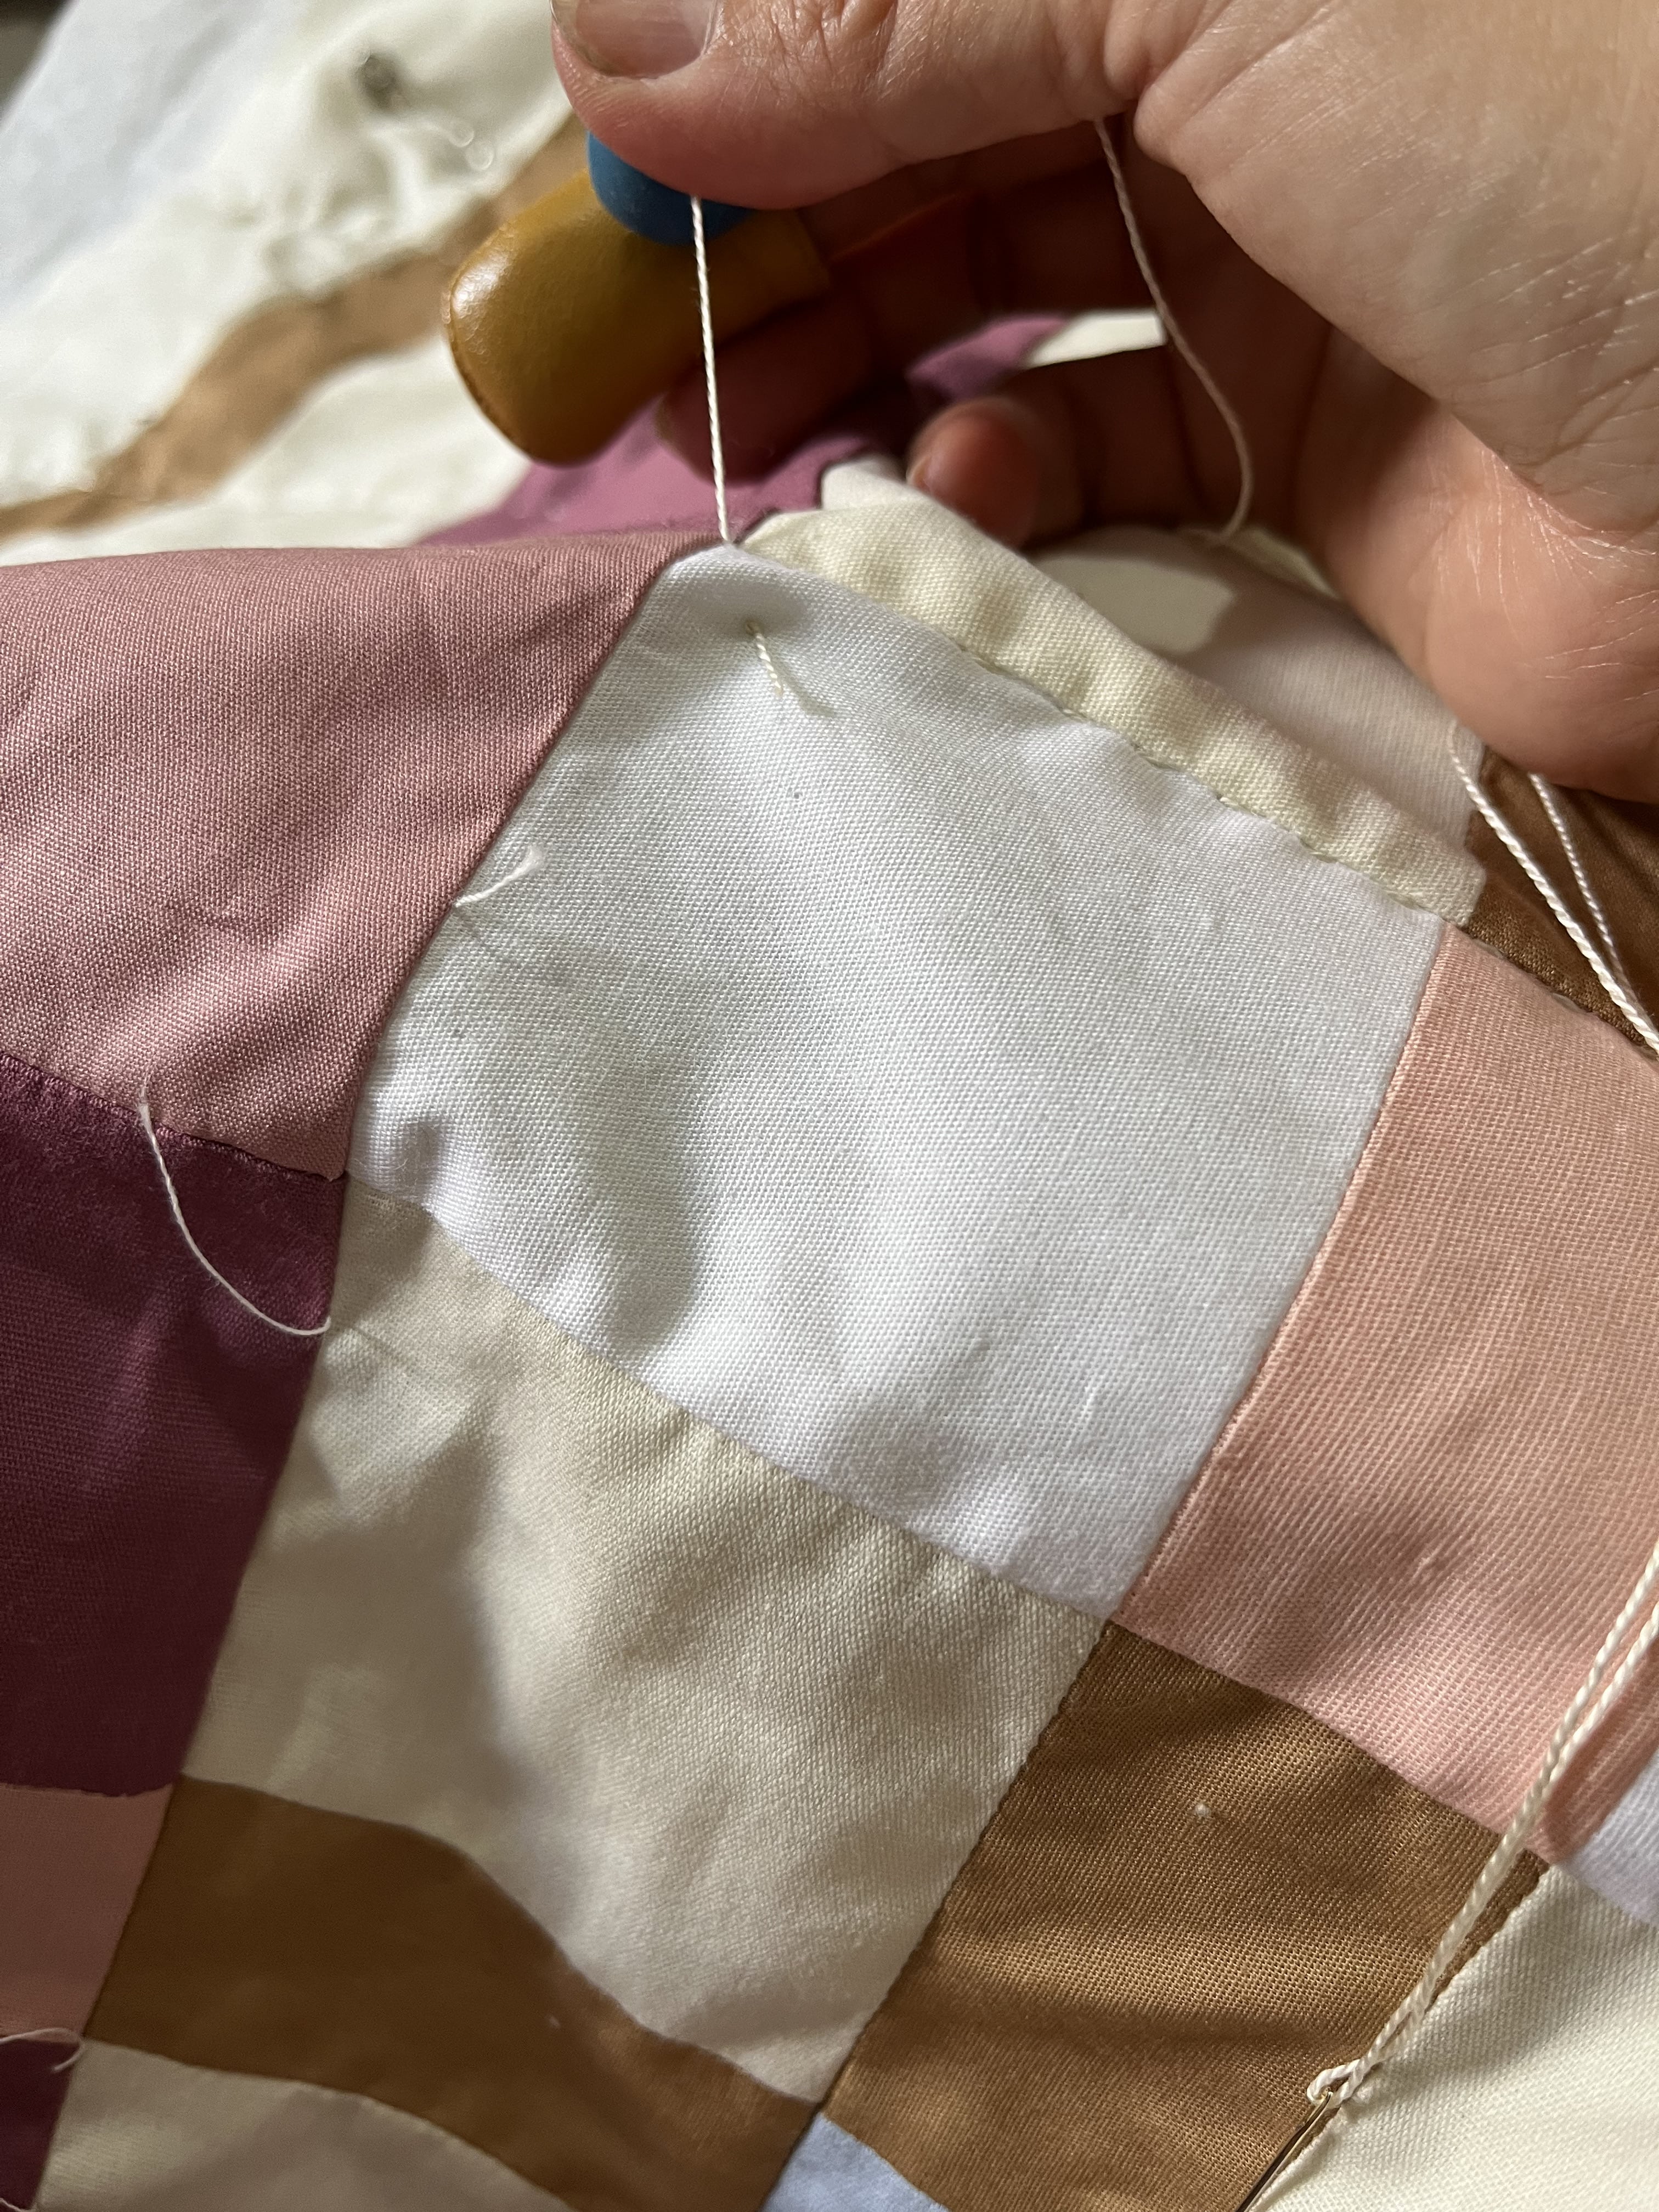
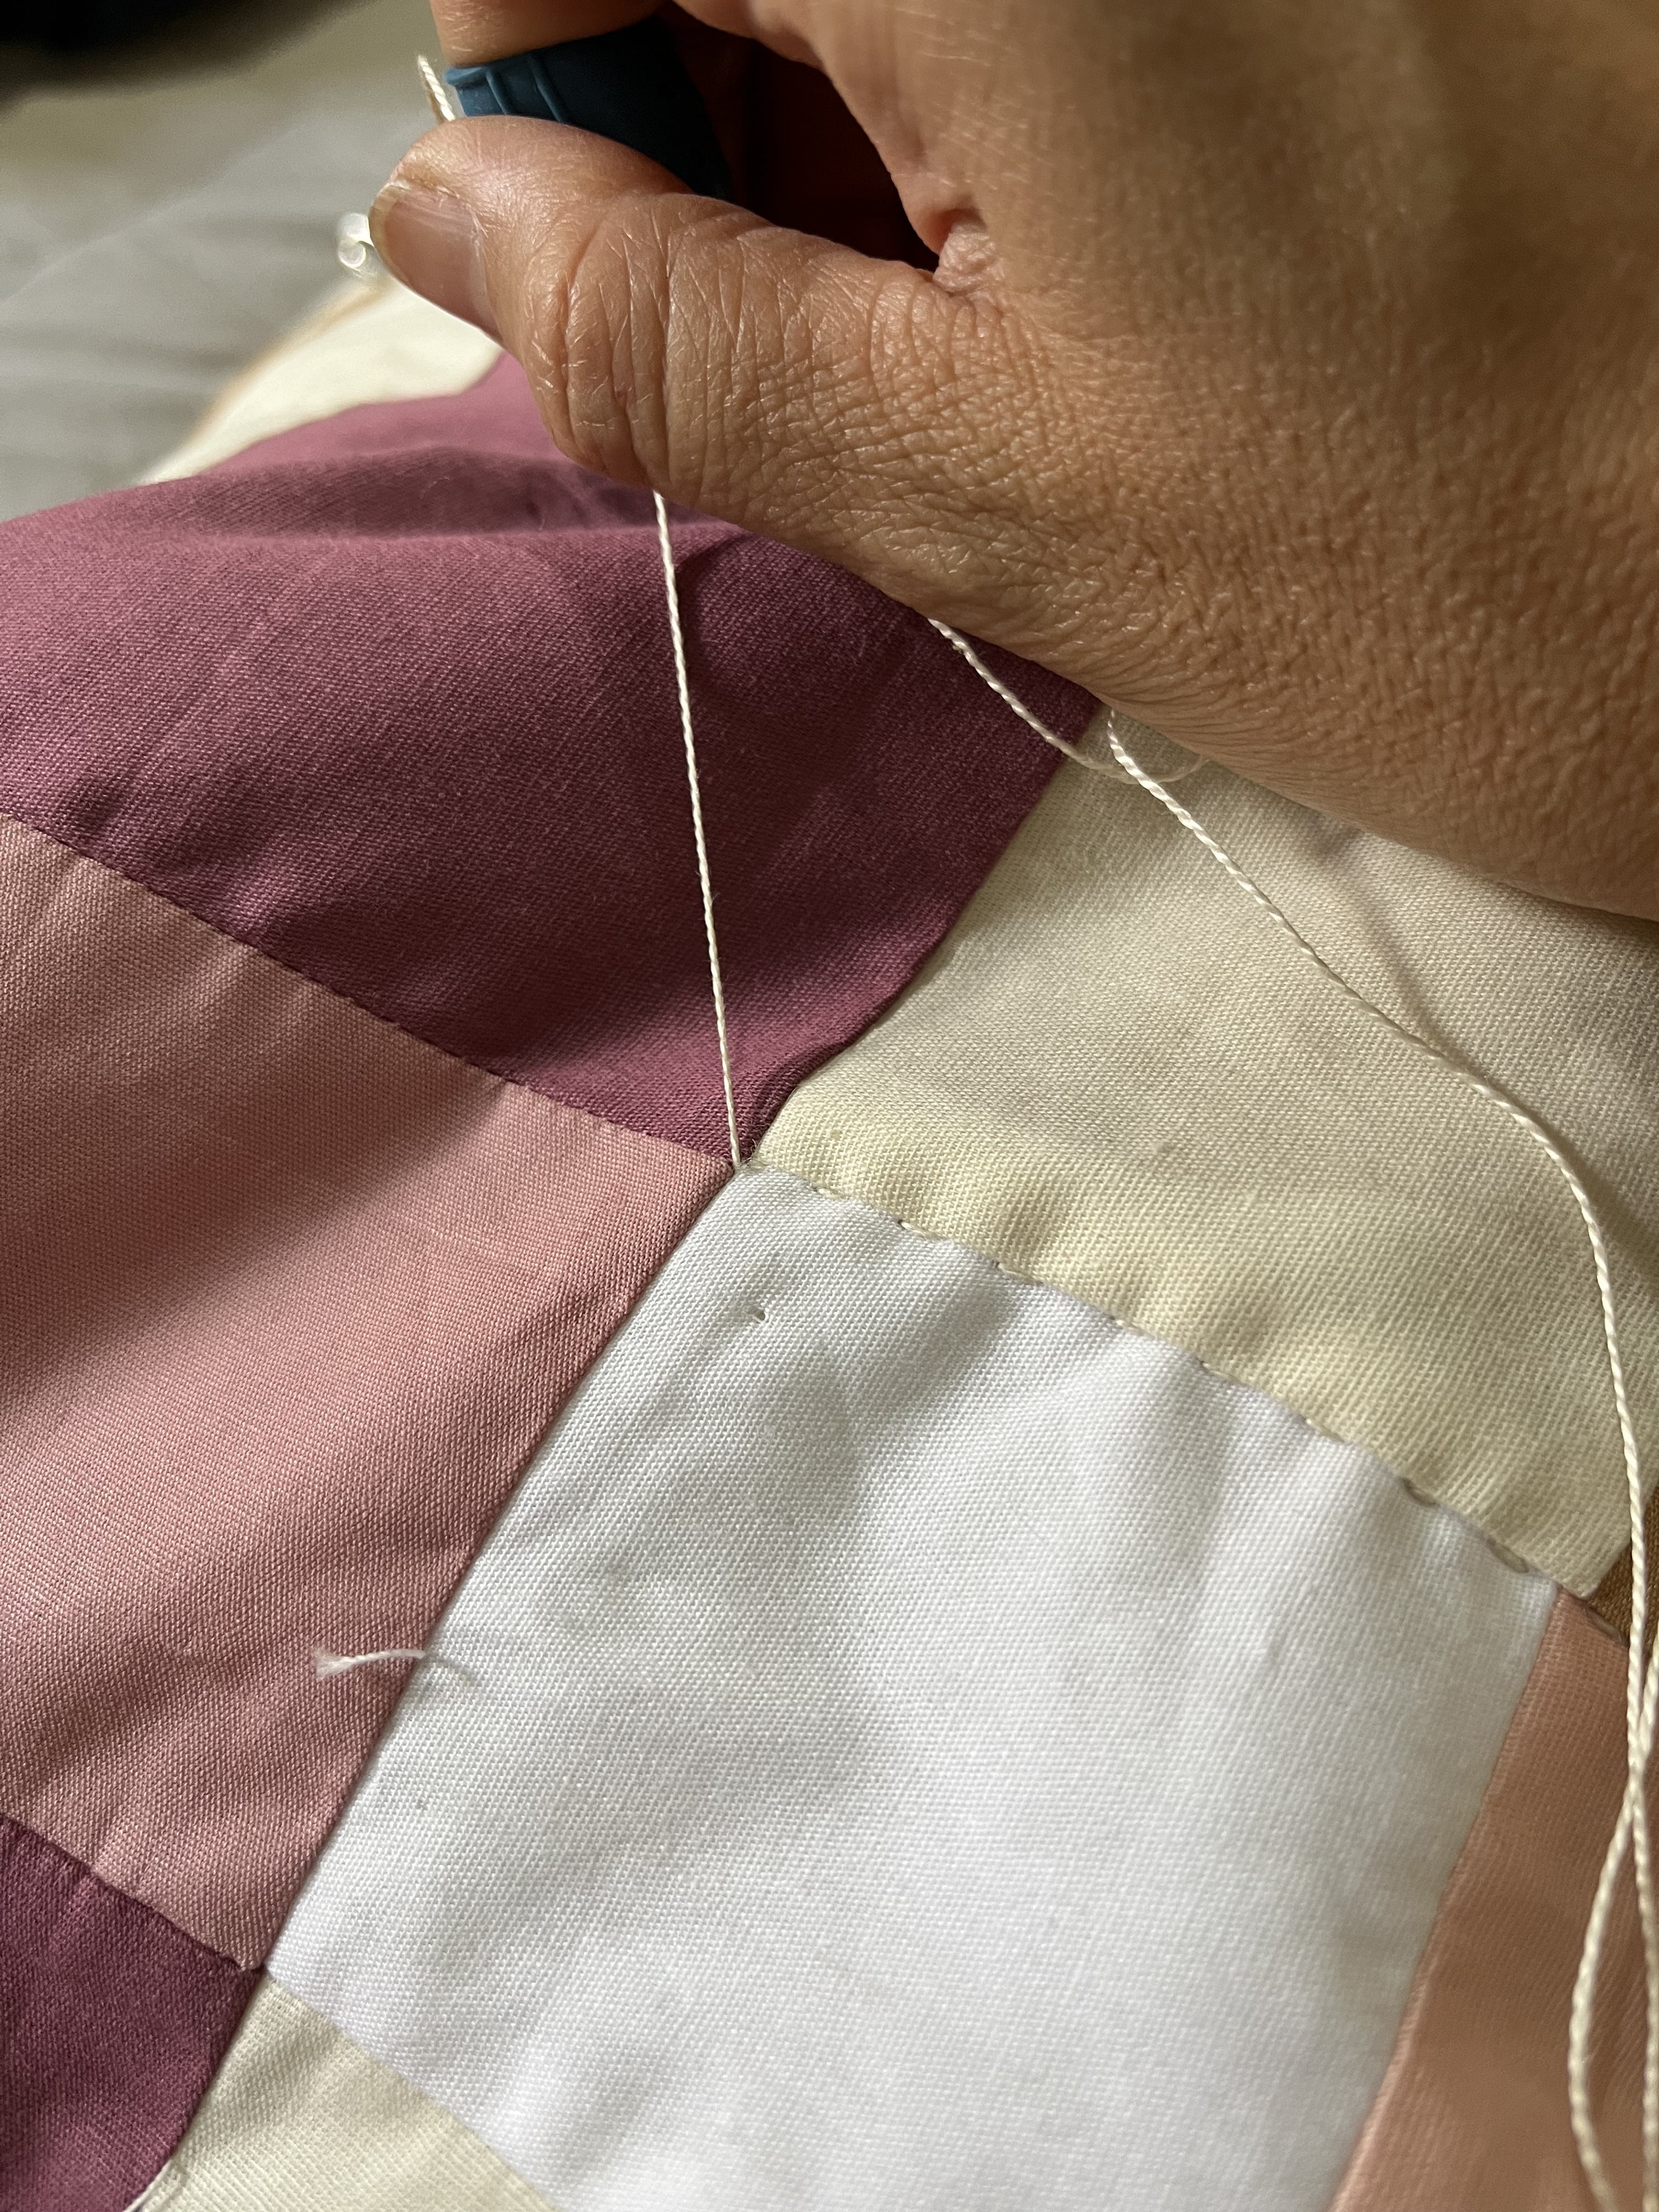
Now everything is ready to start quilting! You will make backstitches, small or wide, it doesn't matter, as long as they are uniform and following the markings! Of course, the smaller the stitch, the better it looks visually, but this is all relative because you will have to find the size that is comfortable for you to do taking into account the thickness of the sandwich!
The thinner and more flexible your layer is, the easier it will be to make smaller stitches! And with practice, you will even be able to make 3 stitches at once, speeding up the execution! Isn't that wonderful!
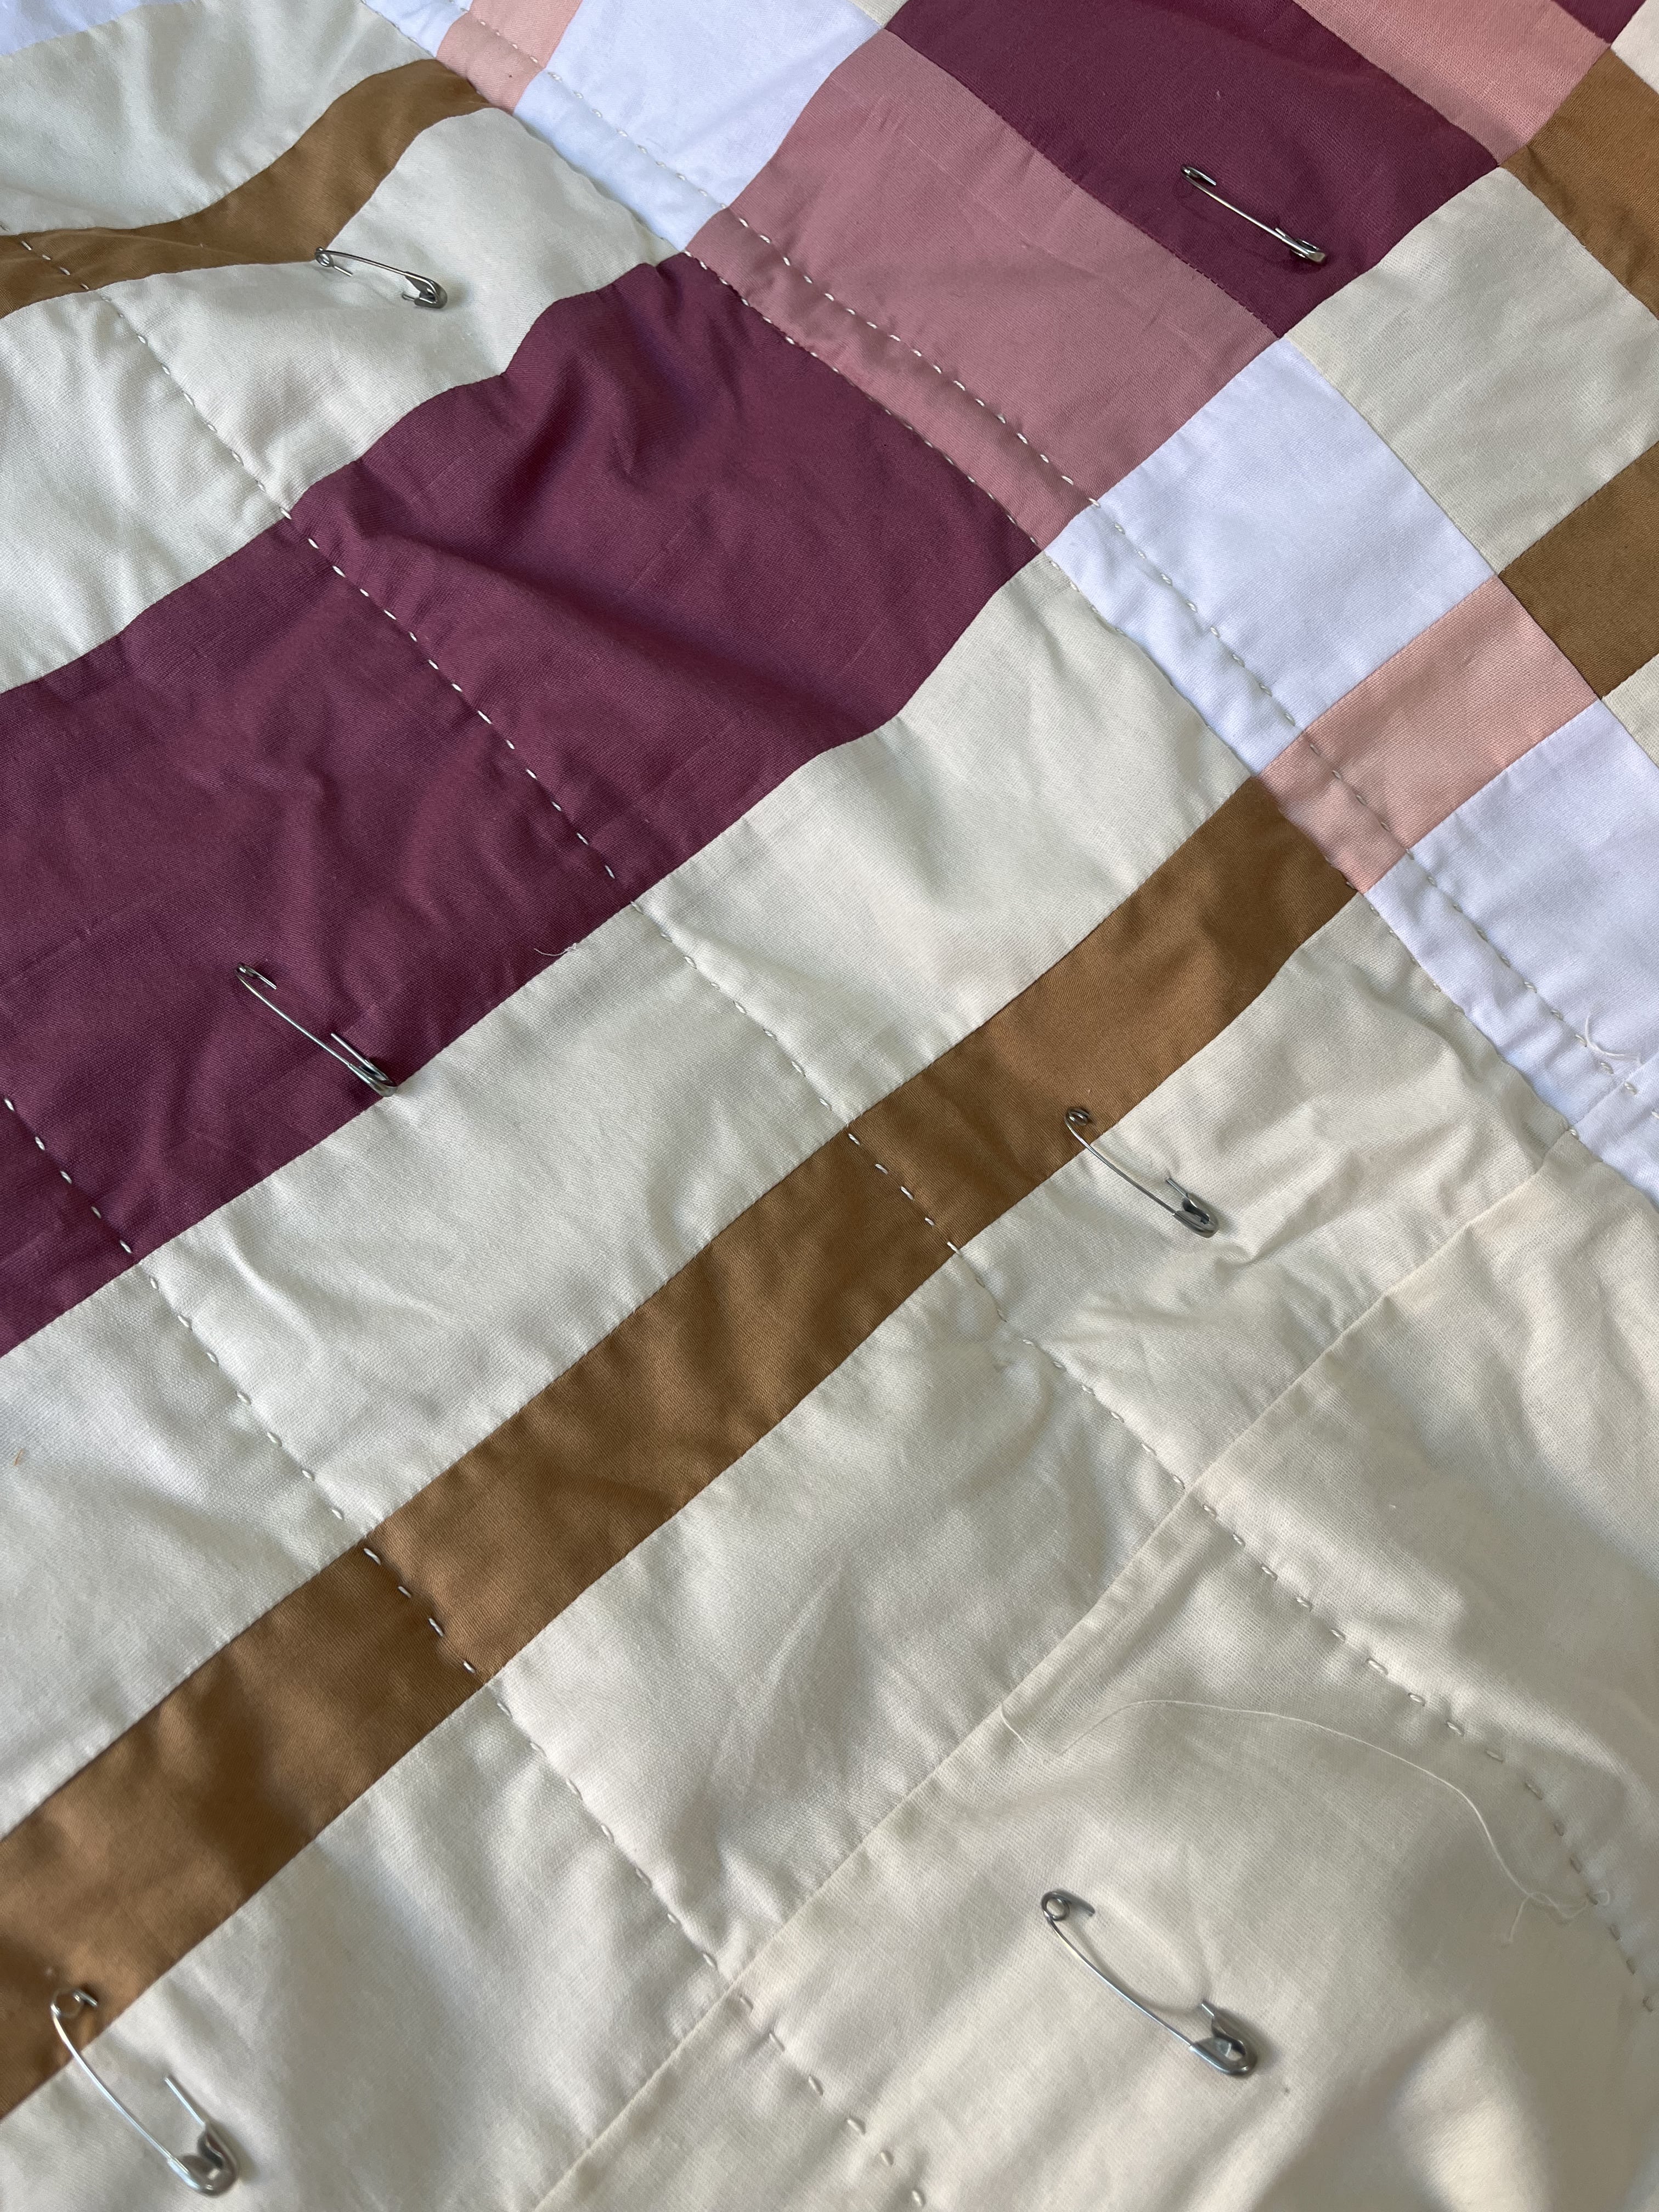
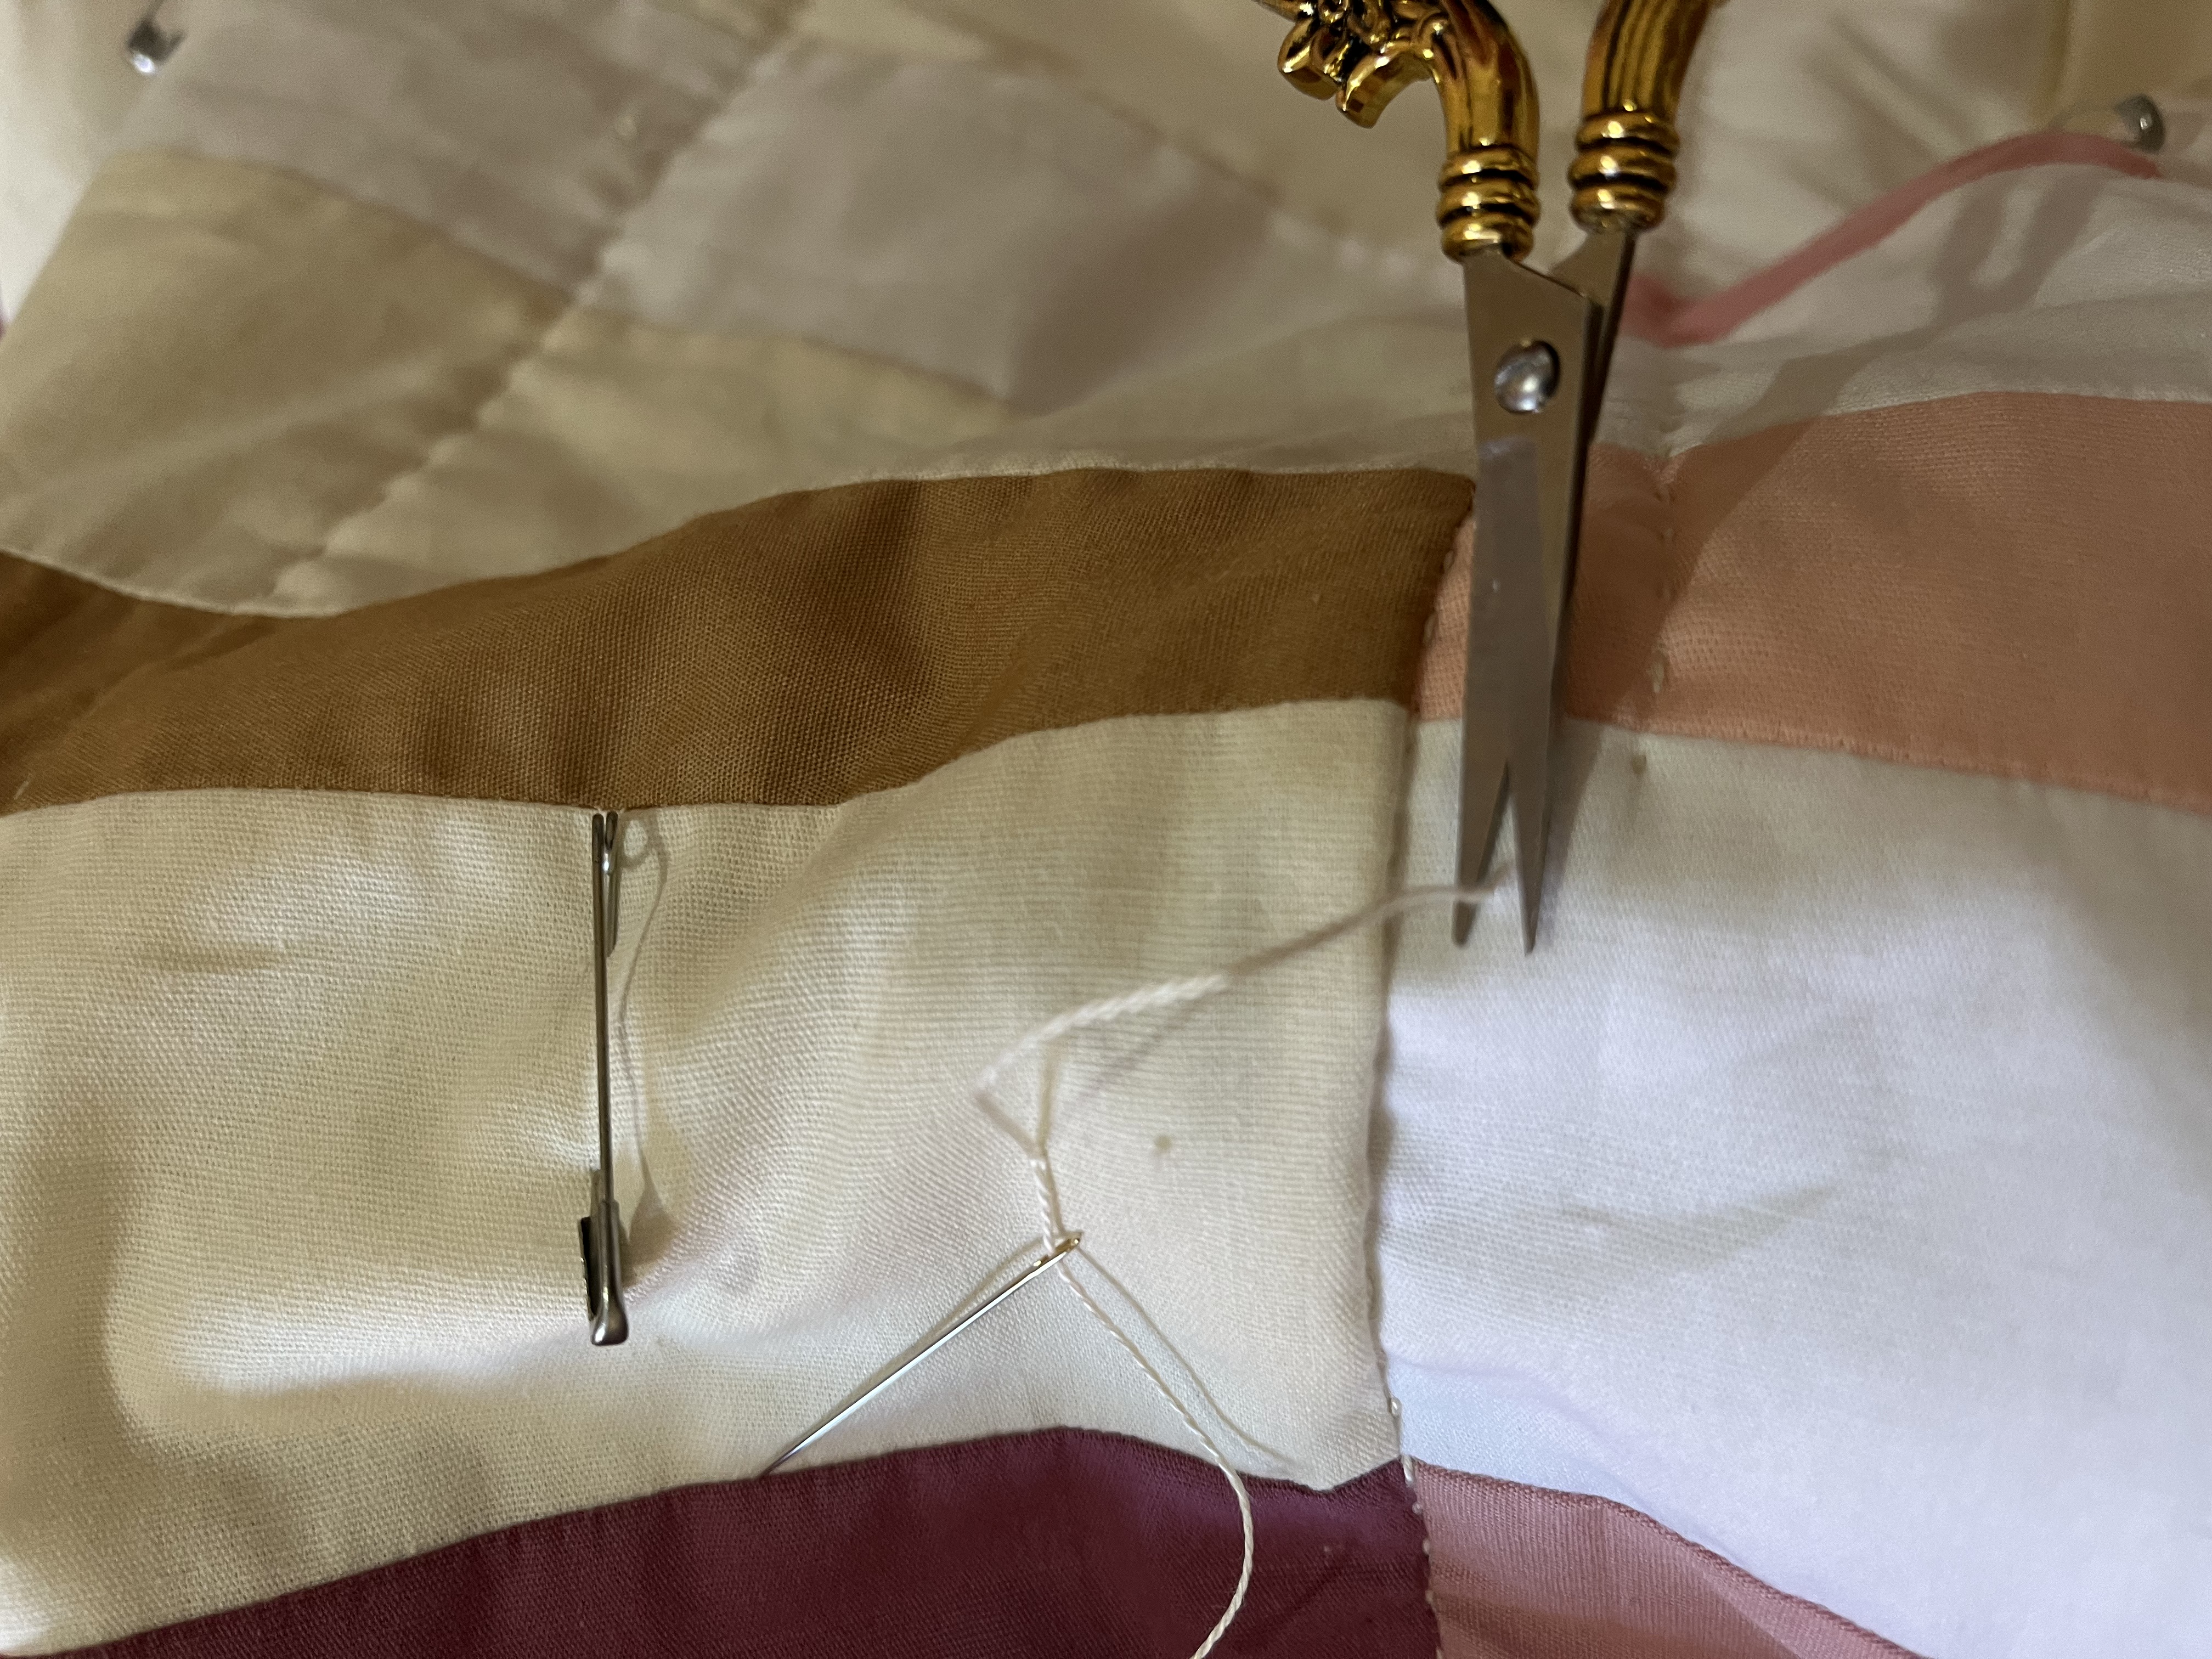
Well, what happens when you run out of thread and need to tie it off? It's very simple, you'll stop, leaving enough thread to make the knot, and then you'll use the needle to wrap the thread around, hold it tight, and pull, making the knot (just one wrap is enough)!
Then you will insert the needle in the same place and it will come out right next to it so you can gently pull this knot and insert it inside the layer, cut the excess thread and that's it, you've hidden the knot!
Just start all over again with a new thread in the needle and start quilting and enjoying this wonderful time of hand quilting! I guarantee that if your layering is easy you will be surprised at how fast we are at hand quilting! True!
Oh quilters, how I love having a hand-quilted piece! Do it yourself and then tell me about it! Oh, and post it on your Instagram tag me @taniamogariquilter, I'll be super happy and will gladly share it on my profile!
WHERE TO FIND MATERIAL:
Embroidery needle, silicone and leather thimble, needle threader, Clover brand Hera marker:
1) Amazon
DMC Thread - Perle Cotton 8
1) Amazon
Domed pin
1) Amazon
I hope this blog has been very useful for you! Until the next blog!
Kisses and happy sewing!
