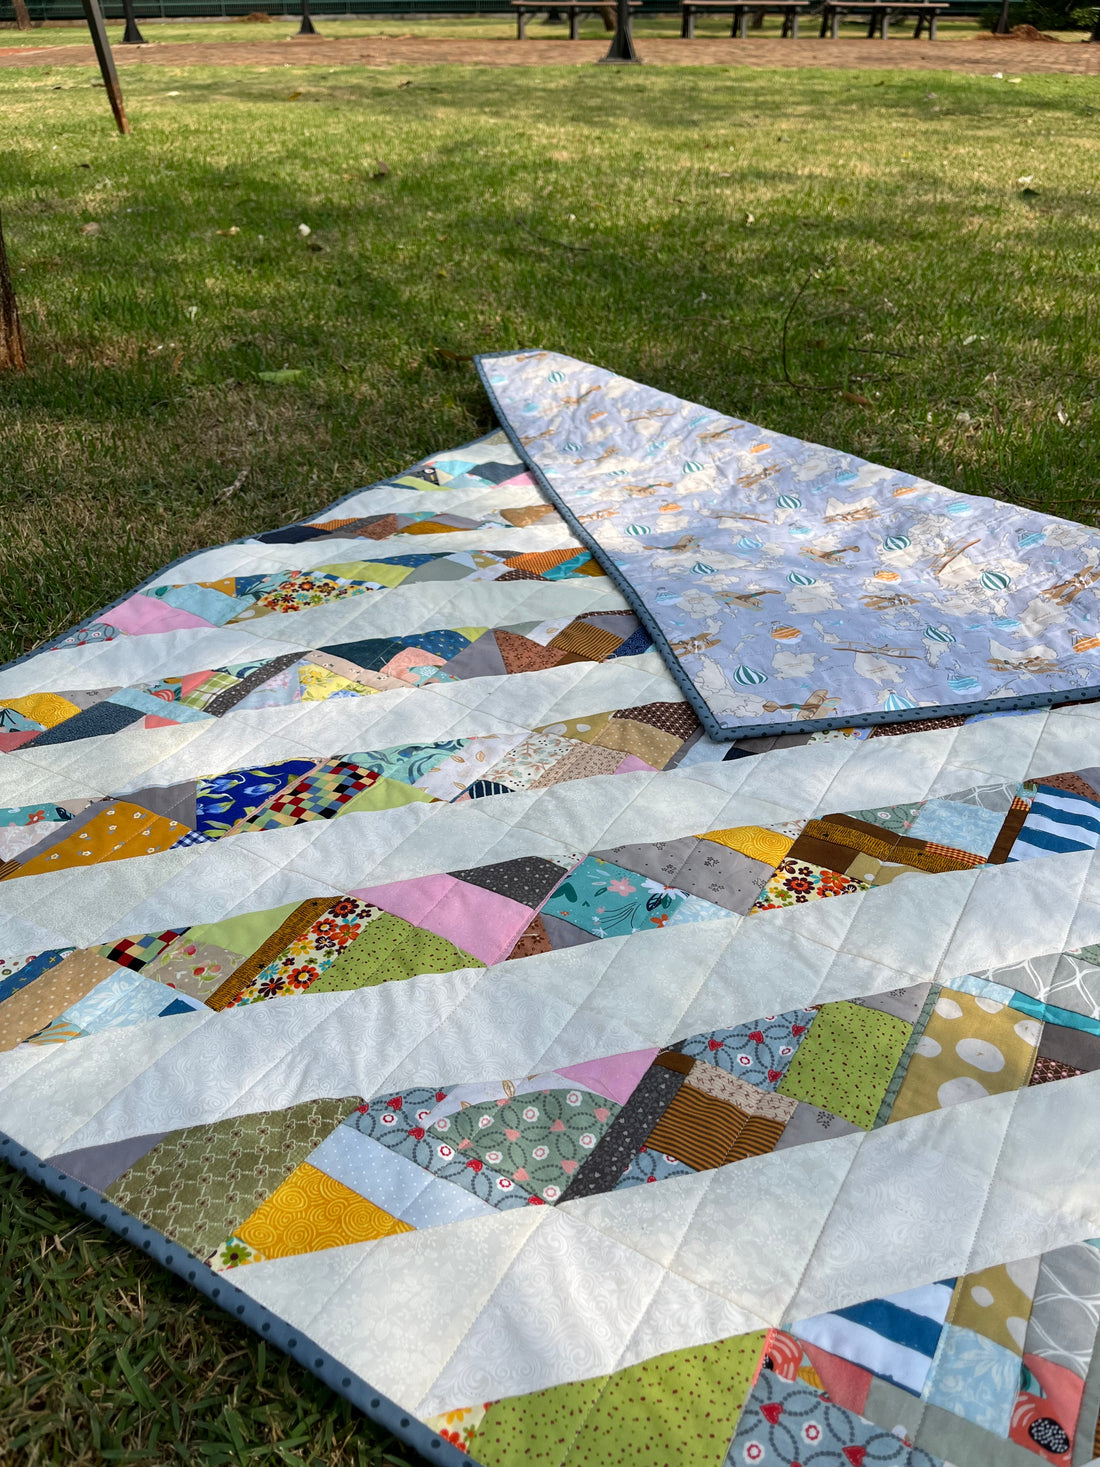
Love Scrappy Baby Quilt
Hi Quilters! Let's make a really scrappy baby quilt! Those who attended the free class on scraps learned some techniques on how to use very small scraps that we collect over time, right? Yes quilters, I don't discard small scraps from flying-geese trimming, from some cut made from strips. I put all the scraps together so I can use them in some other future quilt!
Like this one! Love Scrappy Baby Quilt is made with scraps.
And let's go to the Scrappy Baby Quilt tutorial!
MATERIAL: (size 37" x 54")
- Scraps of different sizes.
- (1) 0.80cm neutral fabric print or (2) 0.40cm neutral fabric prints each for background.
- 1.00m of poly 100 blanket (without resin).
- 1.00 m of lining fabric.
- 0.20cm of finishing fabric.
- 1.50m of thin interlining (water-soluble) 0.90cm wide.
QUILT EXECUTION:
a) Make (10) strips of scraps on the interfacing measuring 51/4" x interfacing width as shown in the image below. Image 1.
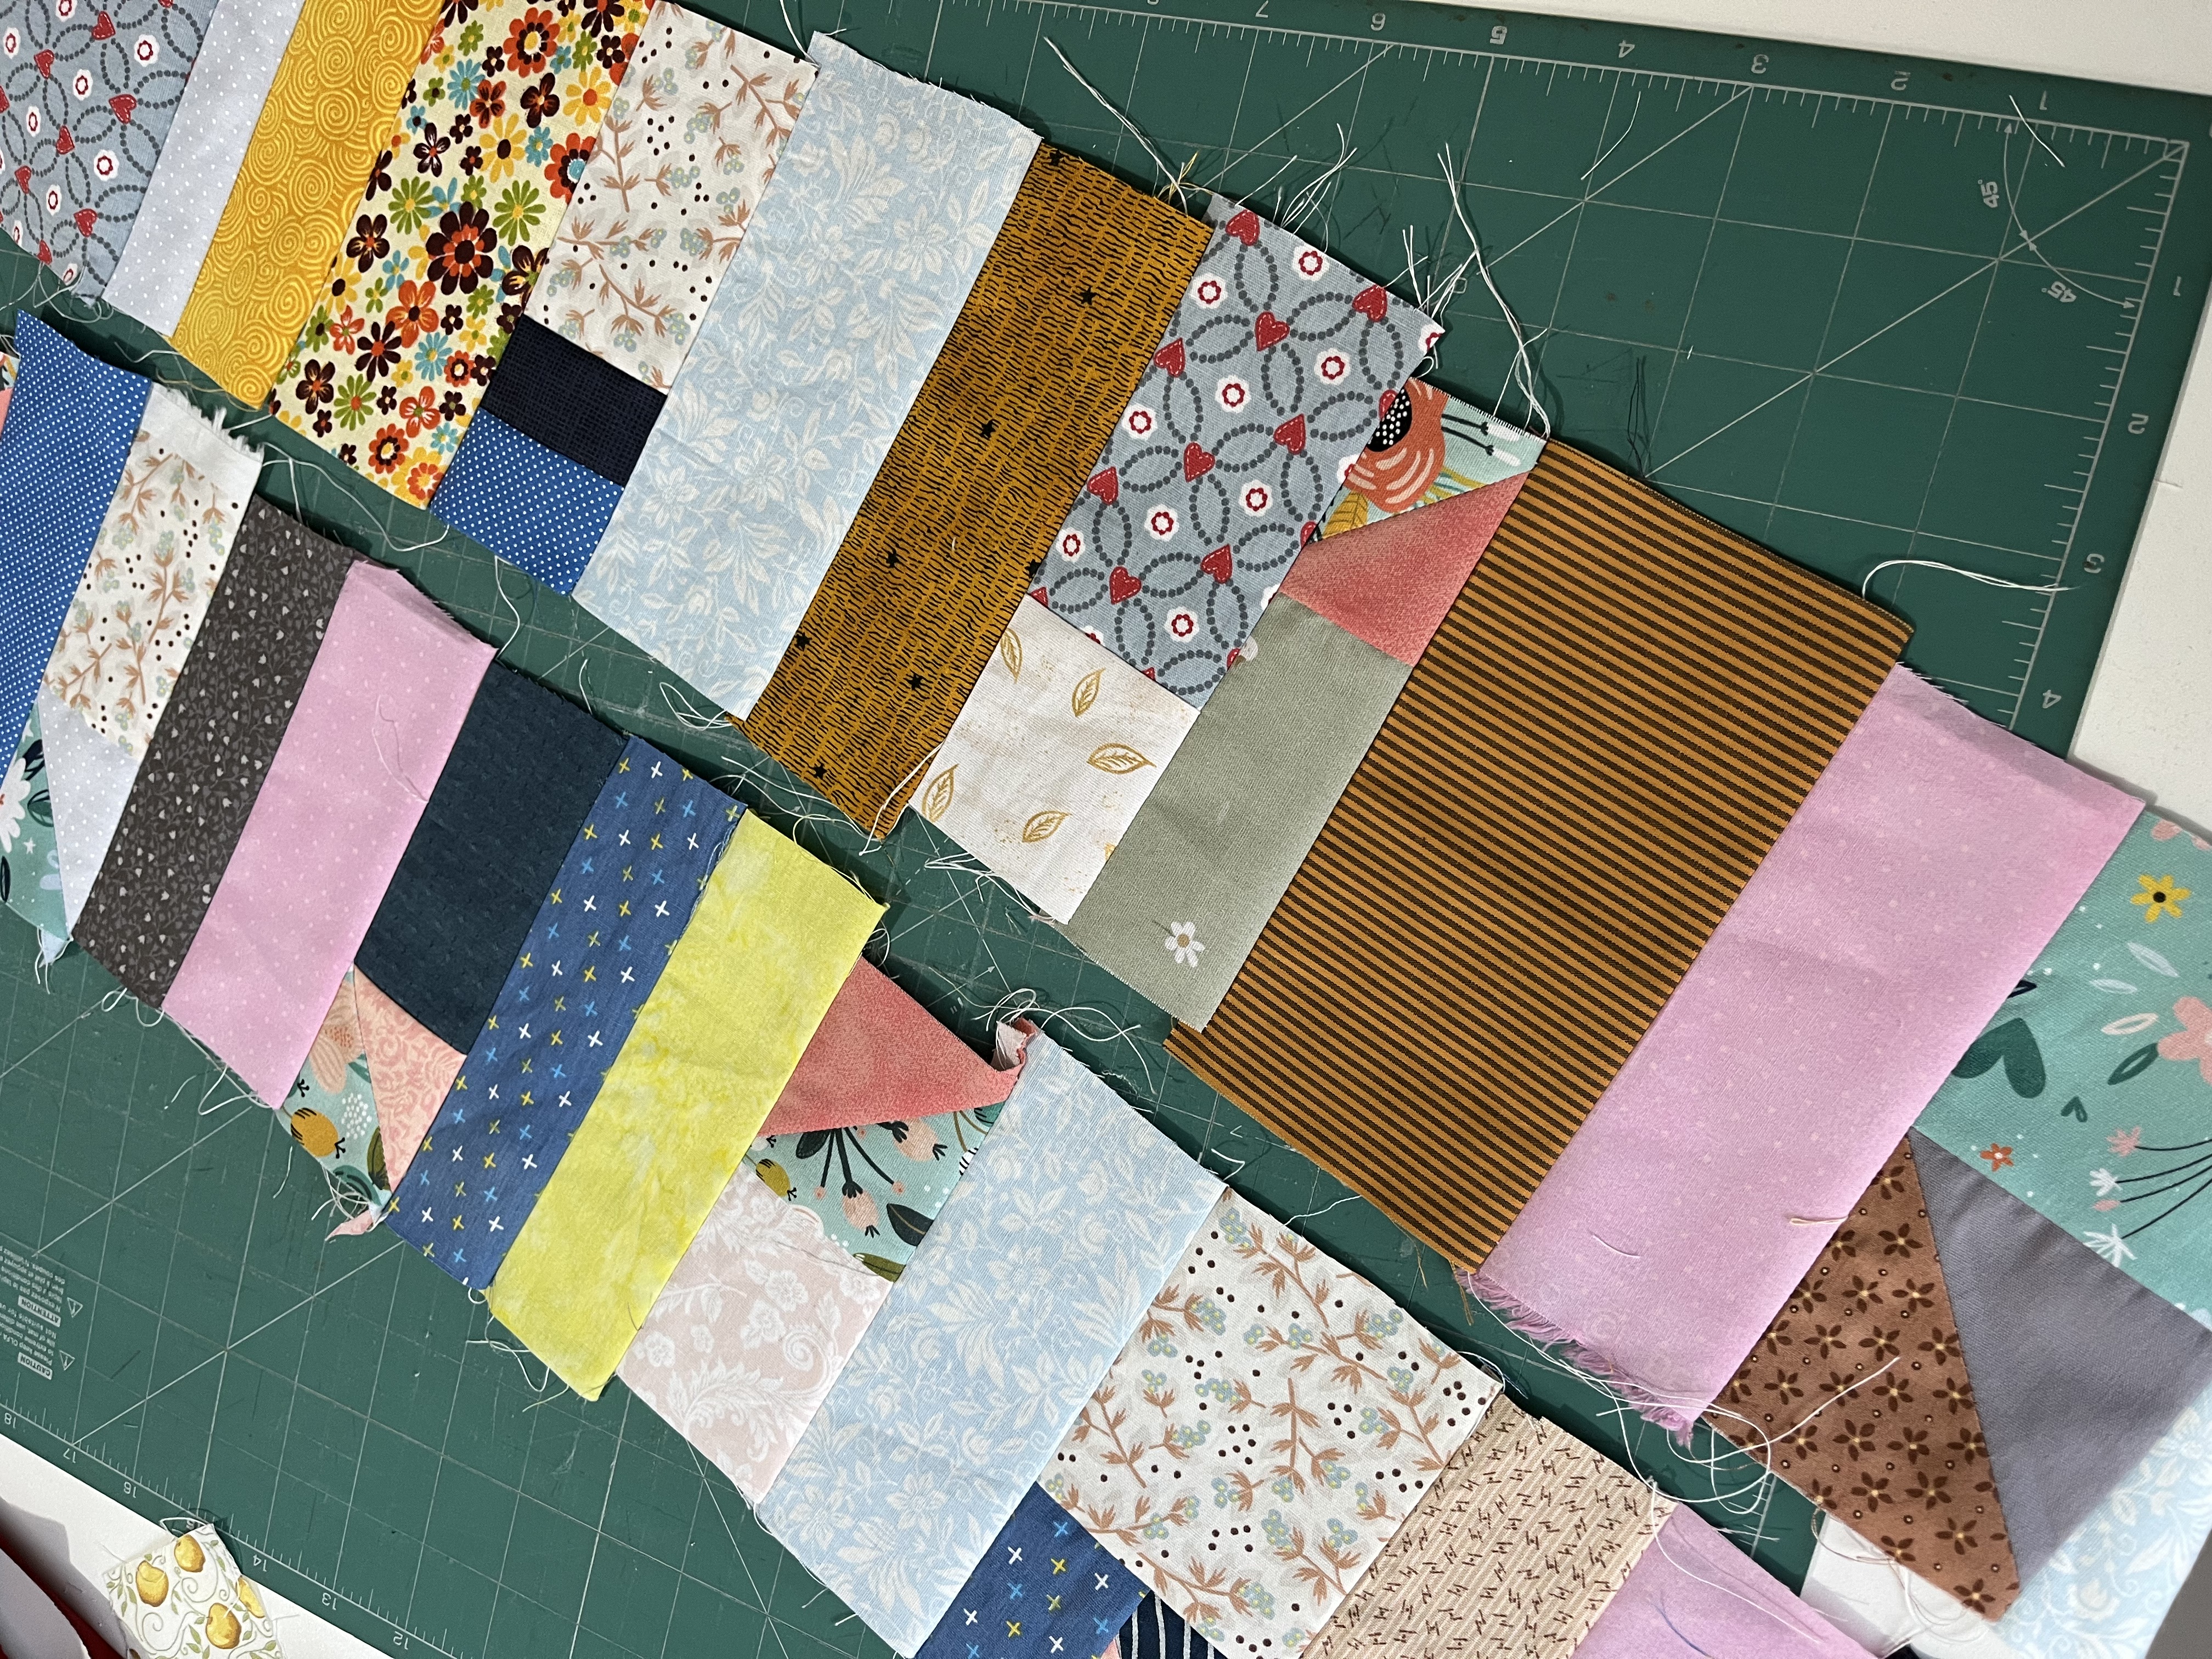
image 1
b) Trim the strips to 5" wide. Images 2 and 3.
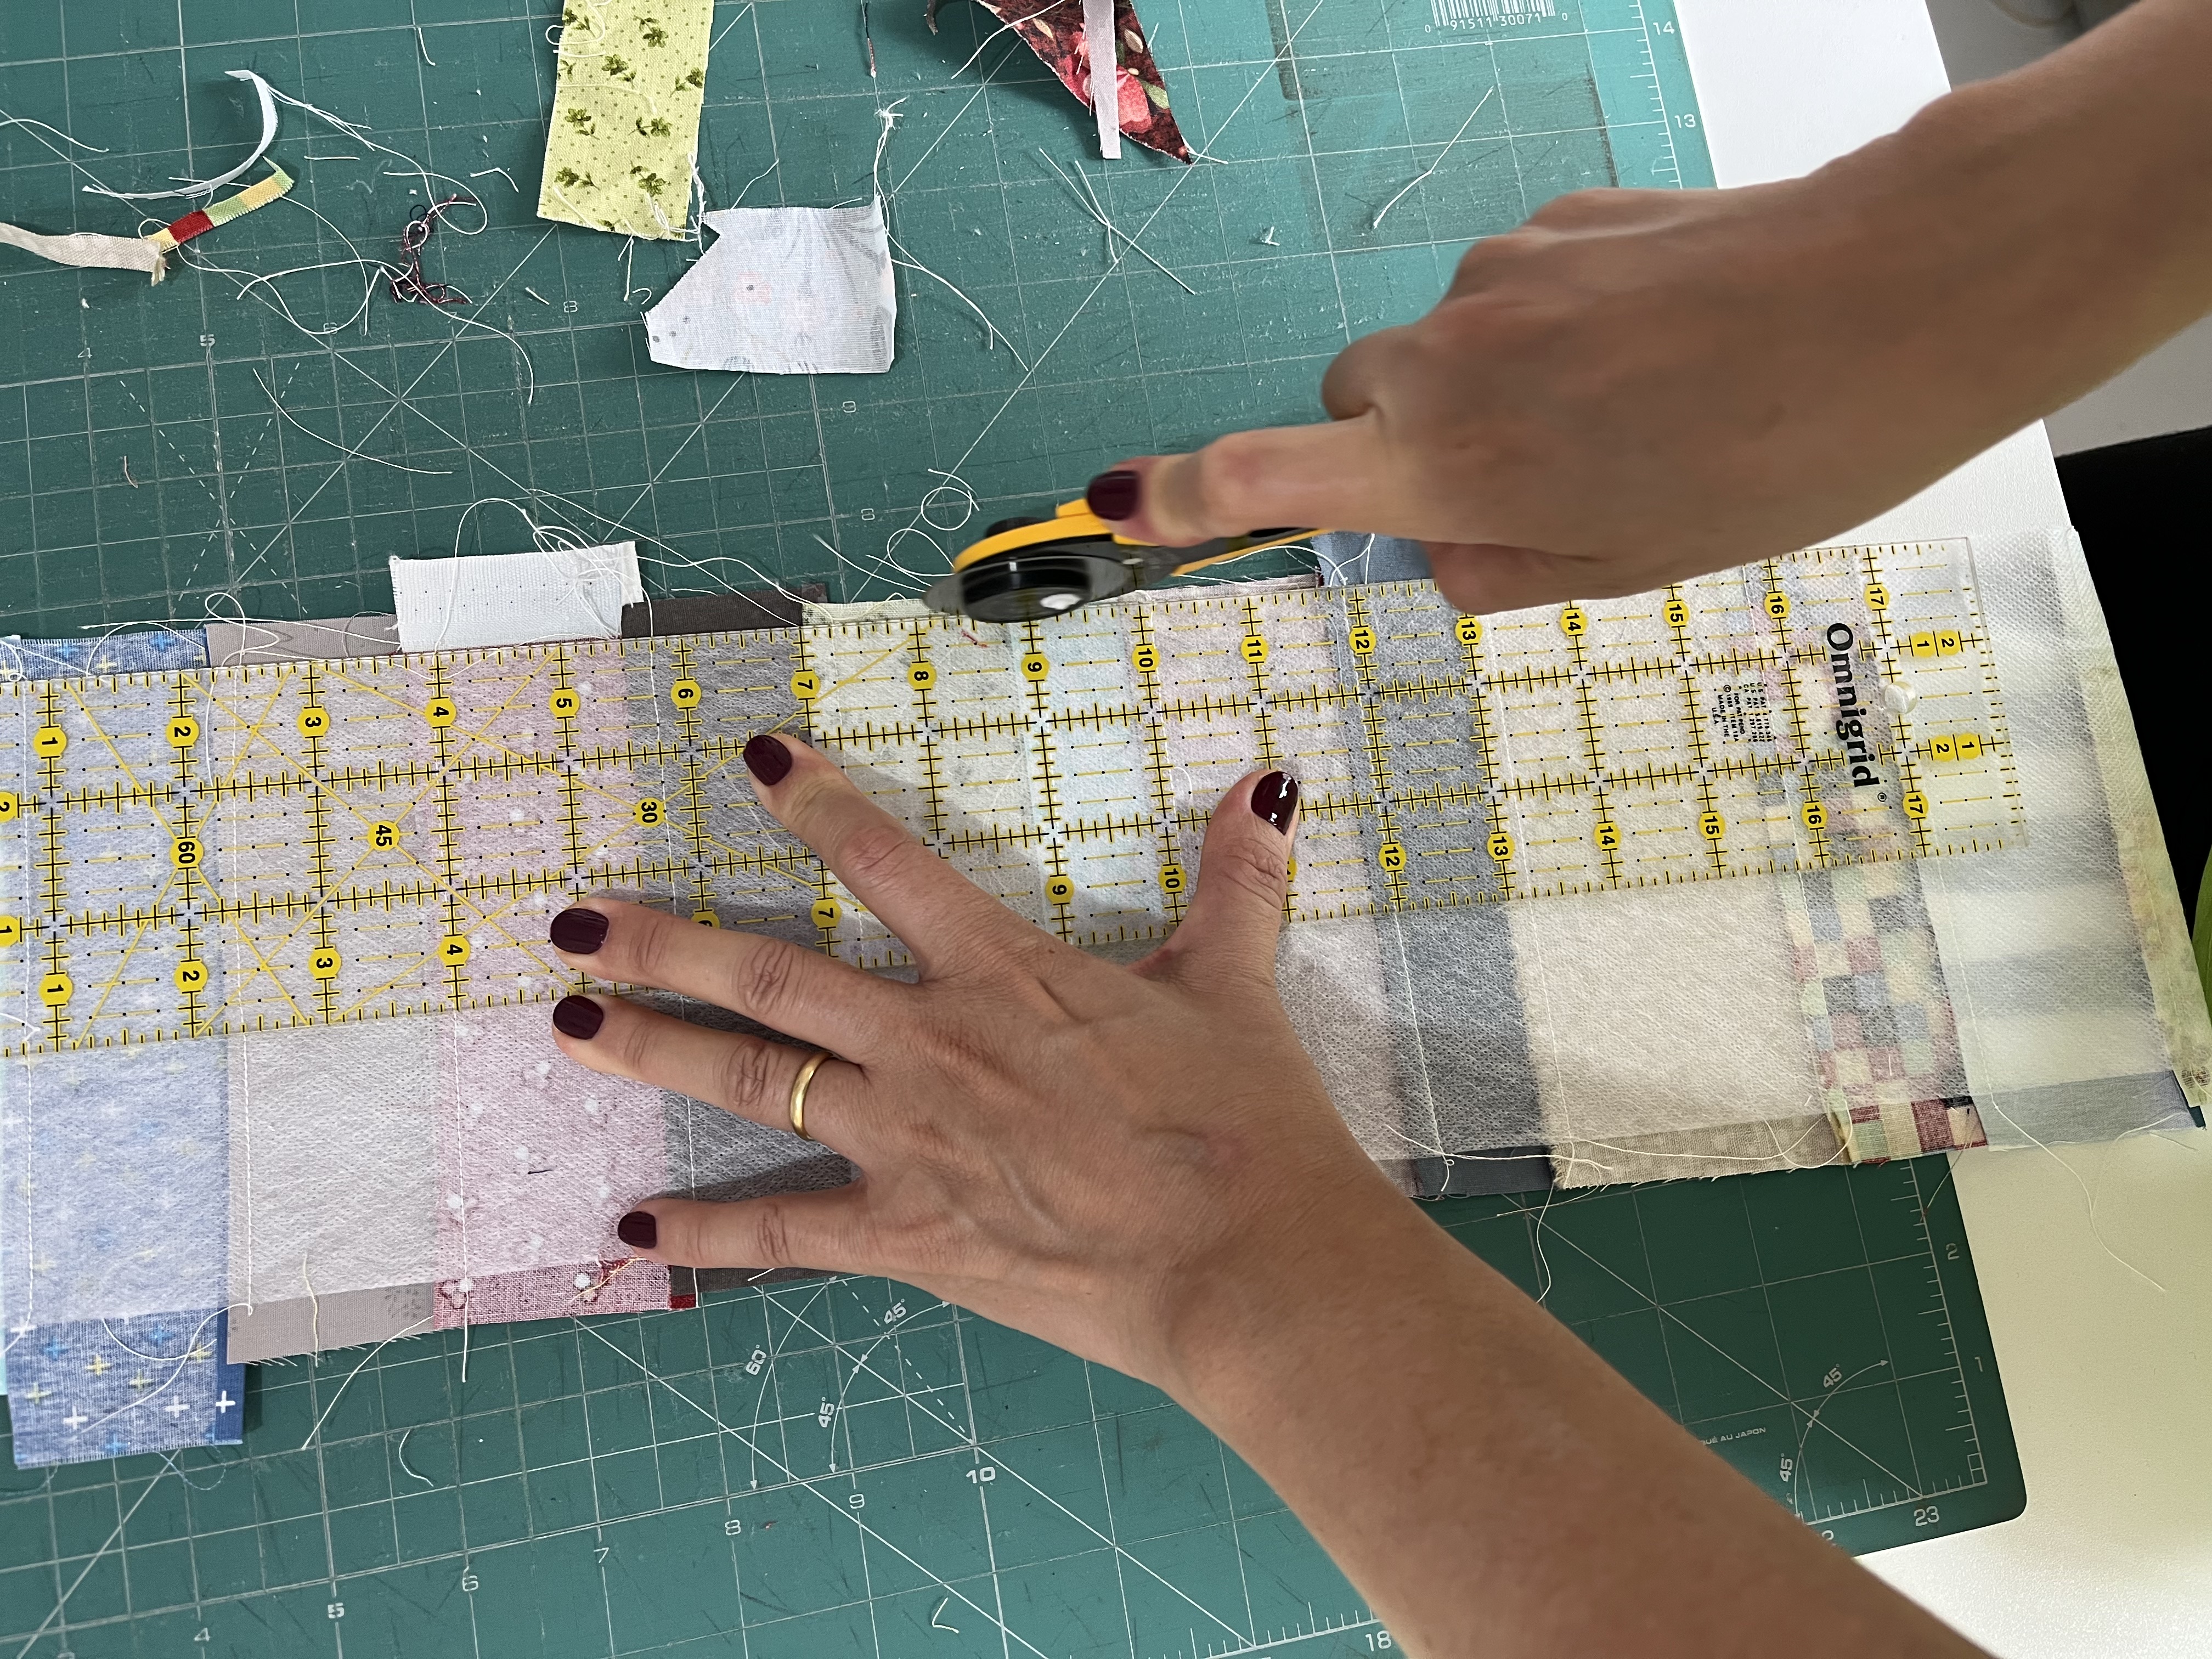
image 2
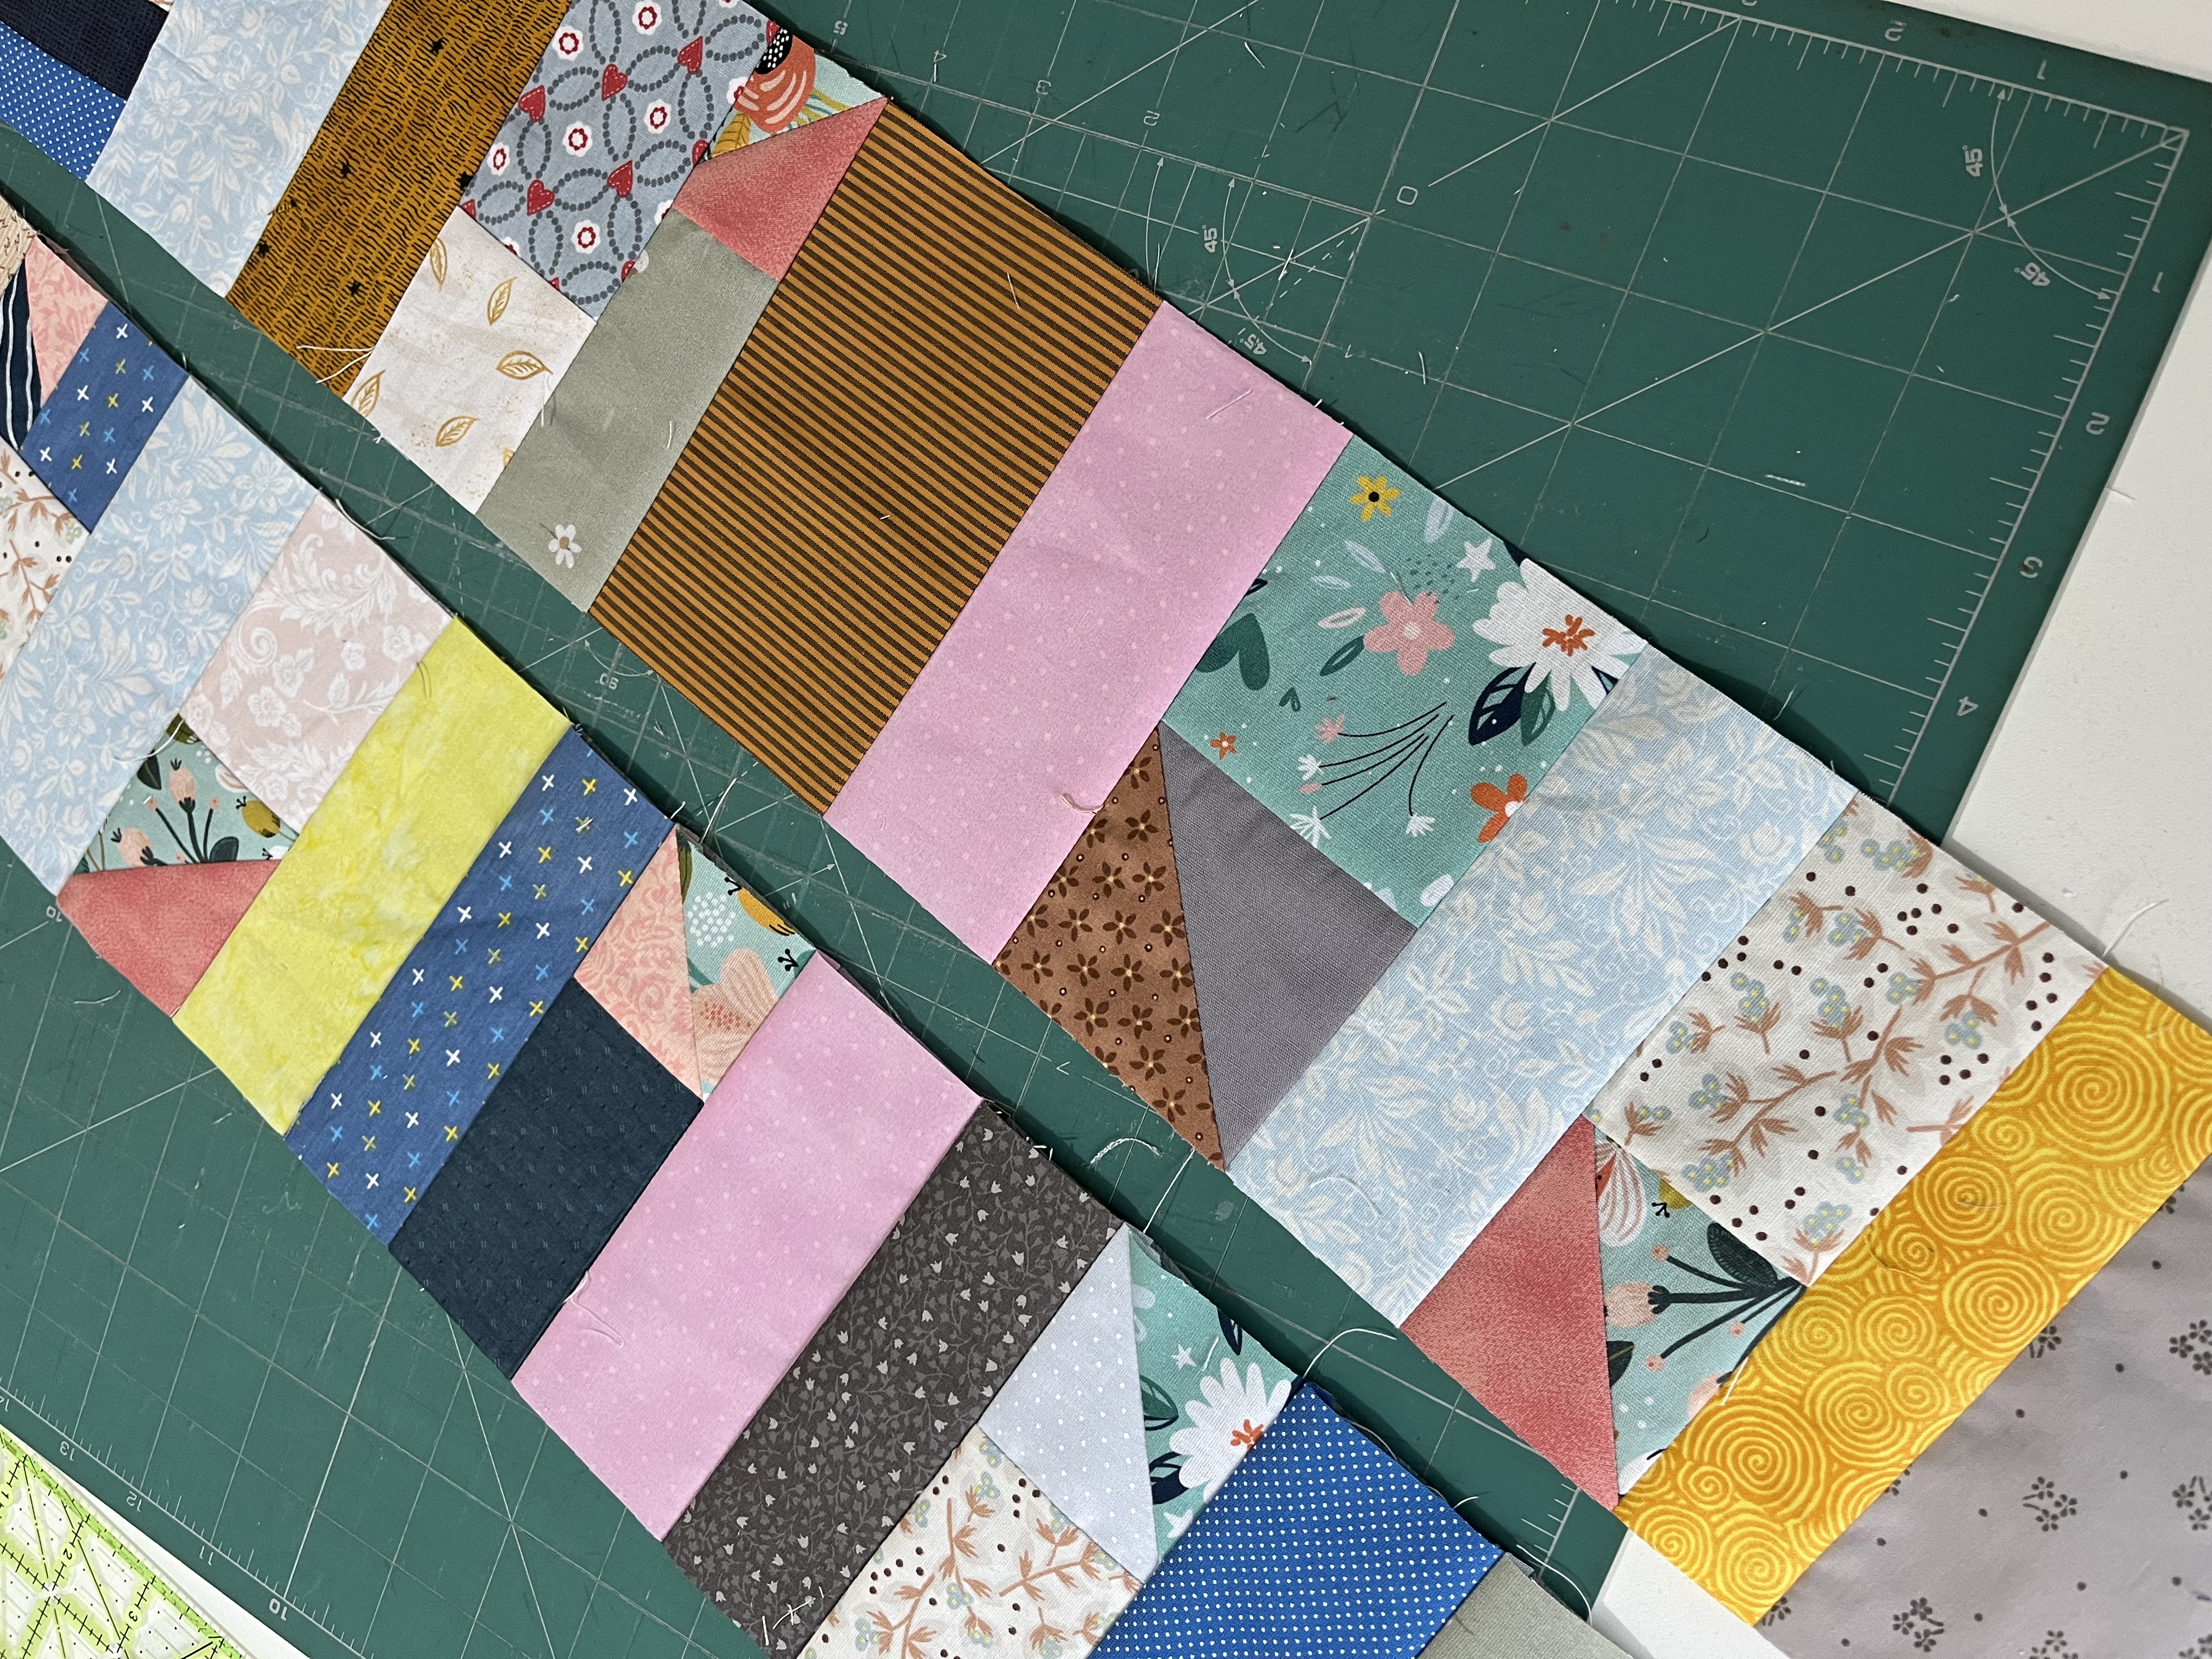
image 3
c) Subcut each strip into (6) 5" squares. Image 4 and 5. Total of (59) 5" squares for Baby Quilt size.
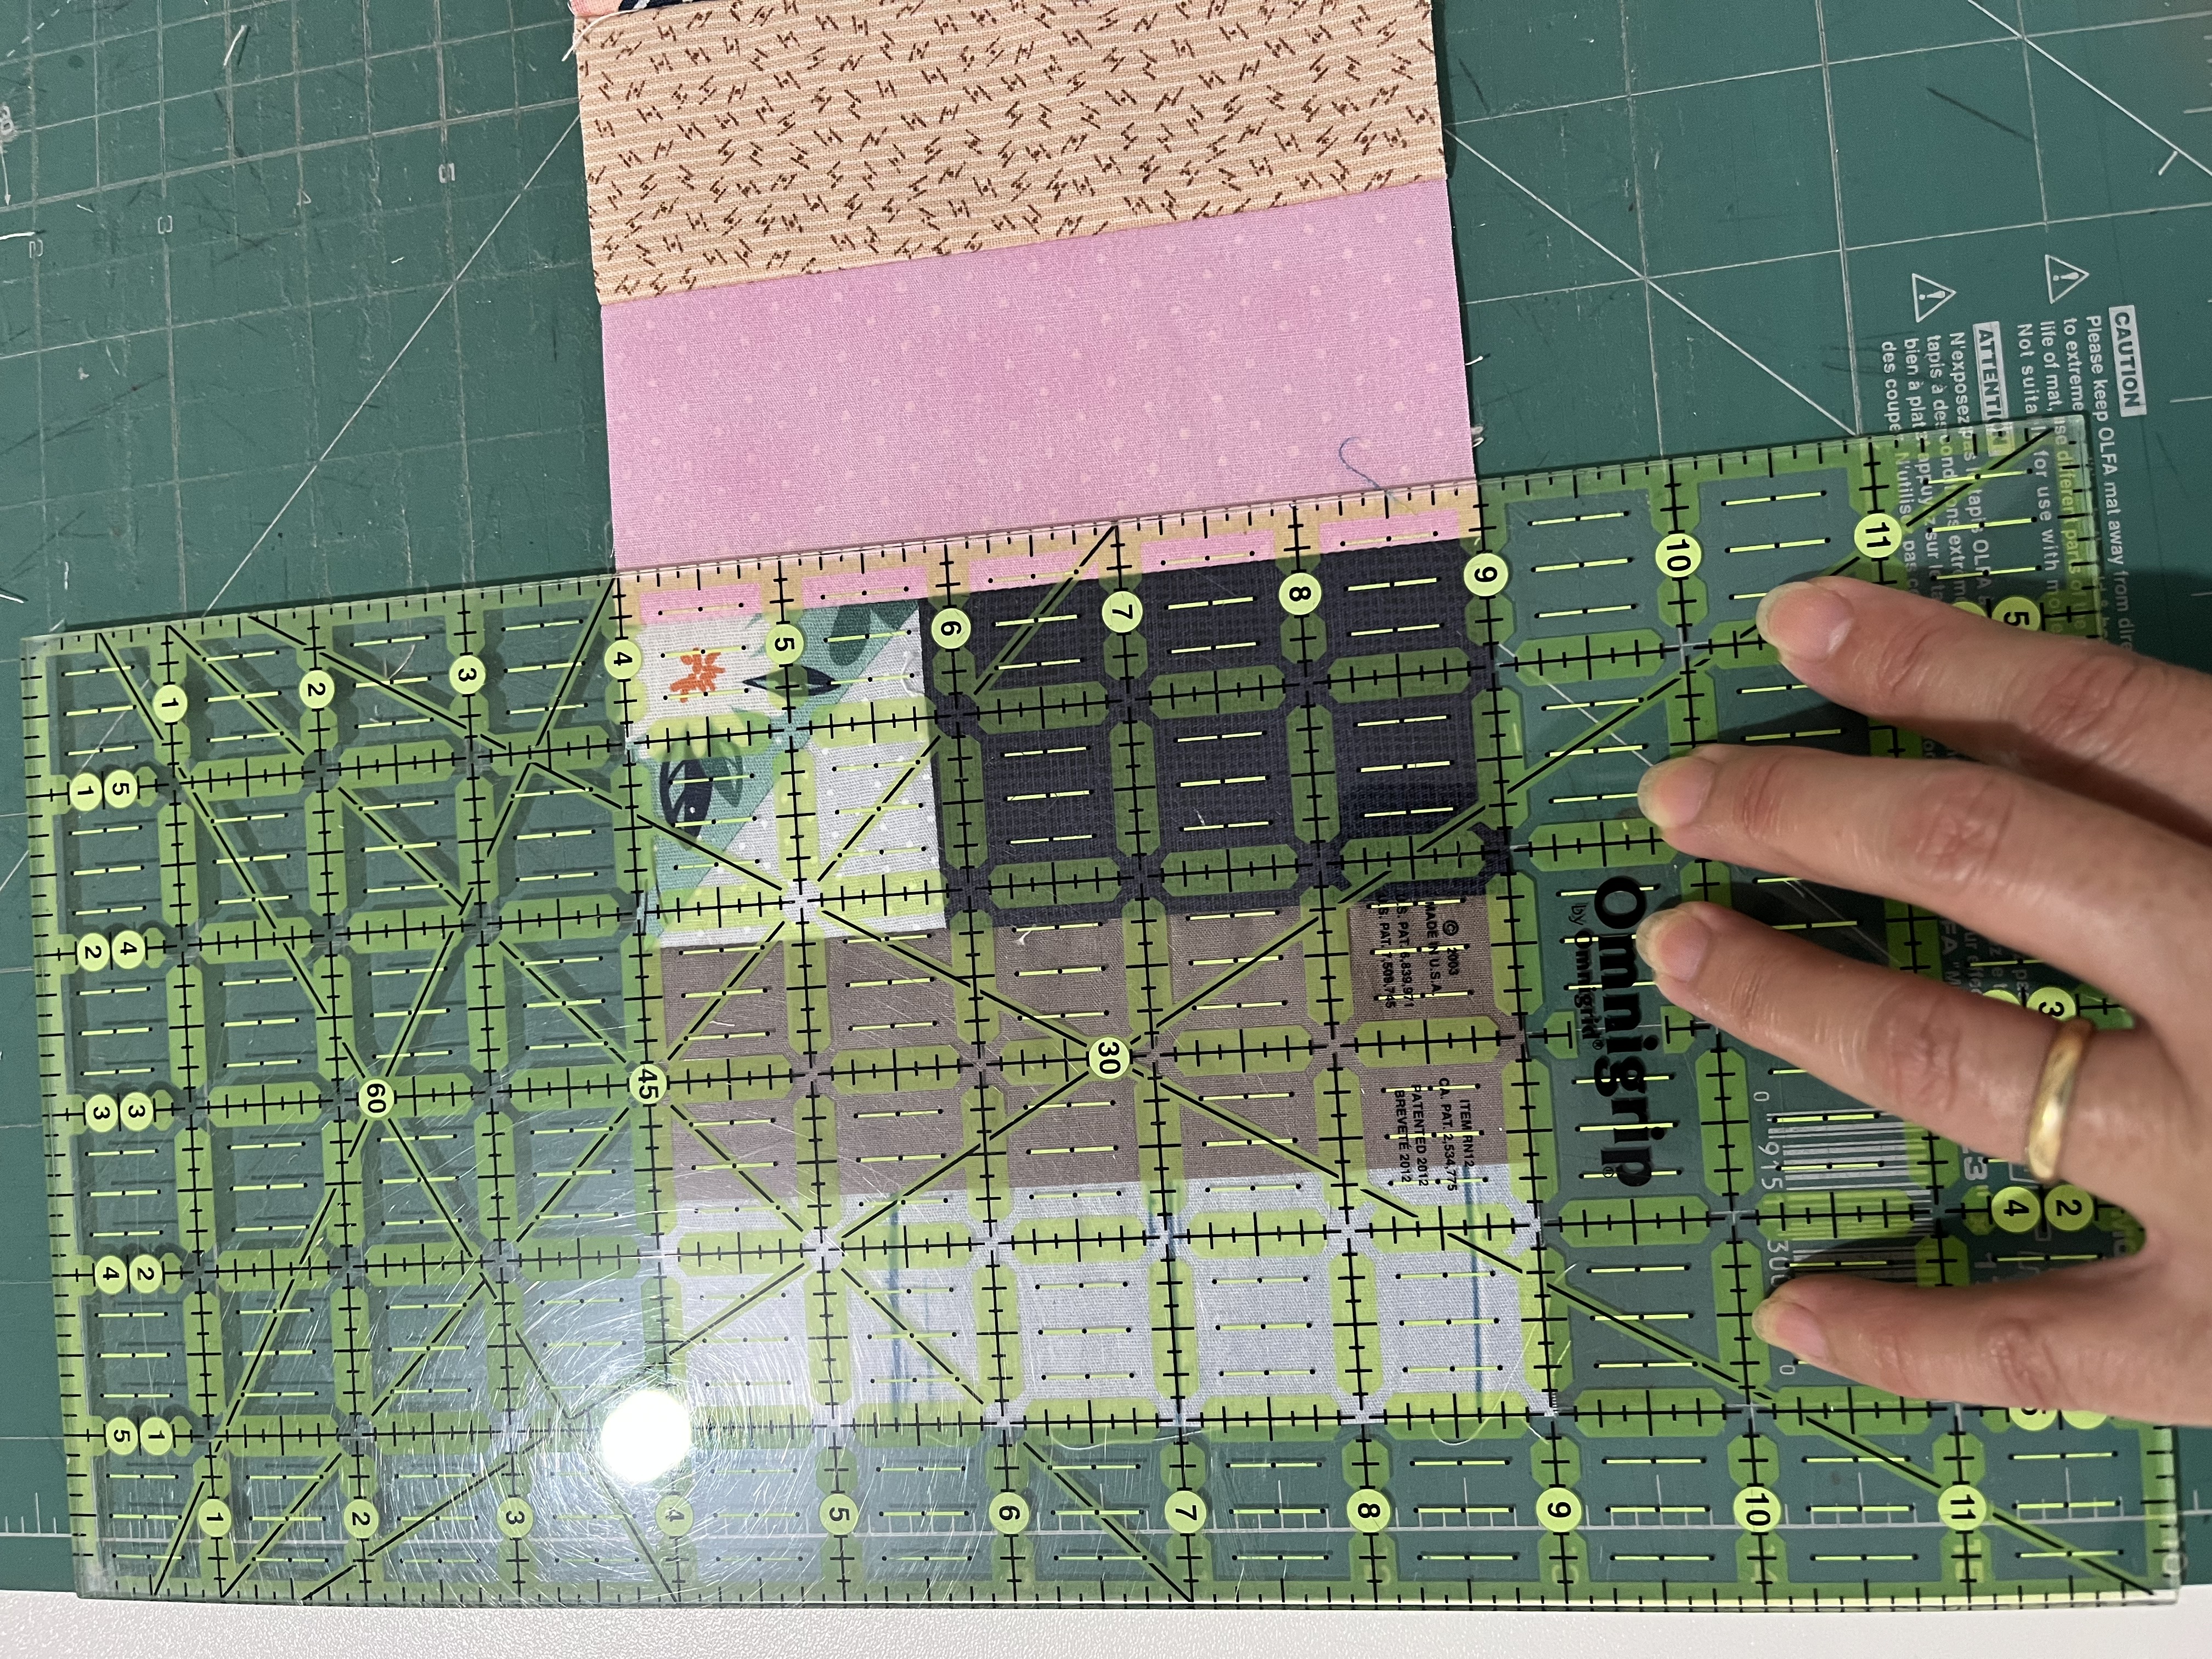
image 4
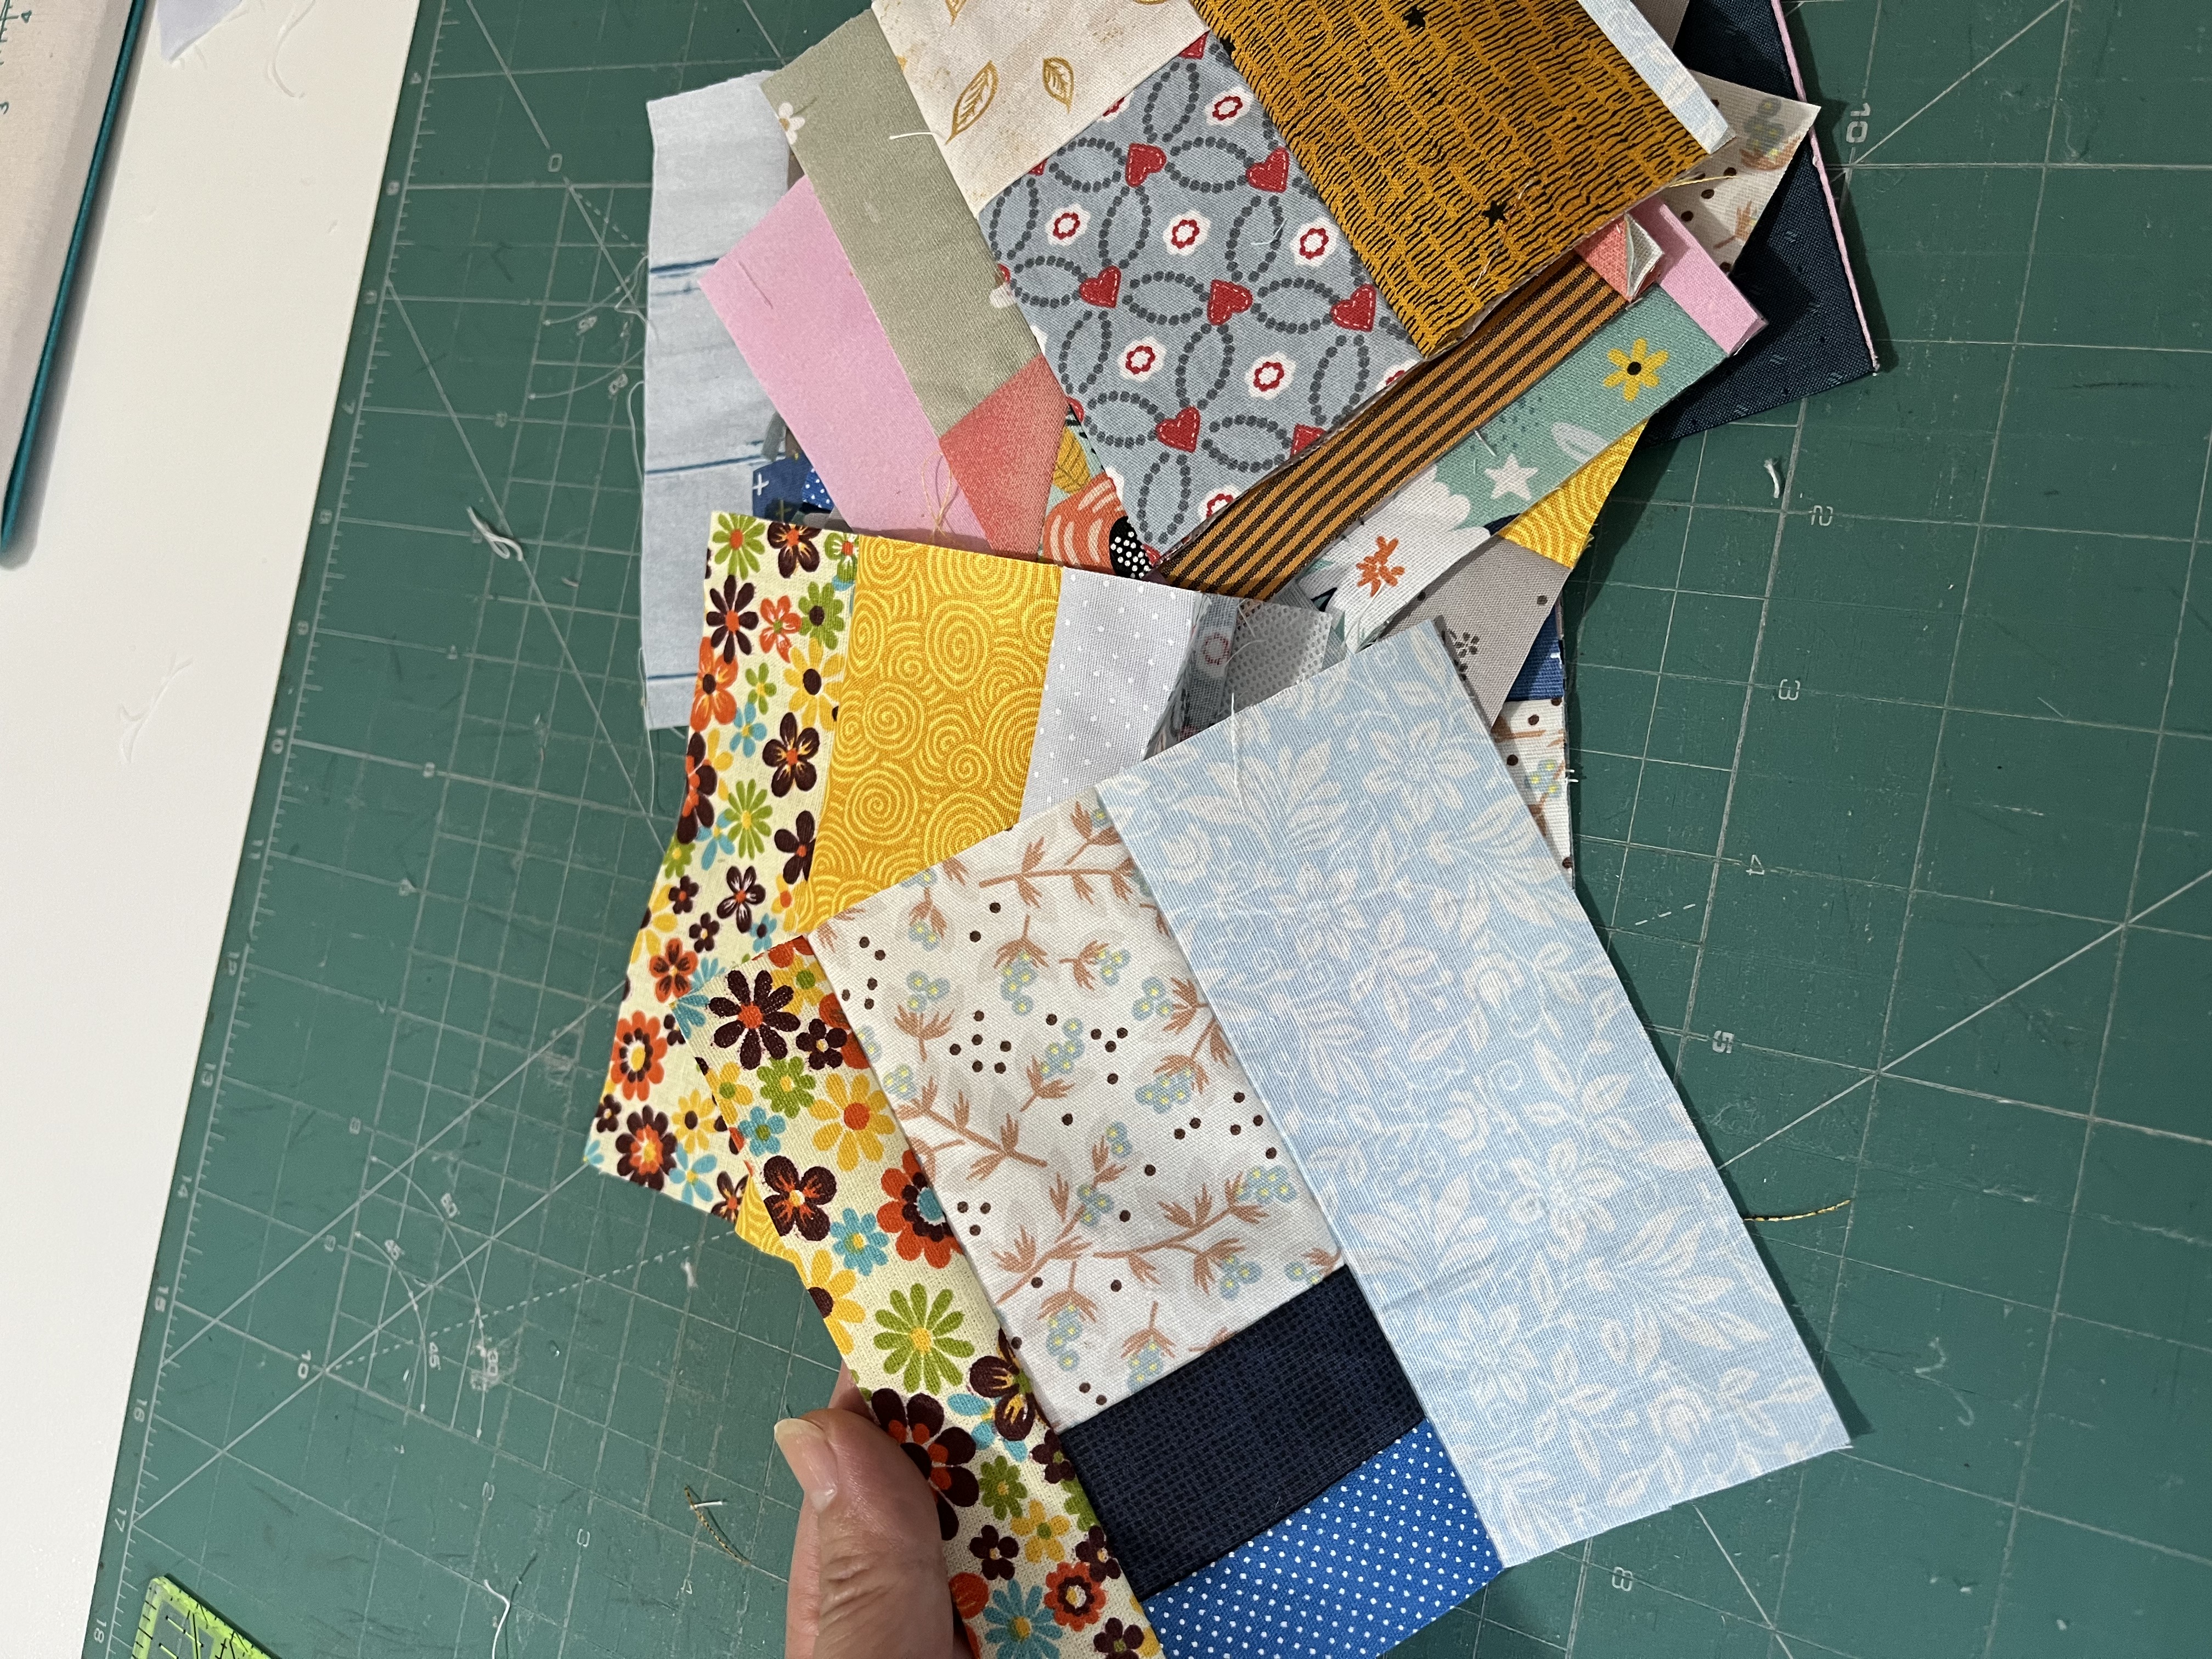
image 5
d) Cut background fabric (6) strips of 5" x CDT (length of fabric) and subcut each strip into (11) 5" squares. Total of (59) 5" squares. If using (2) background prints, cut each print into (3) strips of 5" x CDT (length of fabric) and subcut each strip into (11) 5" squares.
e) Place DCD (1) 5" square of scrap fabric with (1) 5" square of neutral fabric and sew 1/4" on each side of the diagonal line. Cut diagonally, forming 2 HSTs. Images 6 and 7. If you want to know how to make HSTs you can watch my video "Learn to Make 2 HSTs at Once" on YouTube : https://youtu.be/w4DE6ZPyqpA
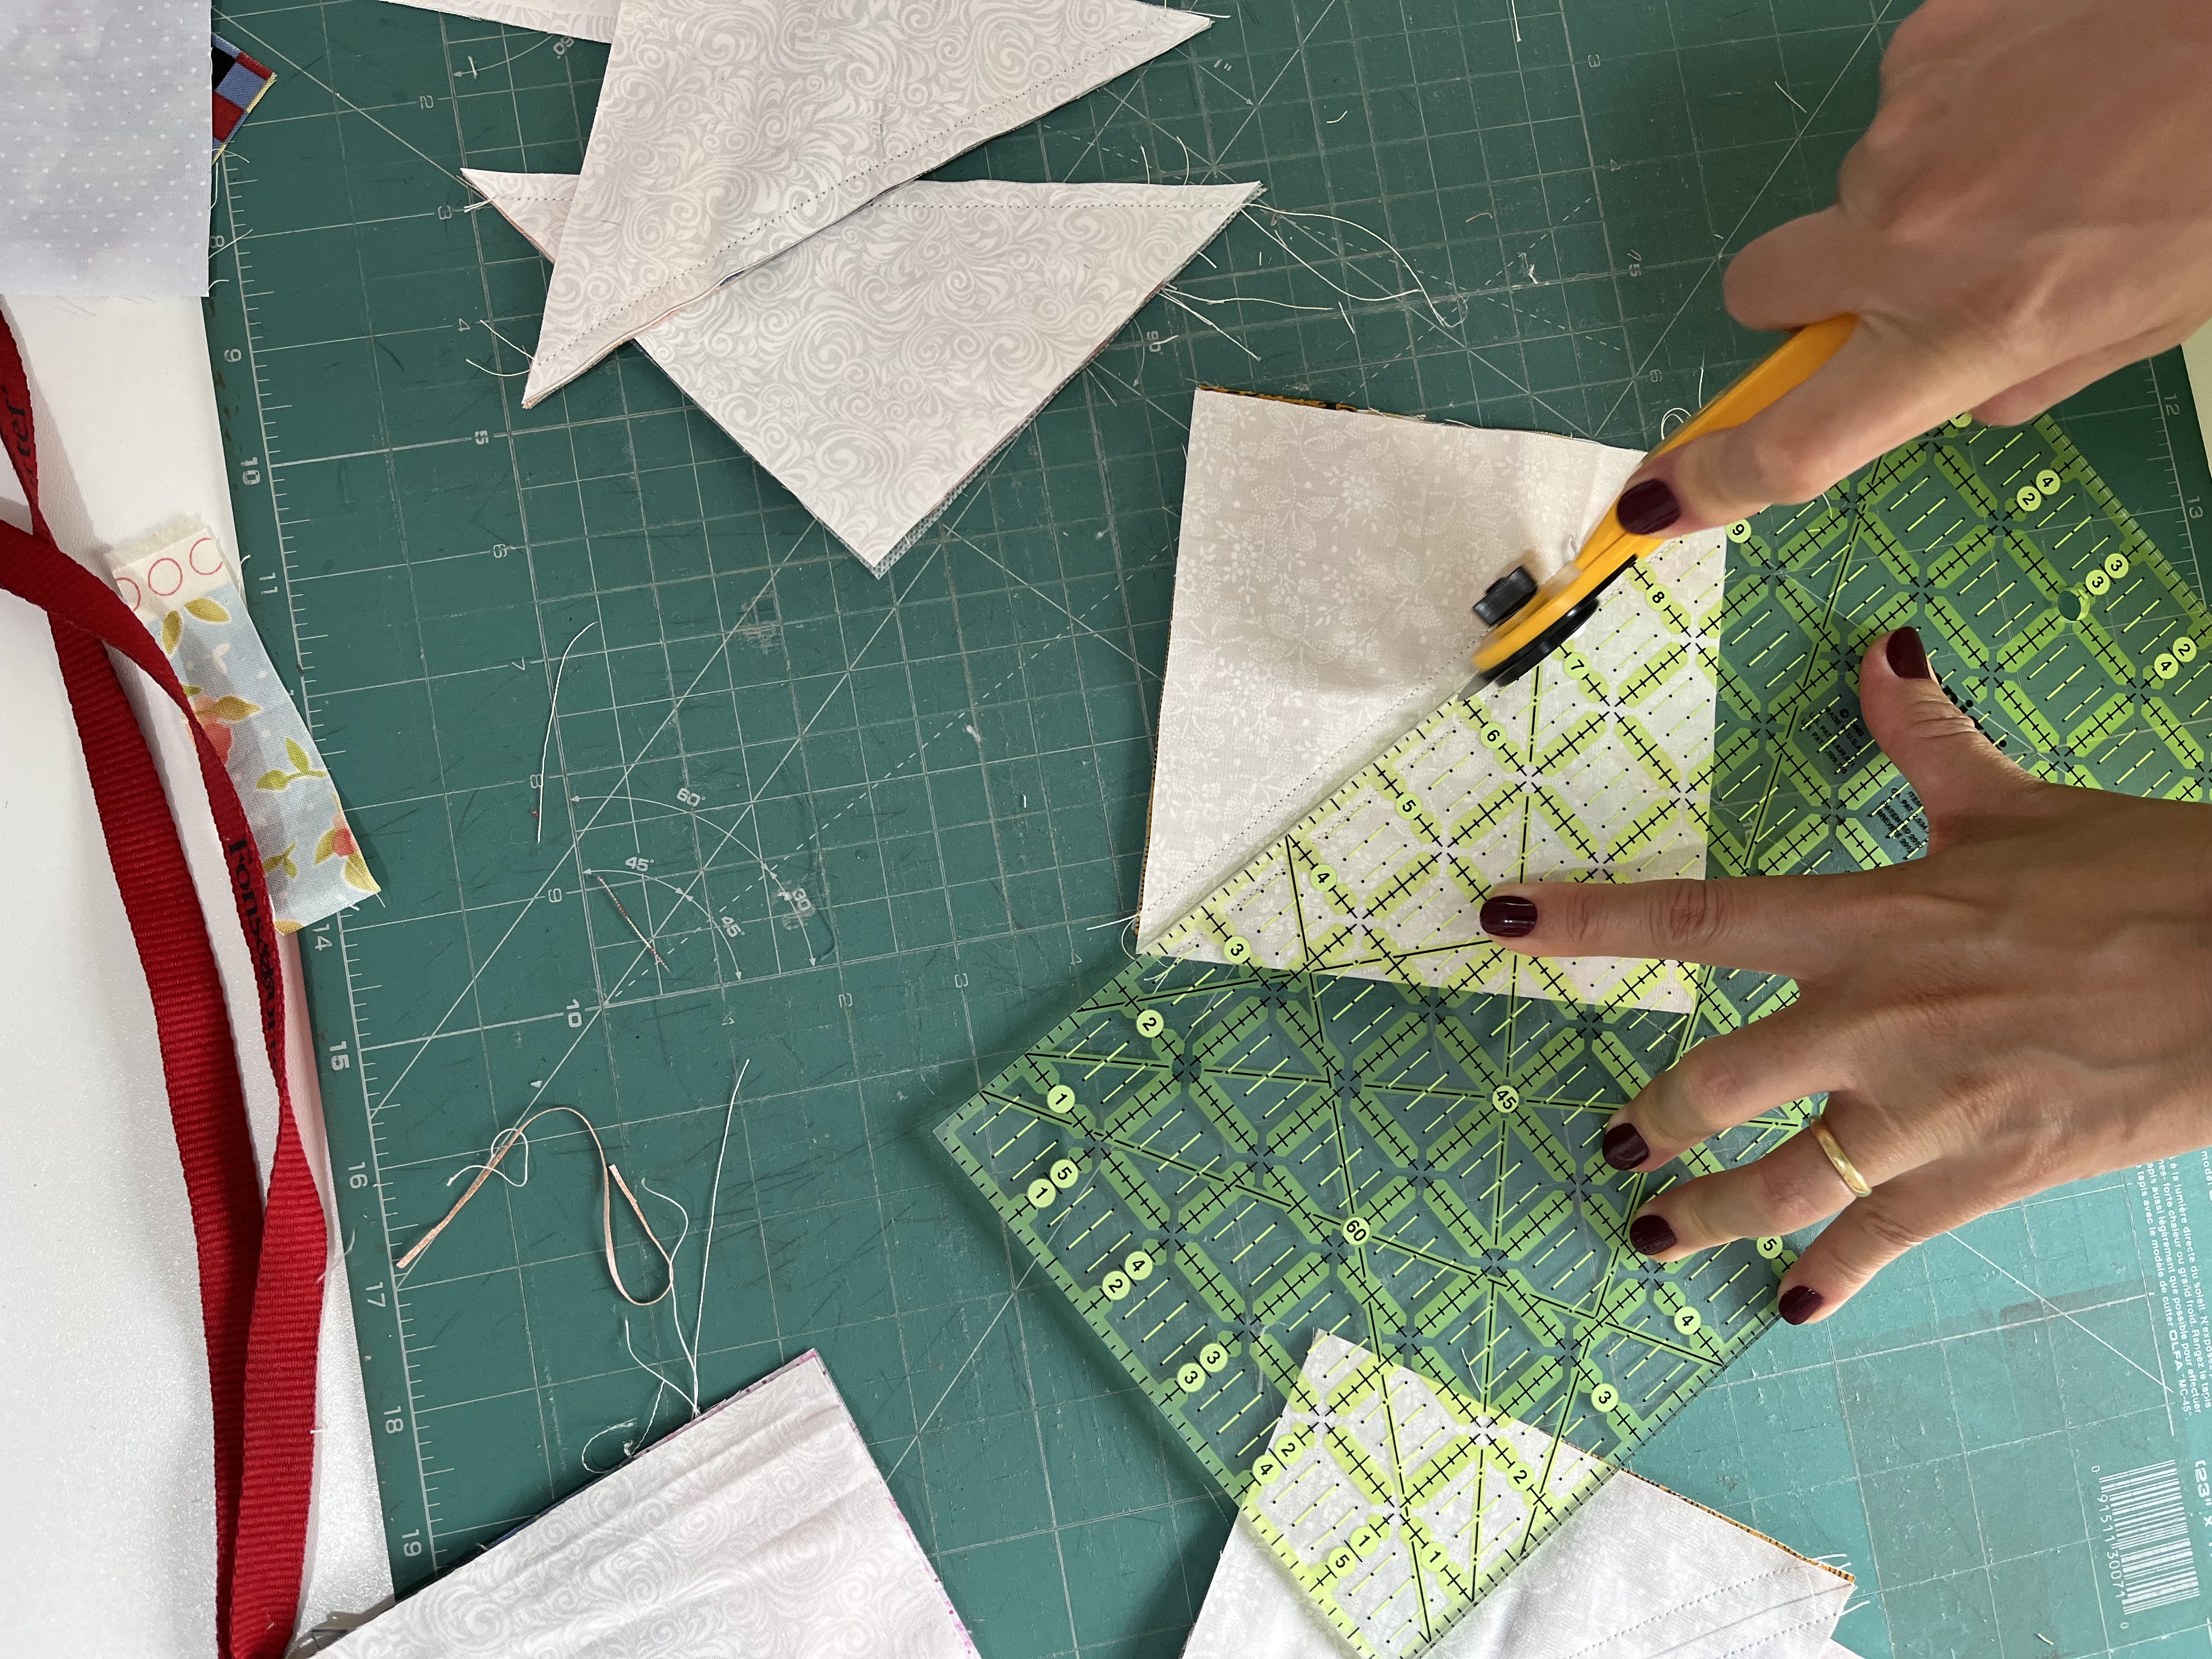
image 6
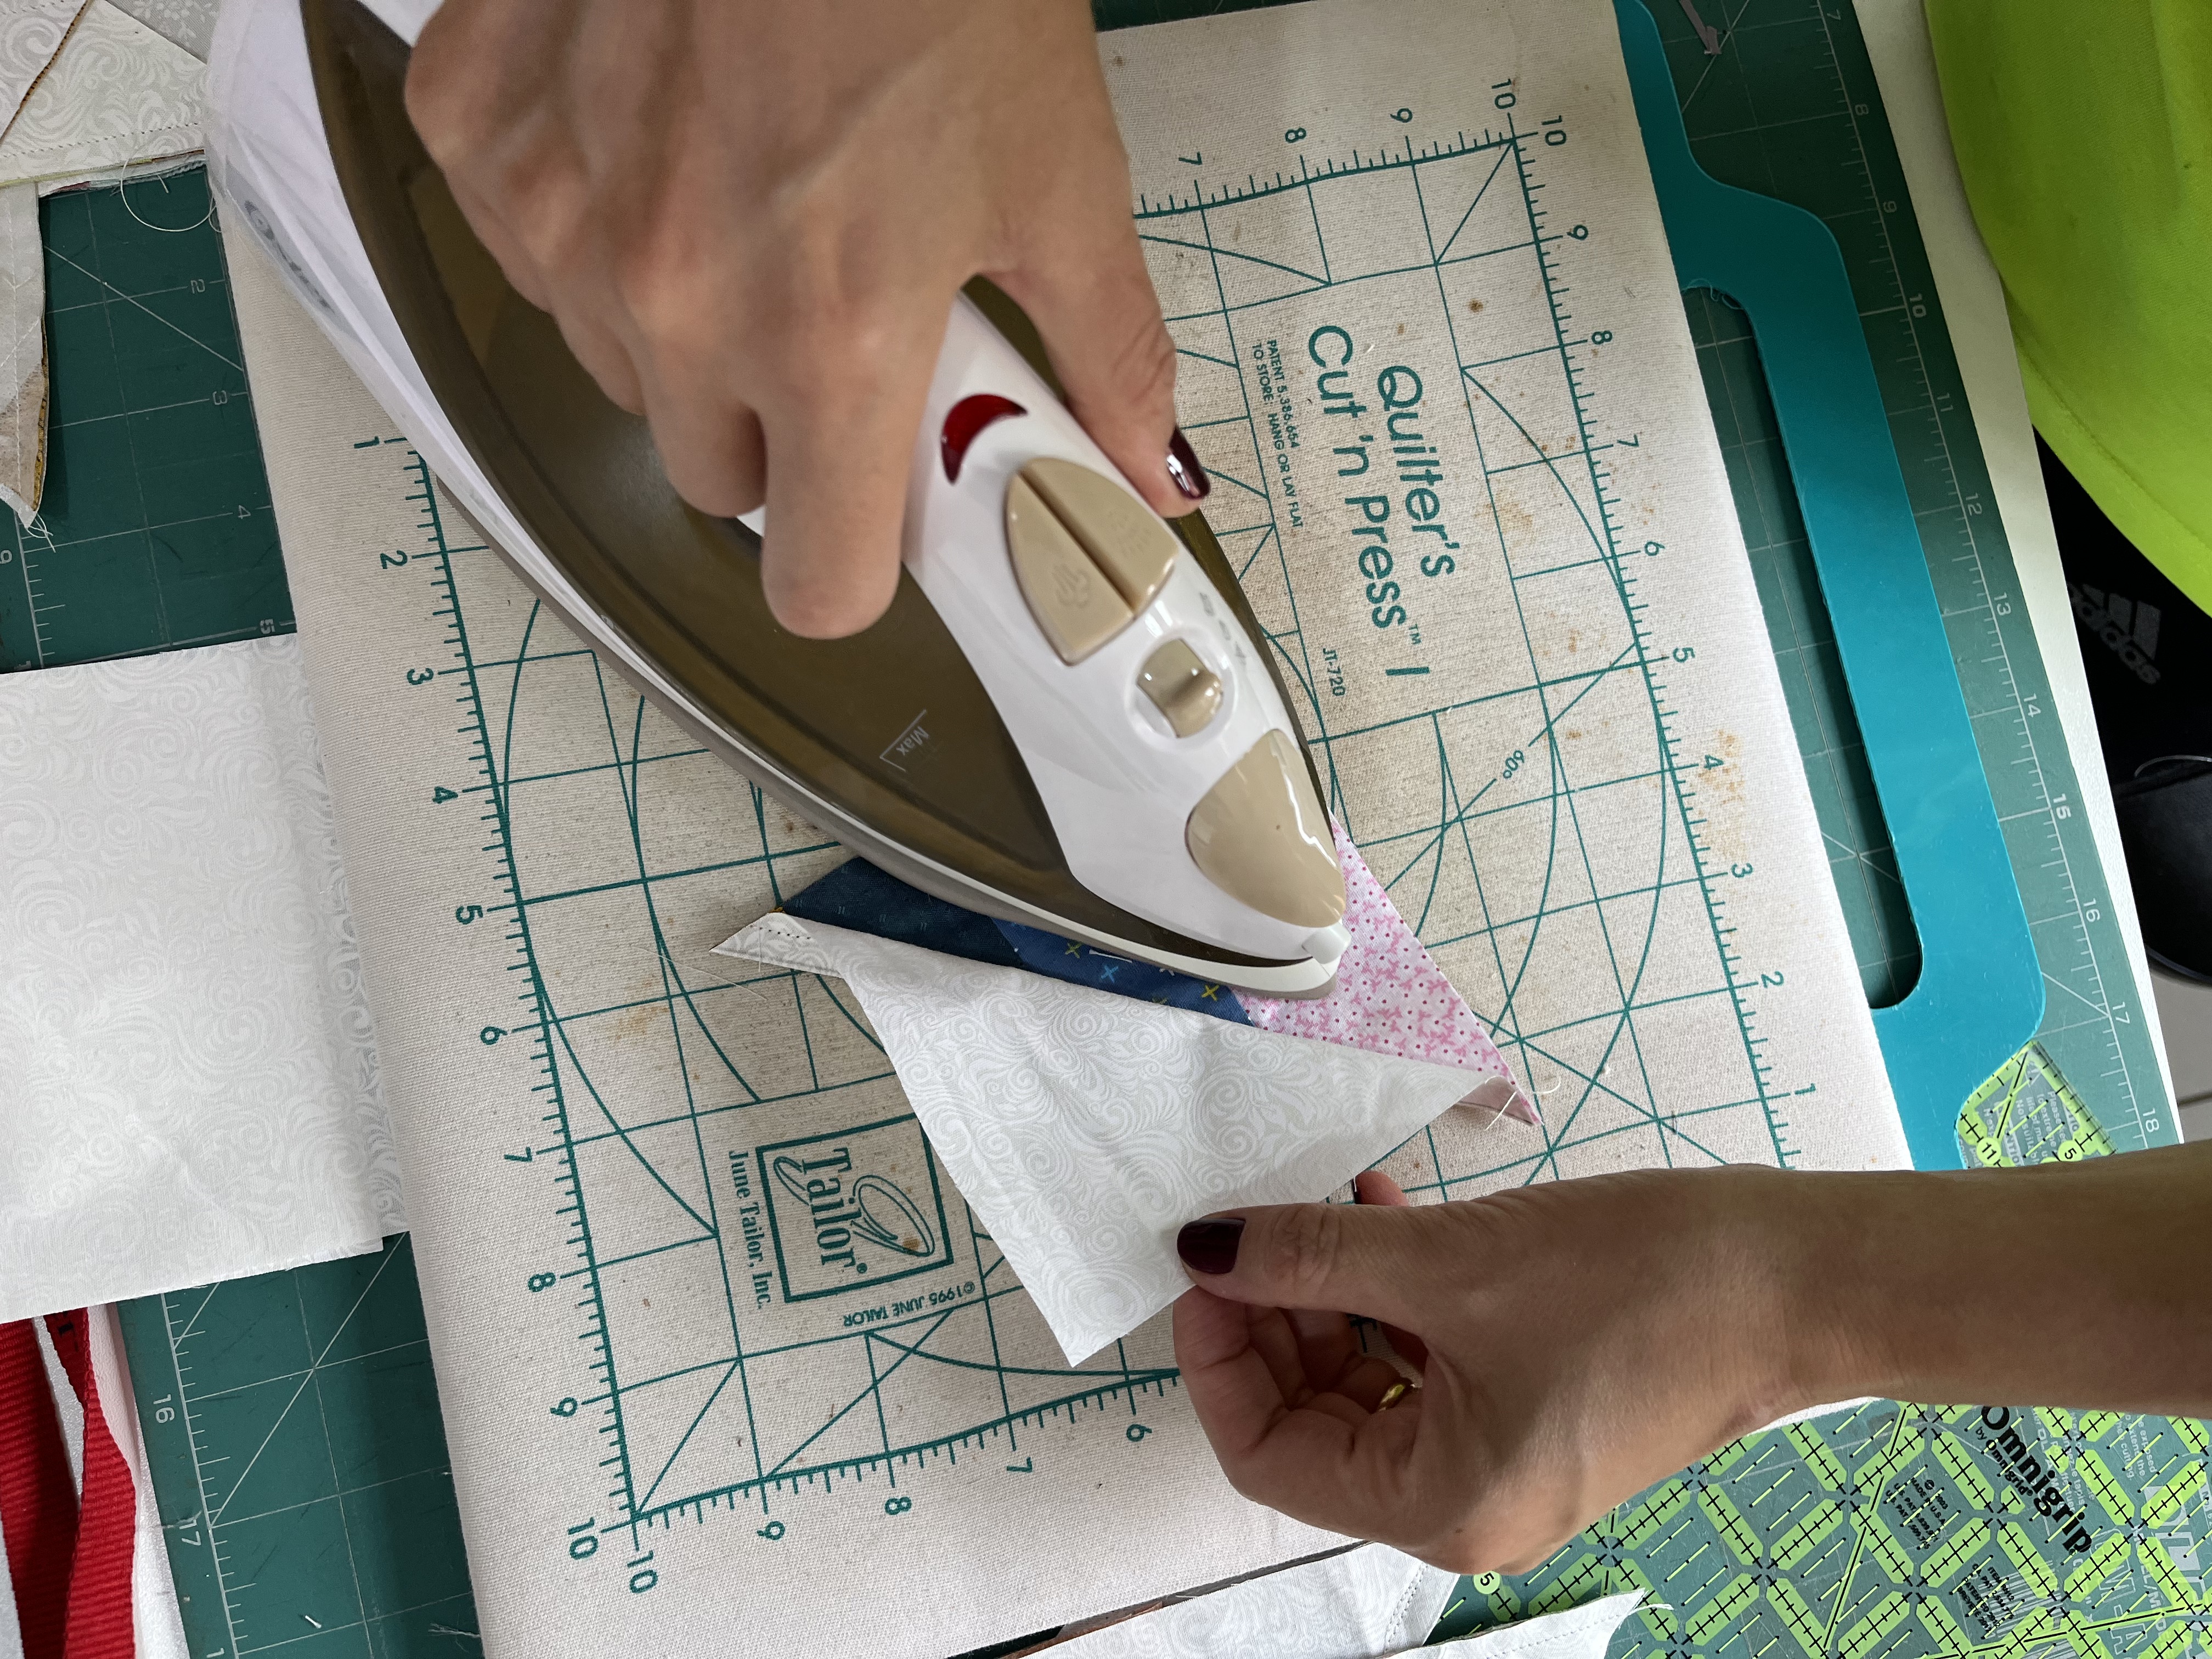
image 7
f) Do this with the remaining (58) 5" squares of scrap fabric and neutral fabric, making a total of (117) HSTs. Image 8.
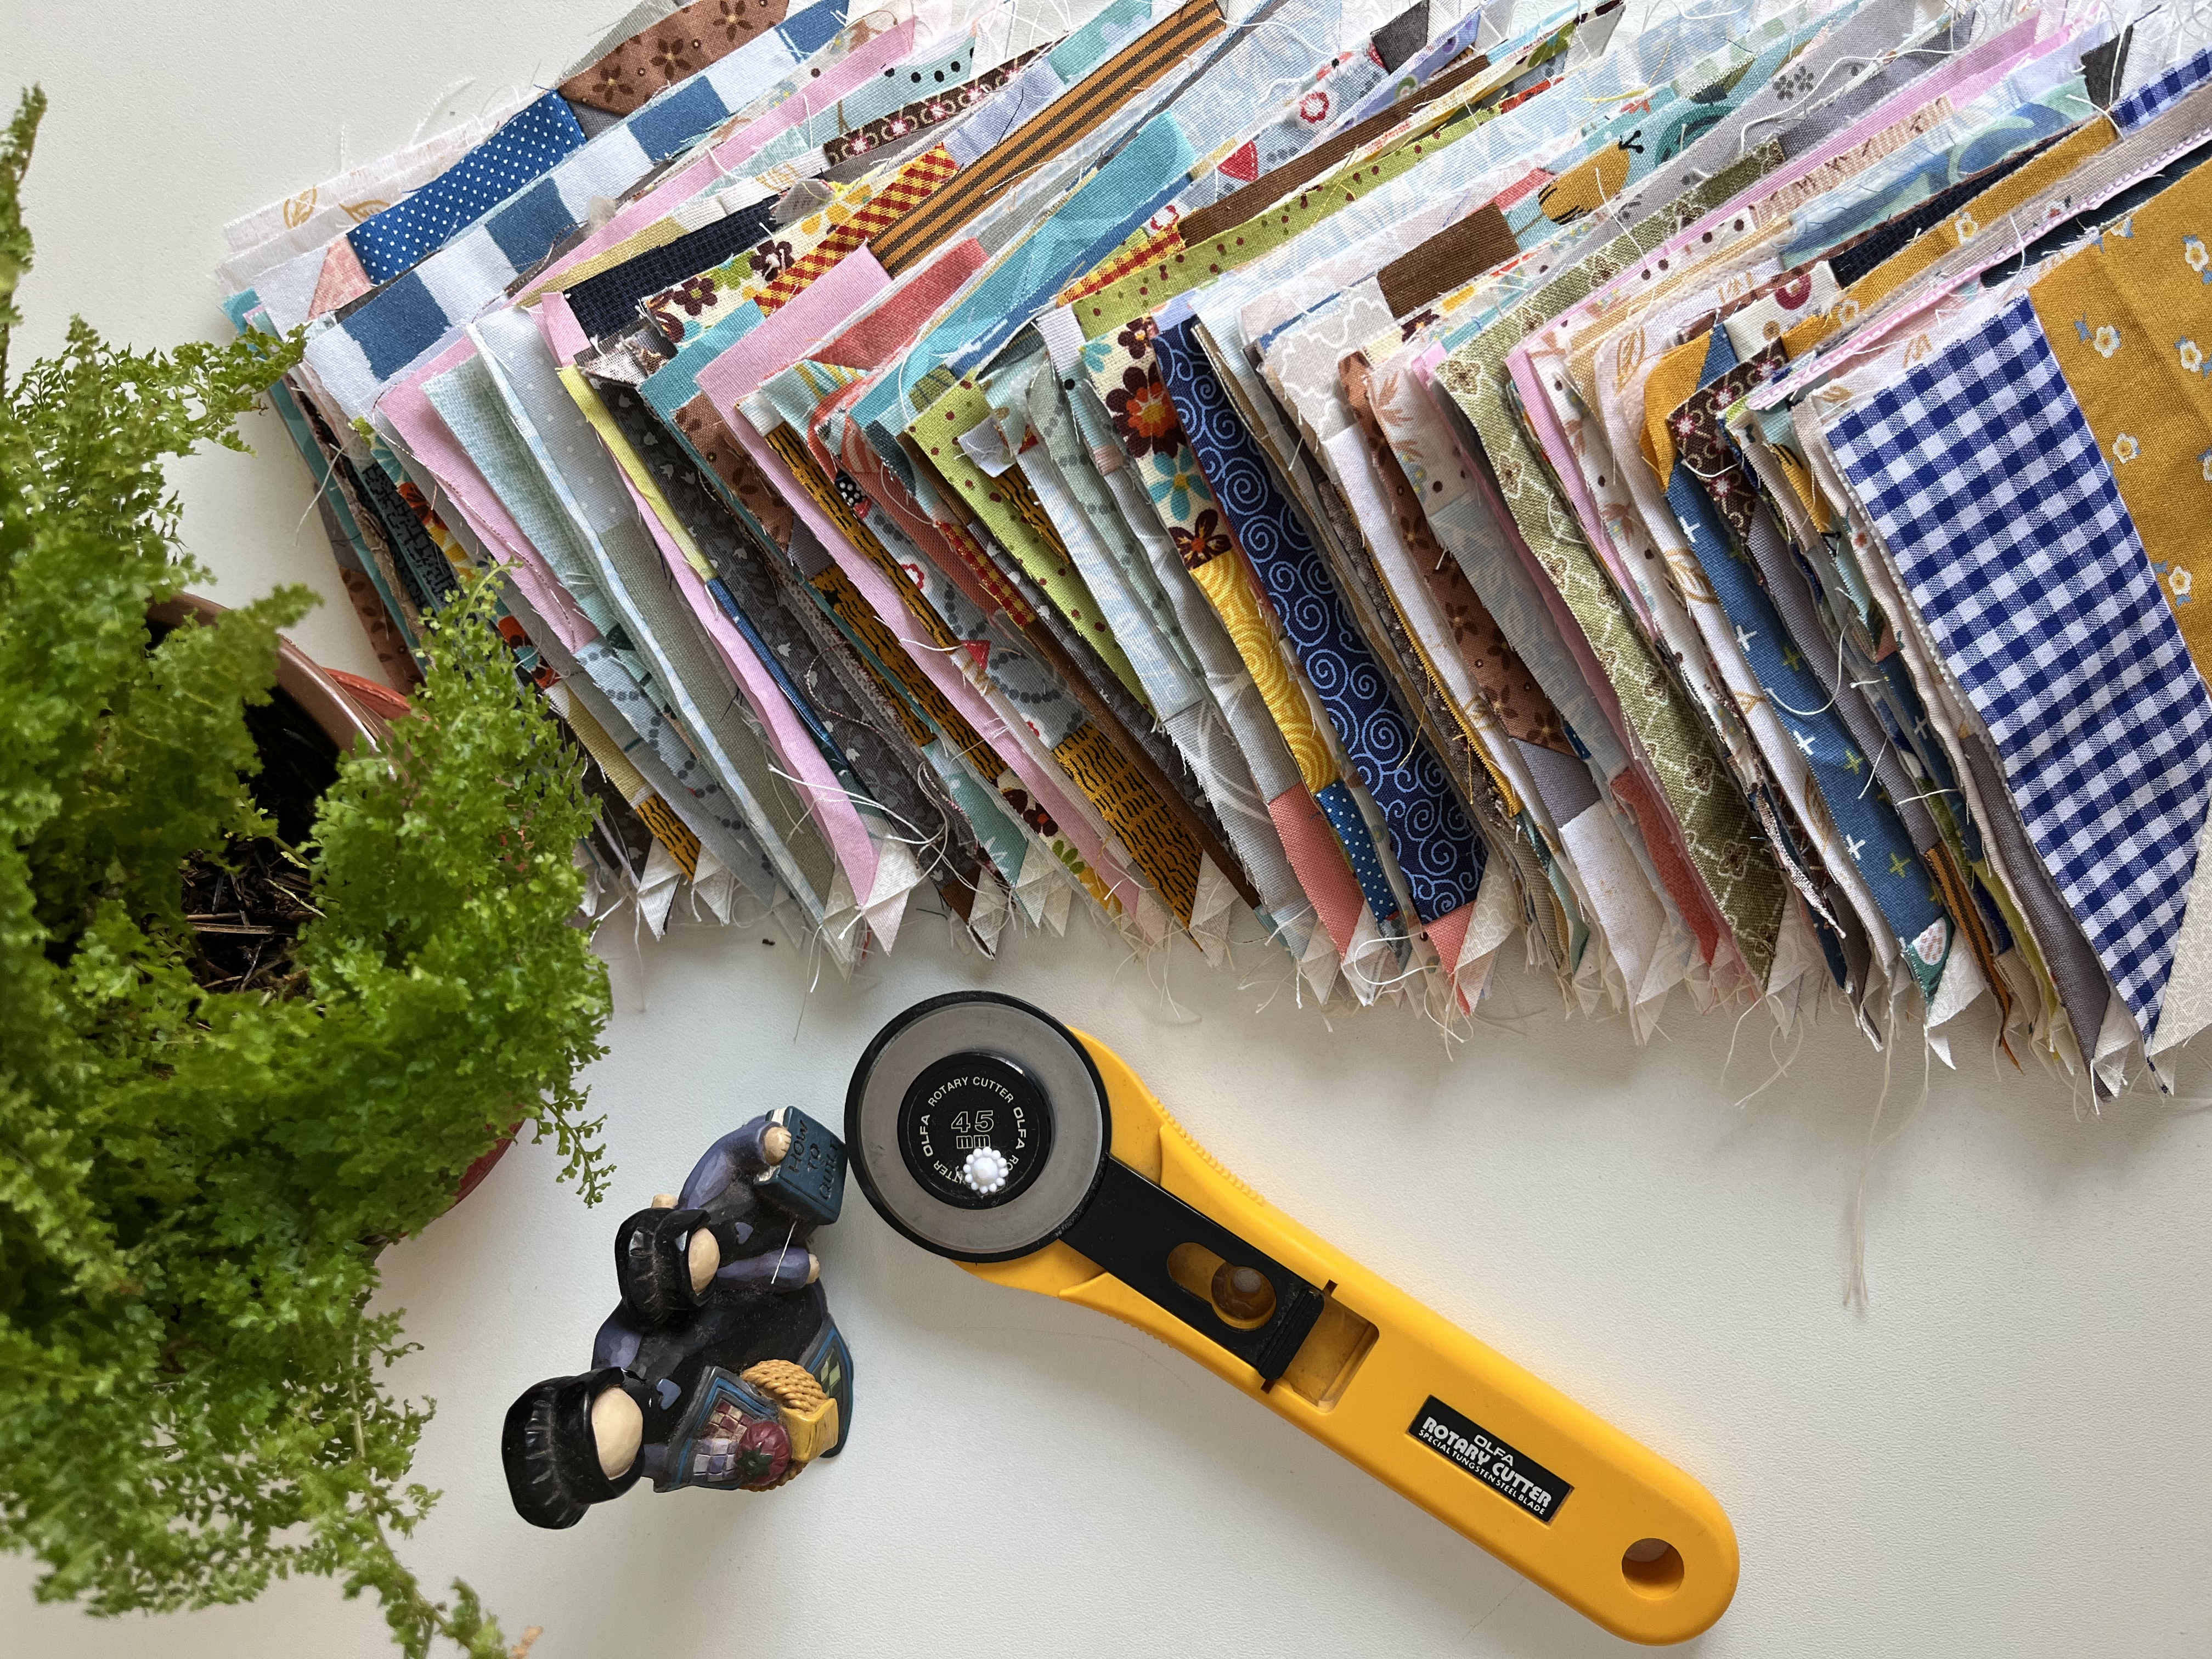
image 8
g) Arrange the HSTs forming the desired design, (9) HSTs horizontally and (13) vertically. As shown in images 9 and 10.
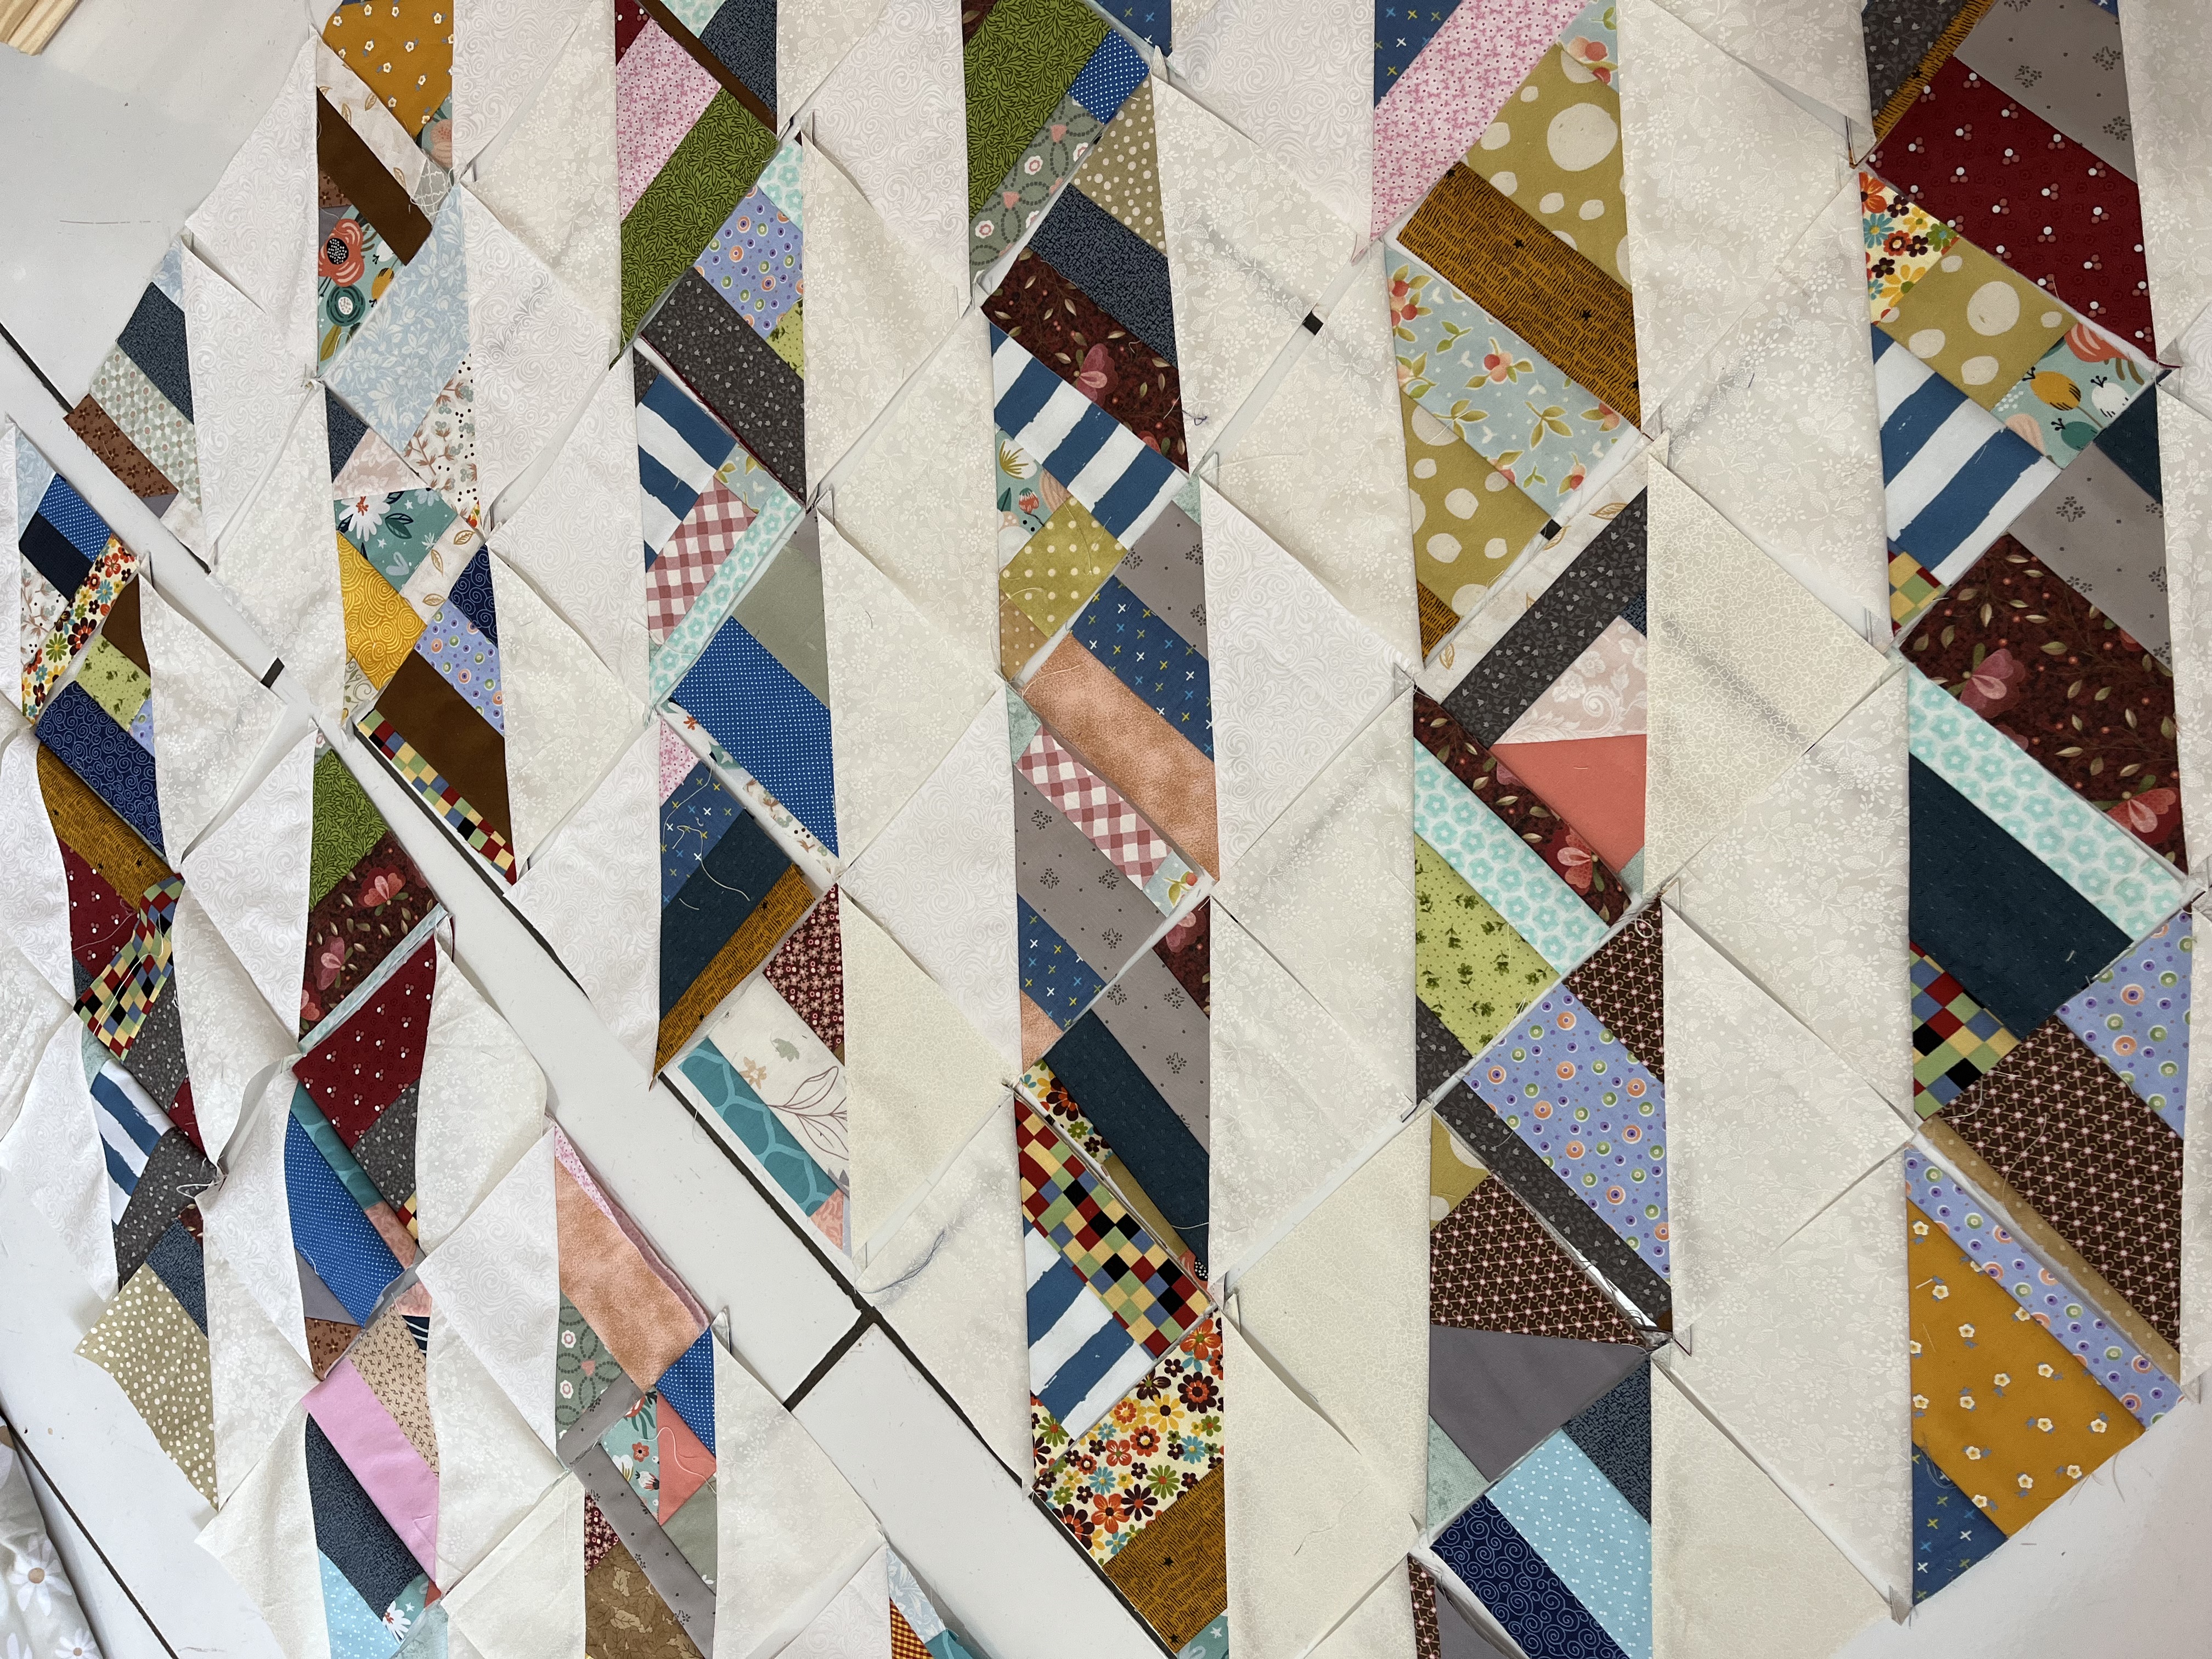
image 9
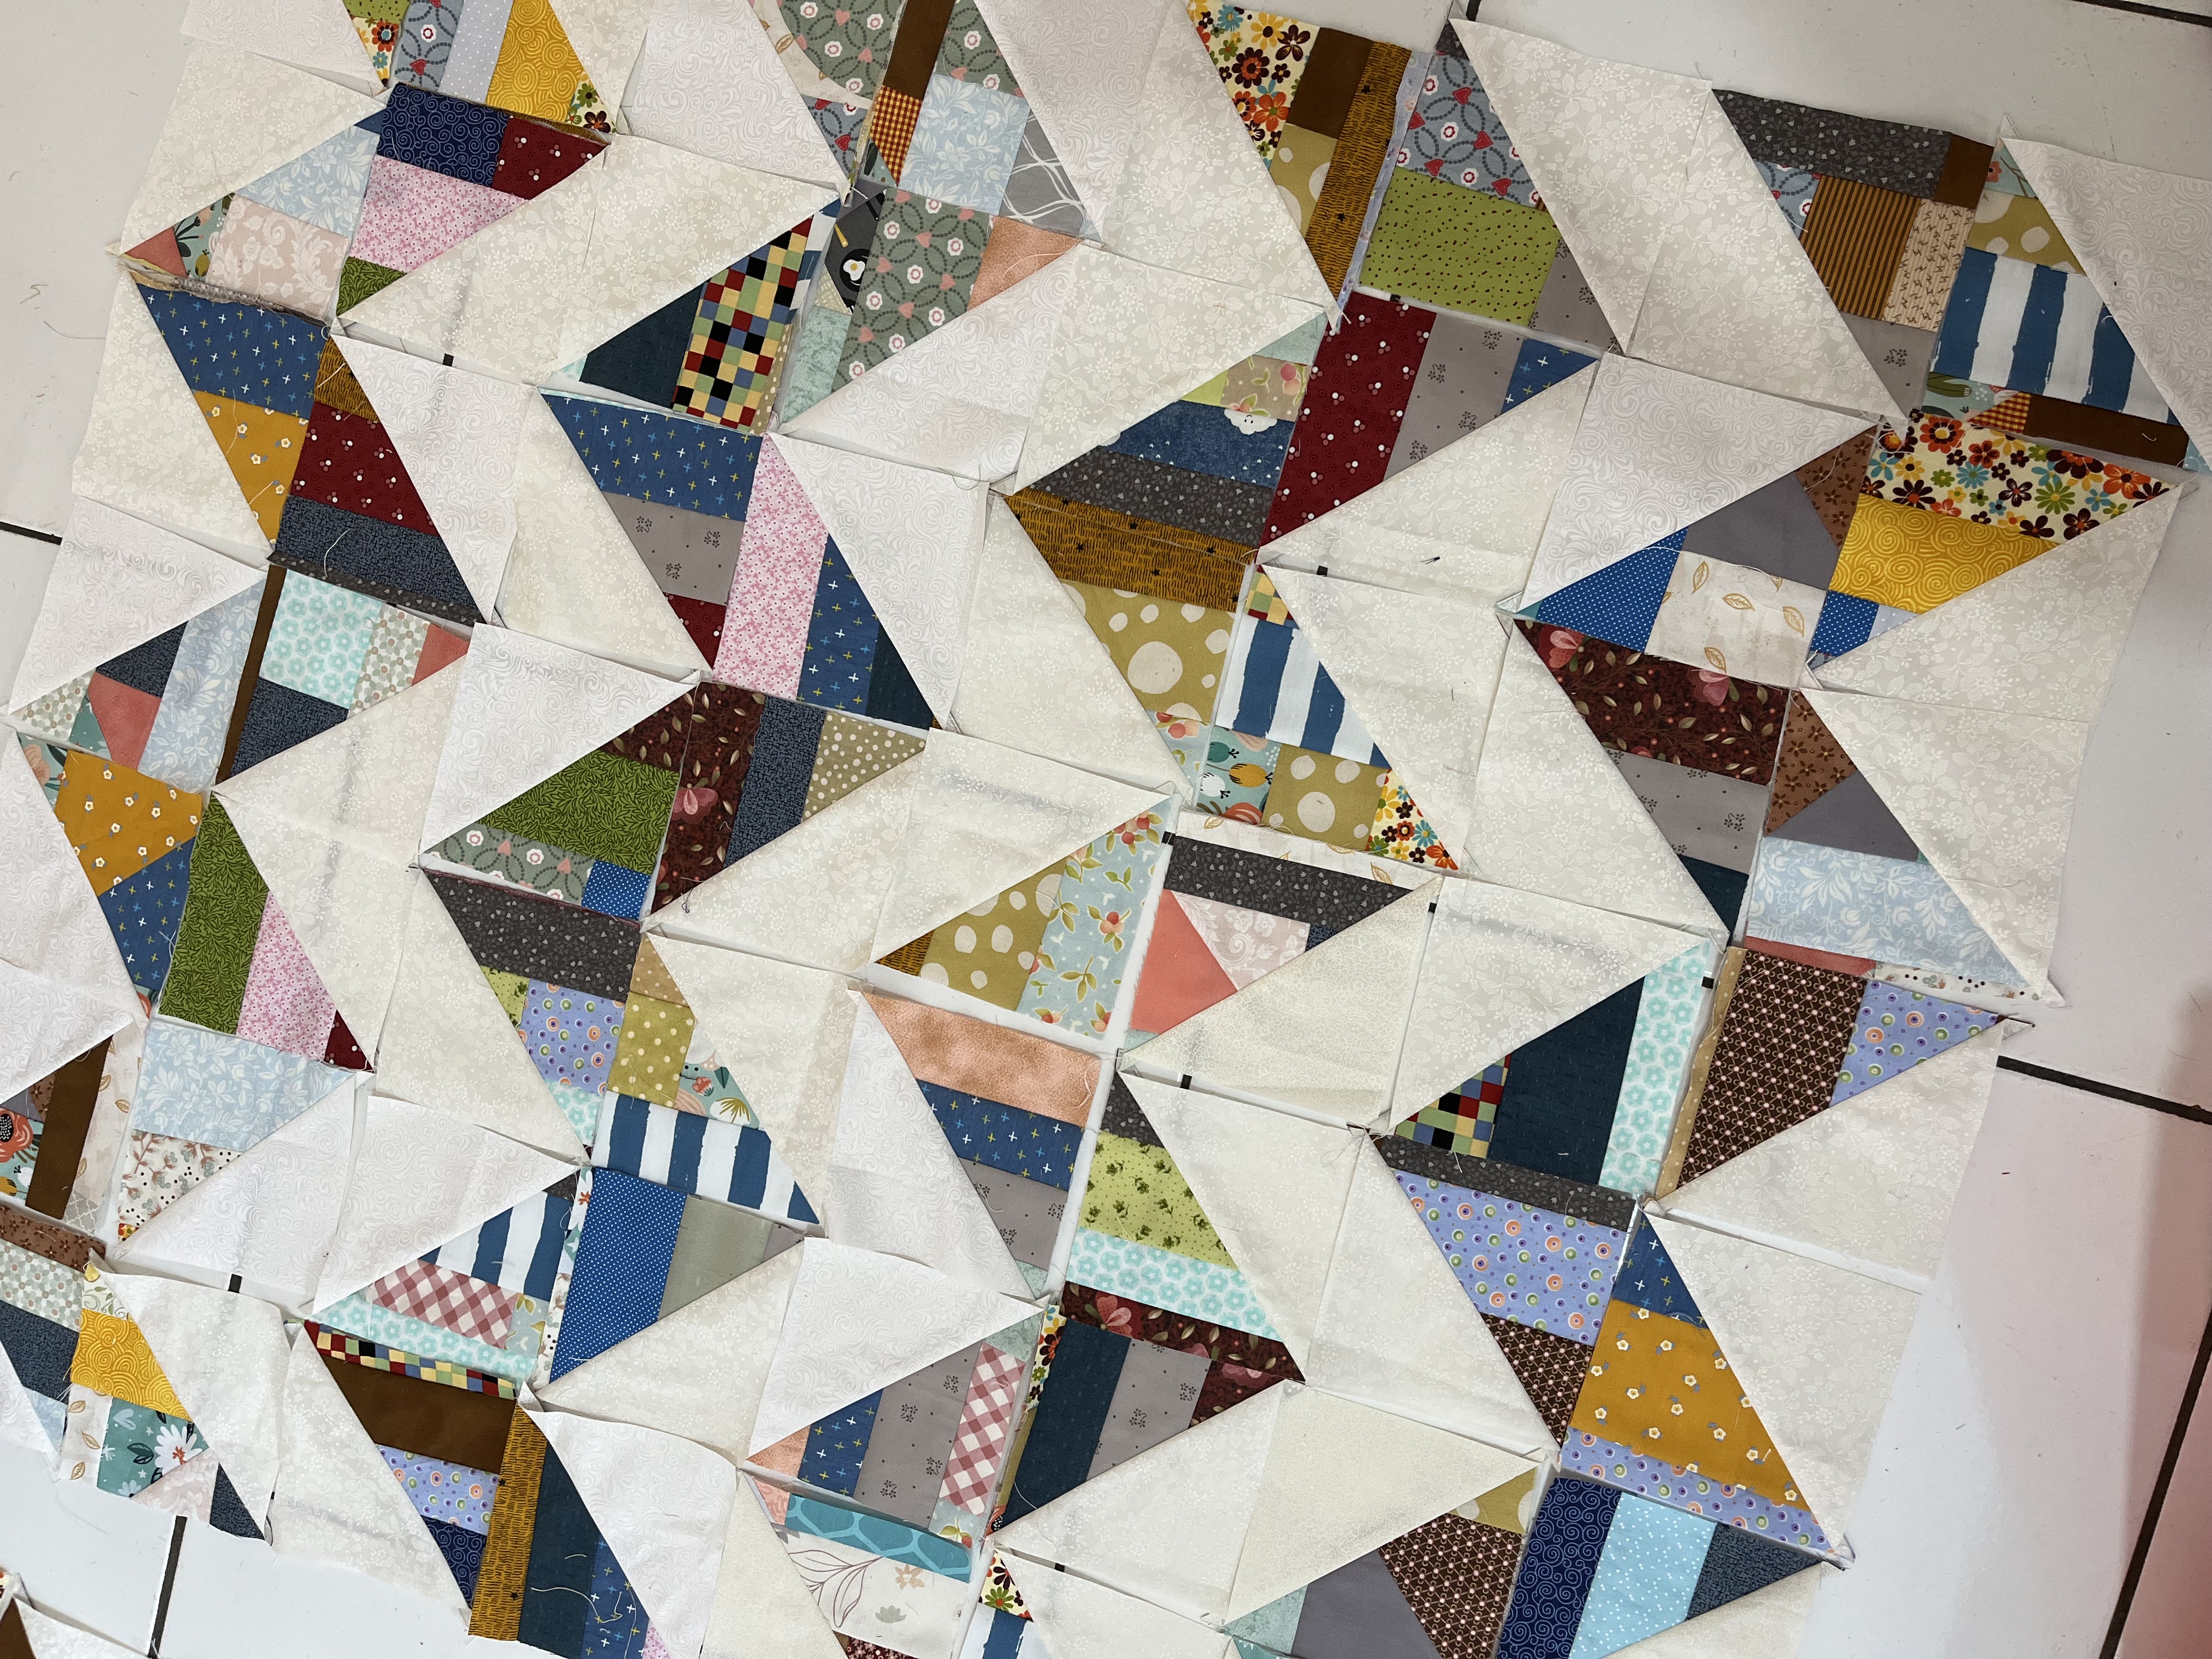
image 10
h) First sew the horizontal strips, passing the edges of each strip in opposite positions and then sew the strips together to form the top of the baby quilt. Image 11.
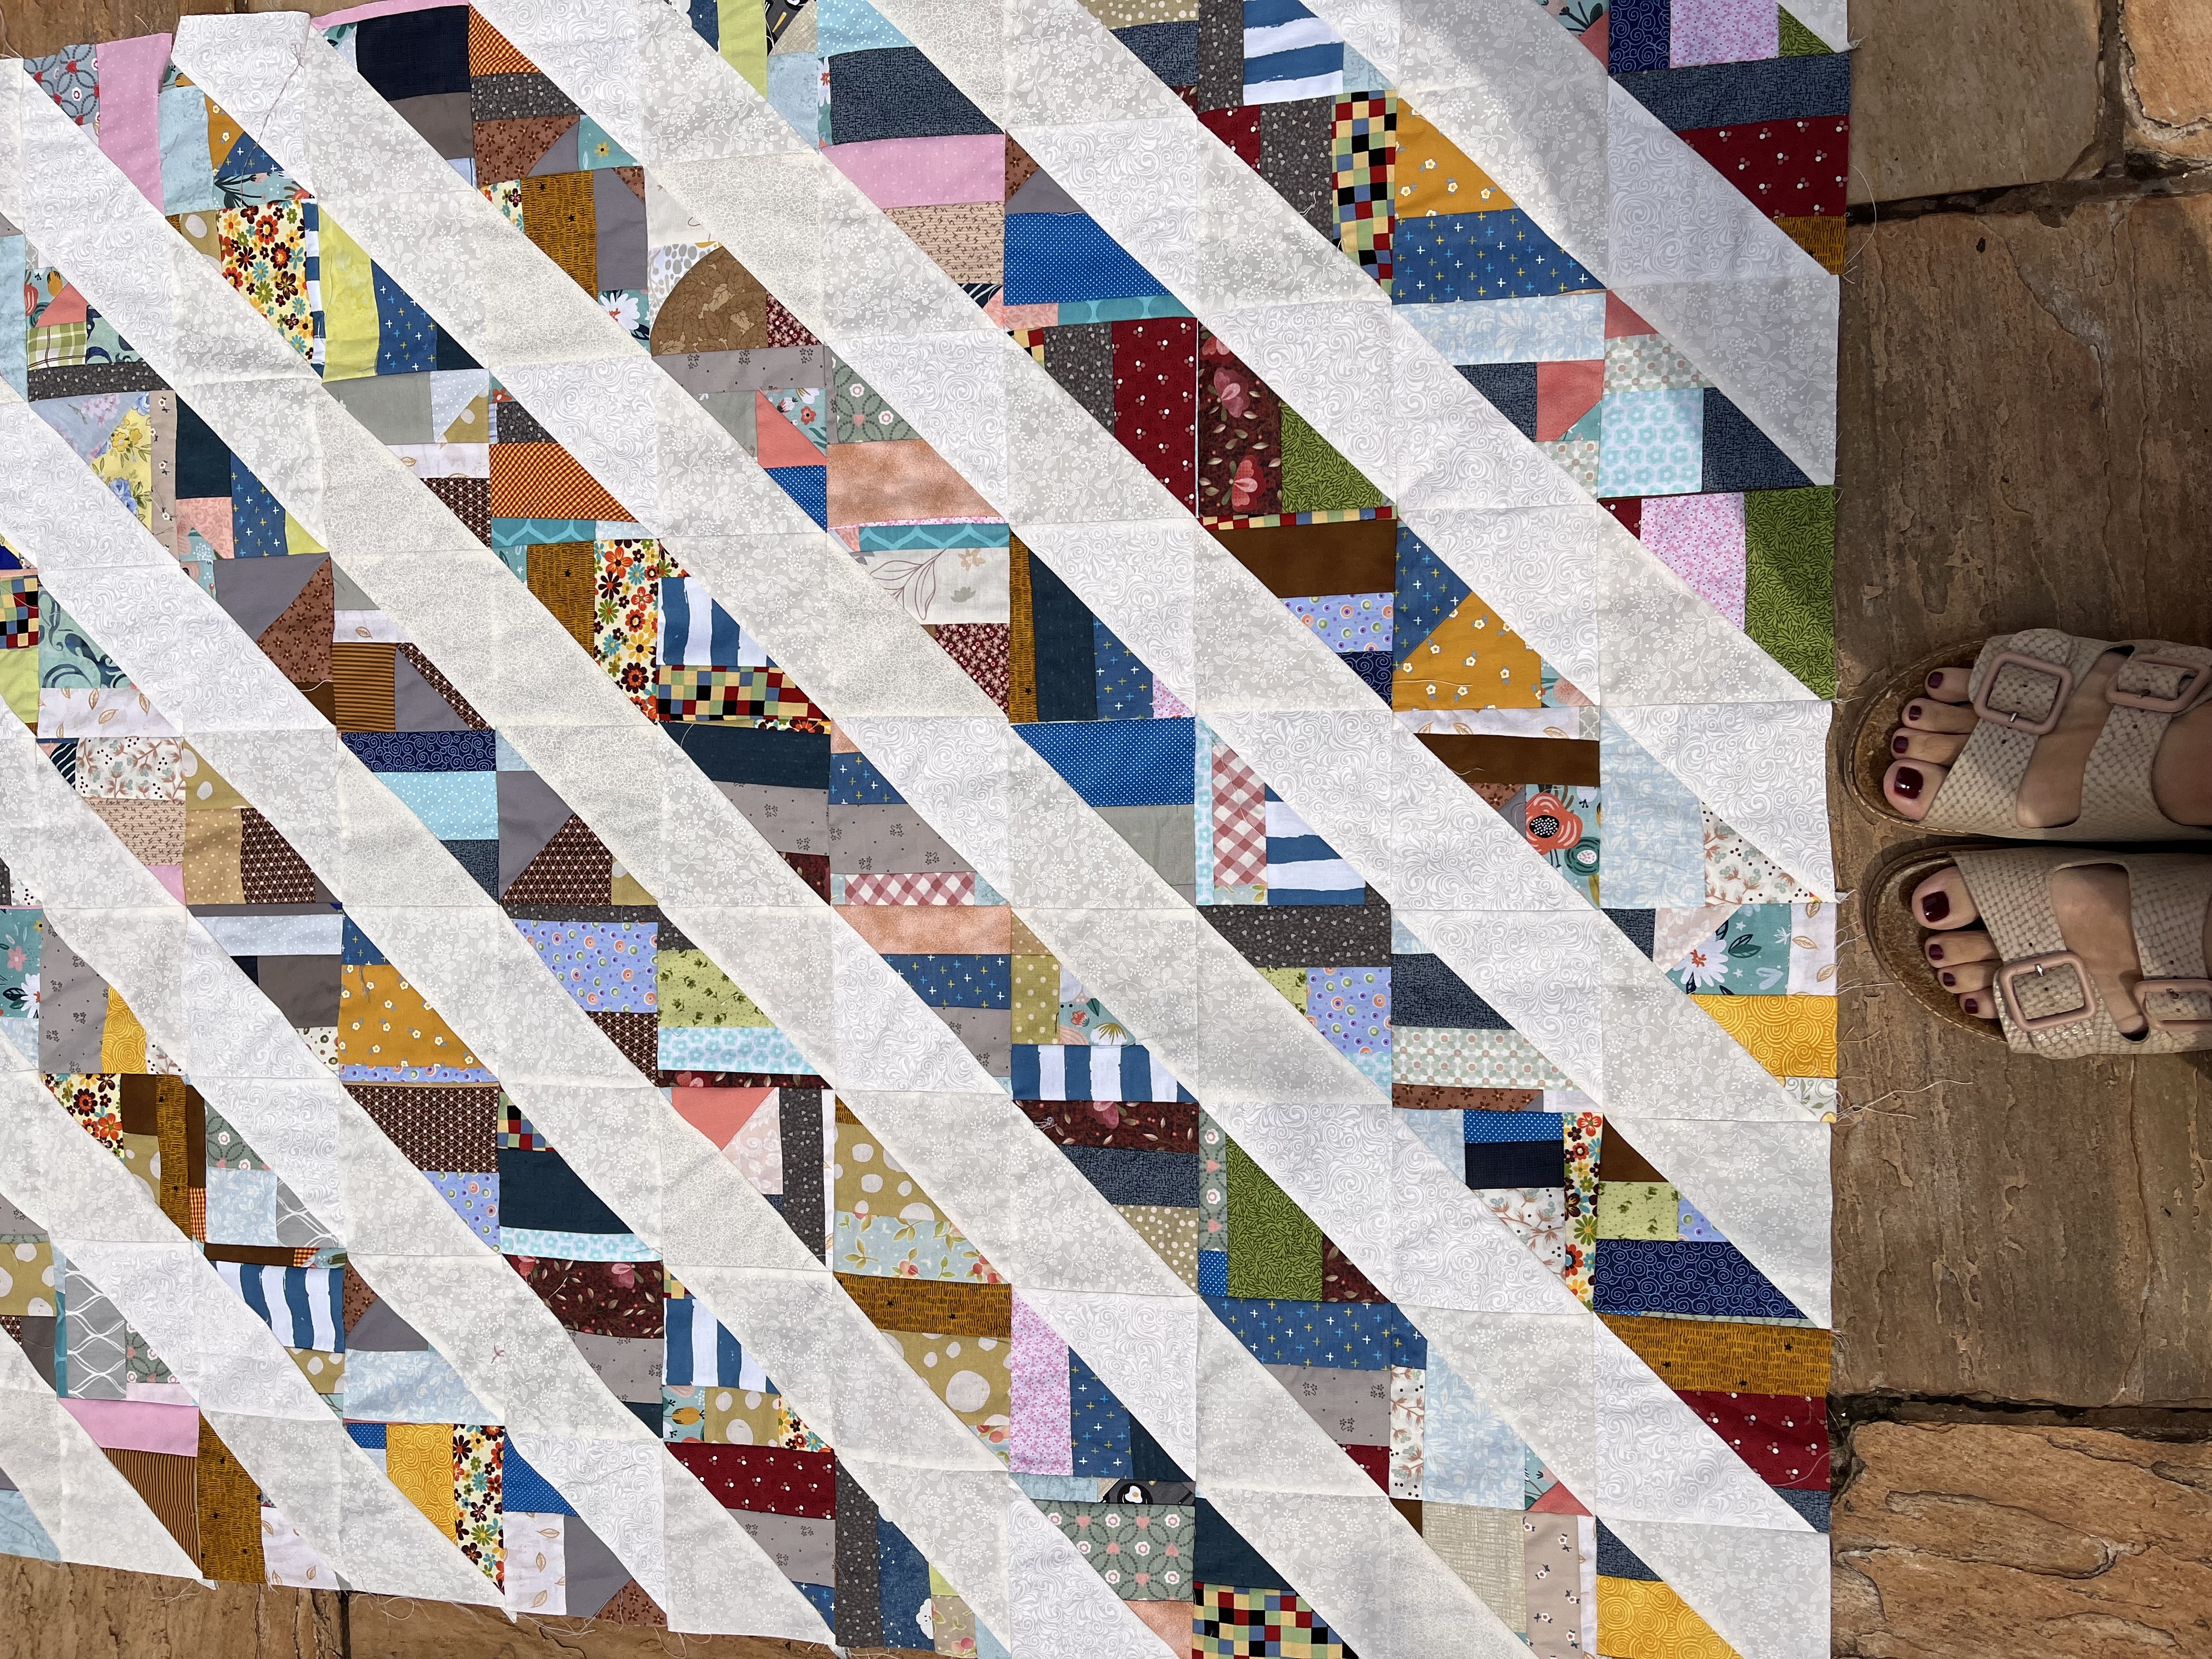
Image 11
i) Sandwich and quilt in your preferred way. Image 12.
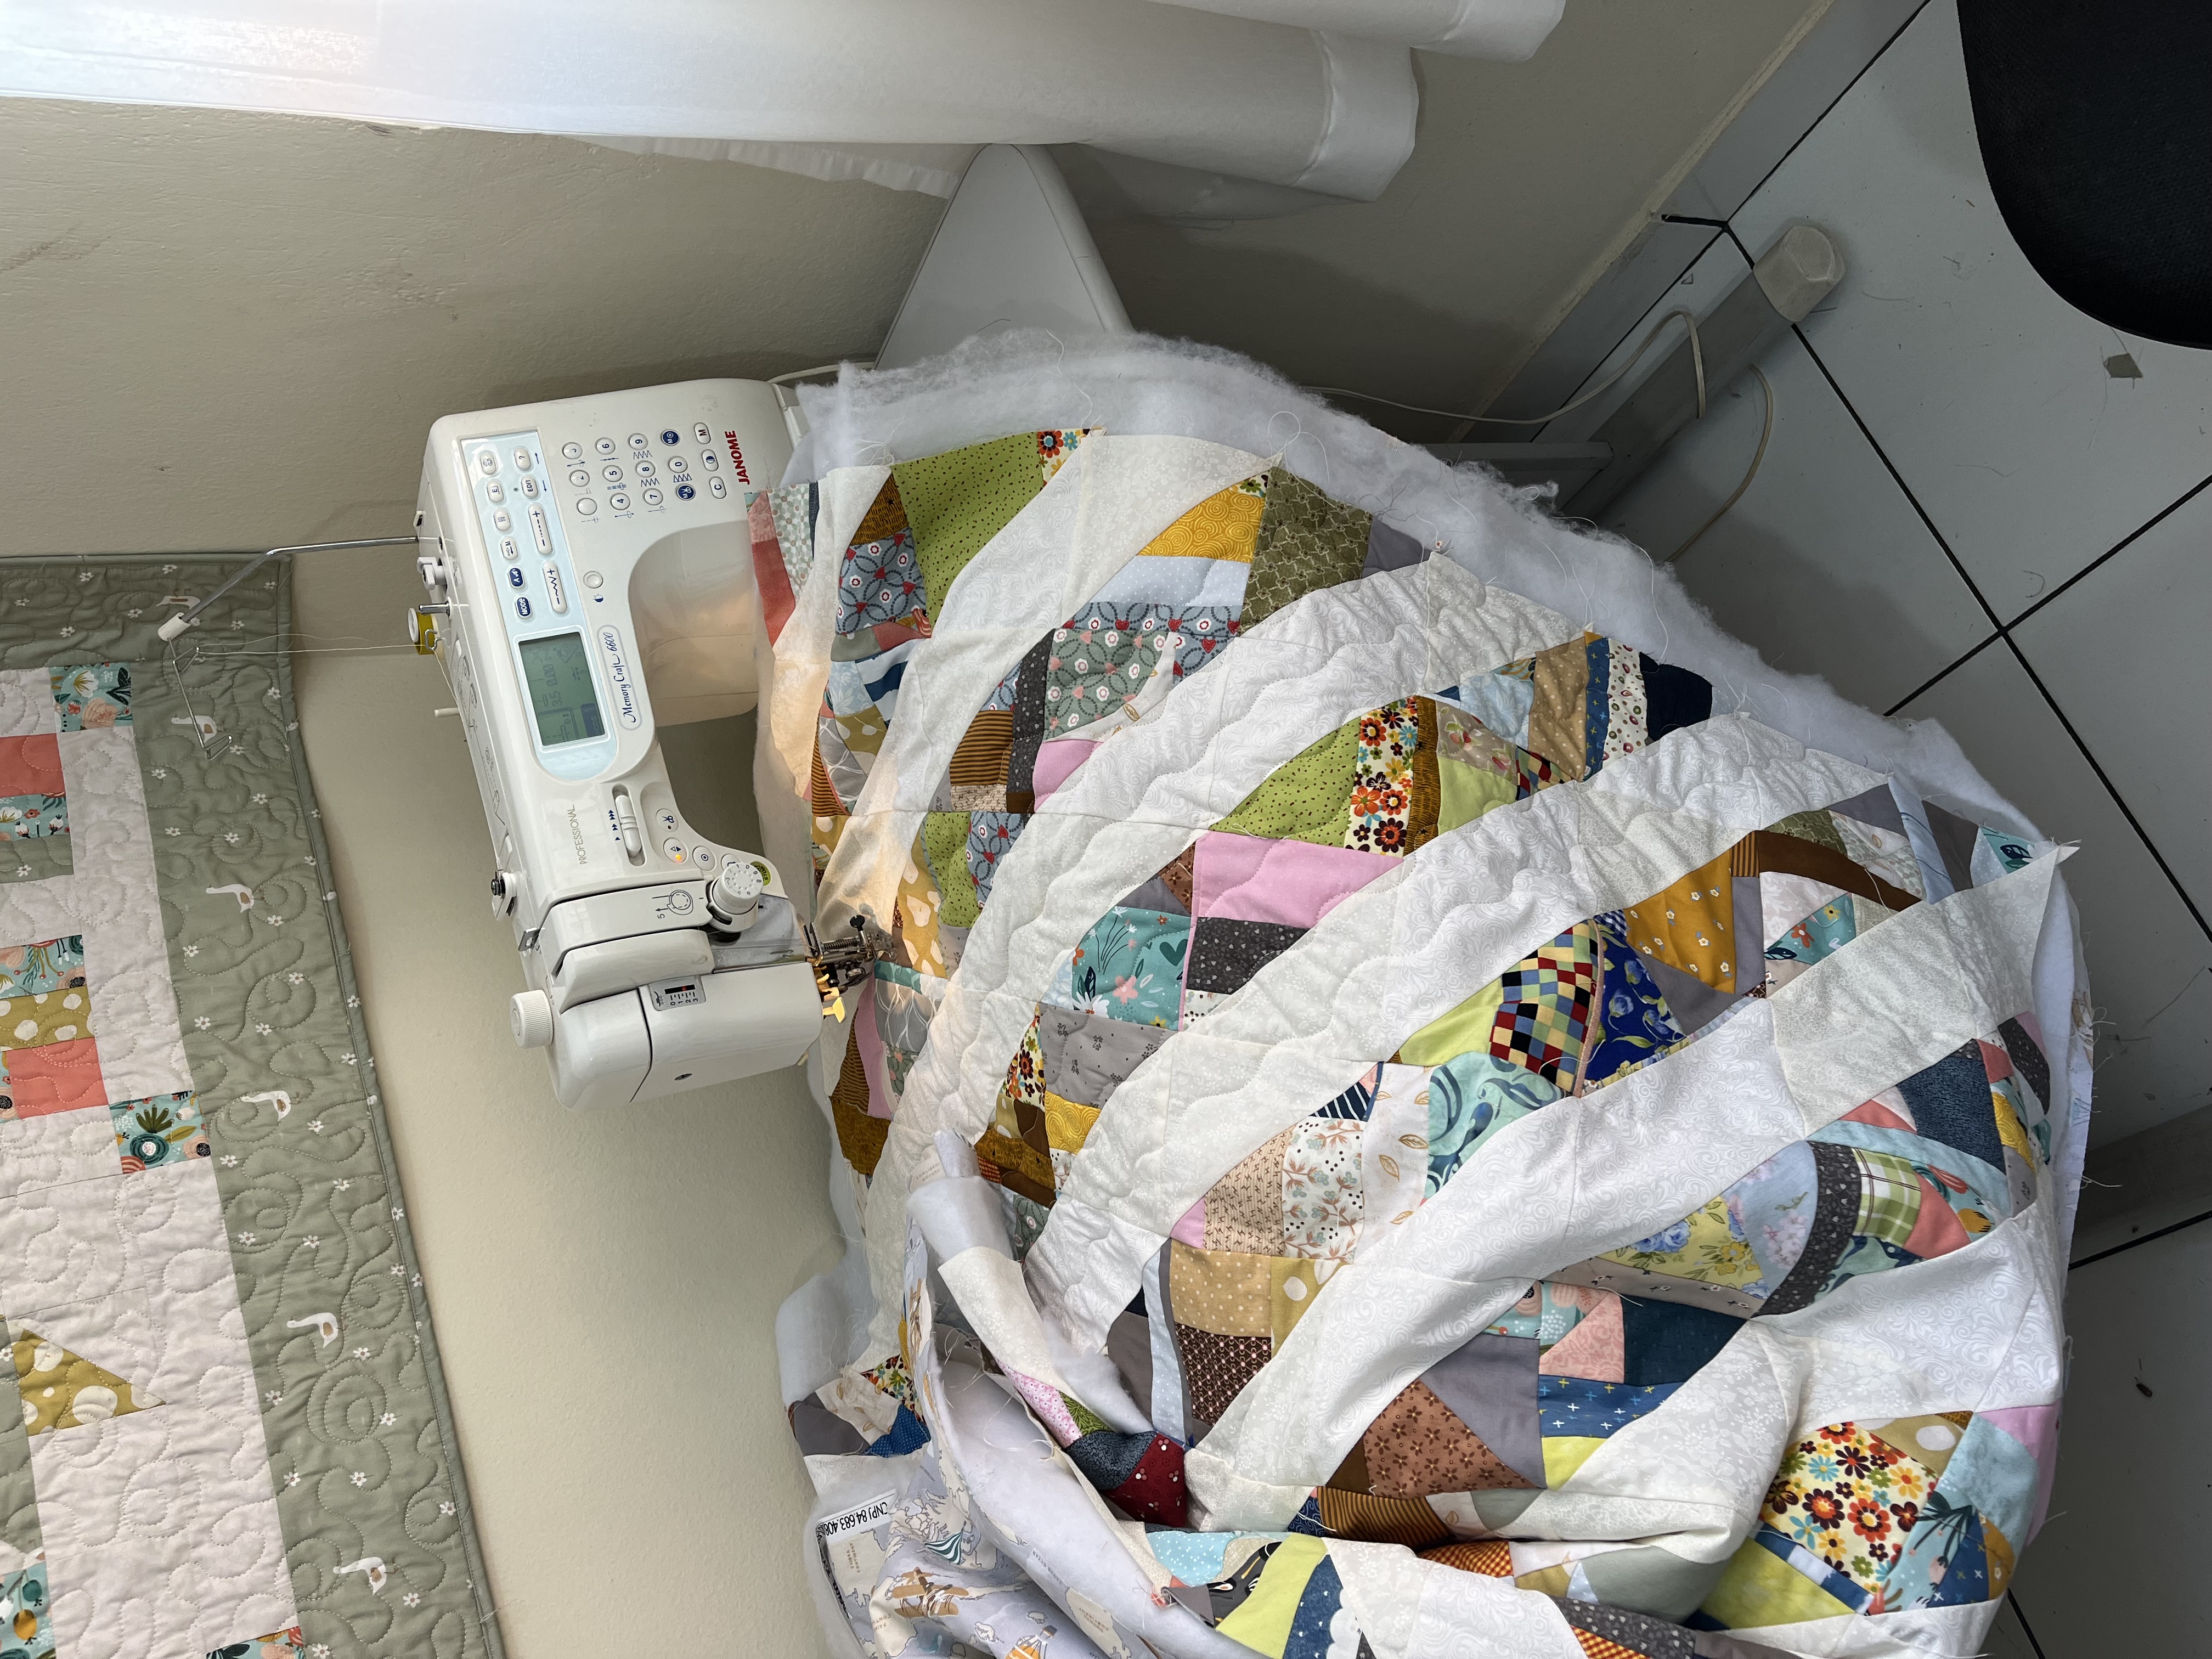
Image 12
j) And finally, finish. Image 13.
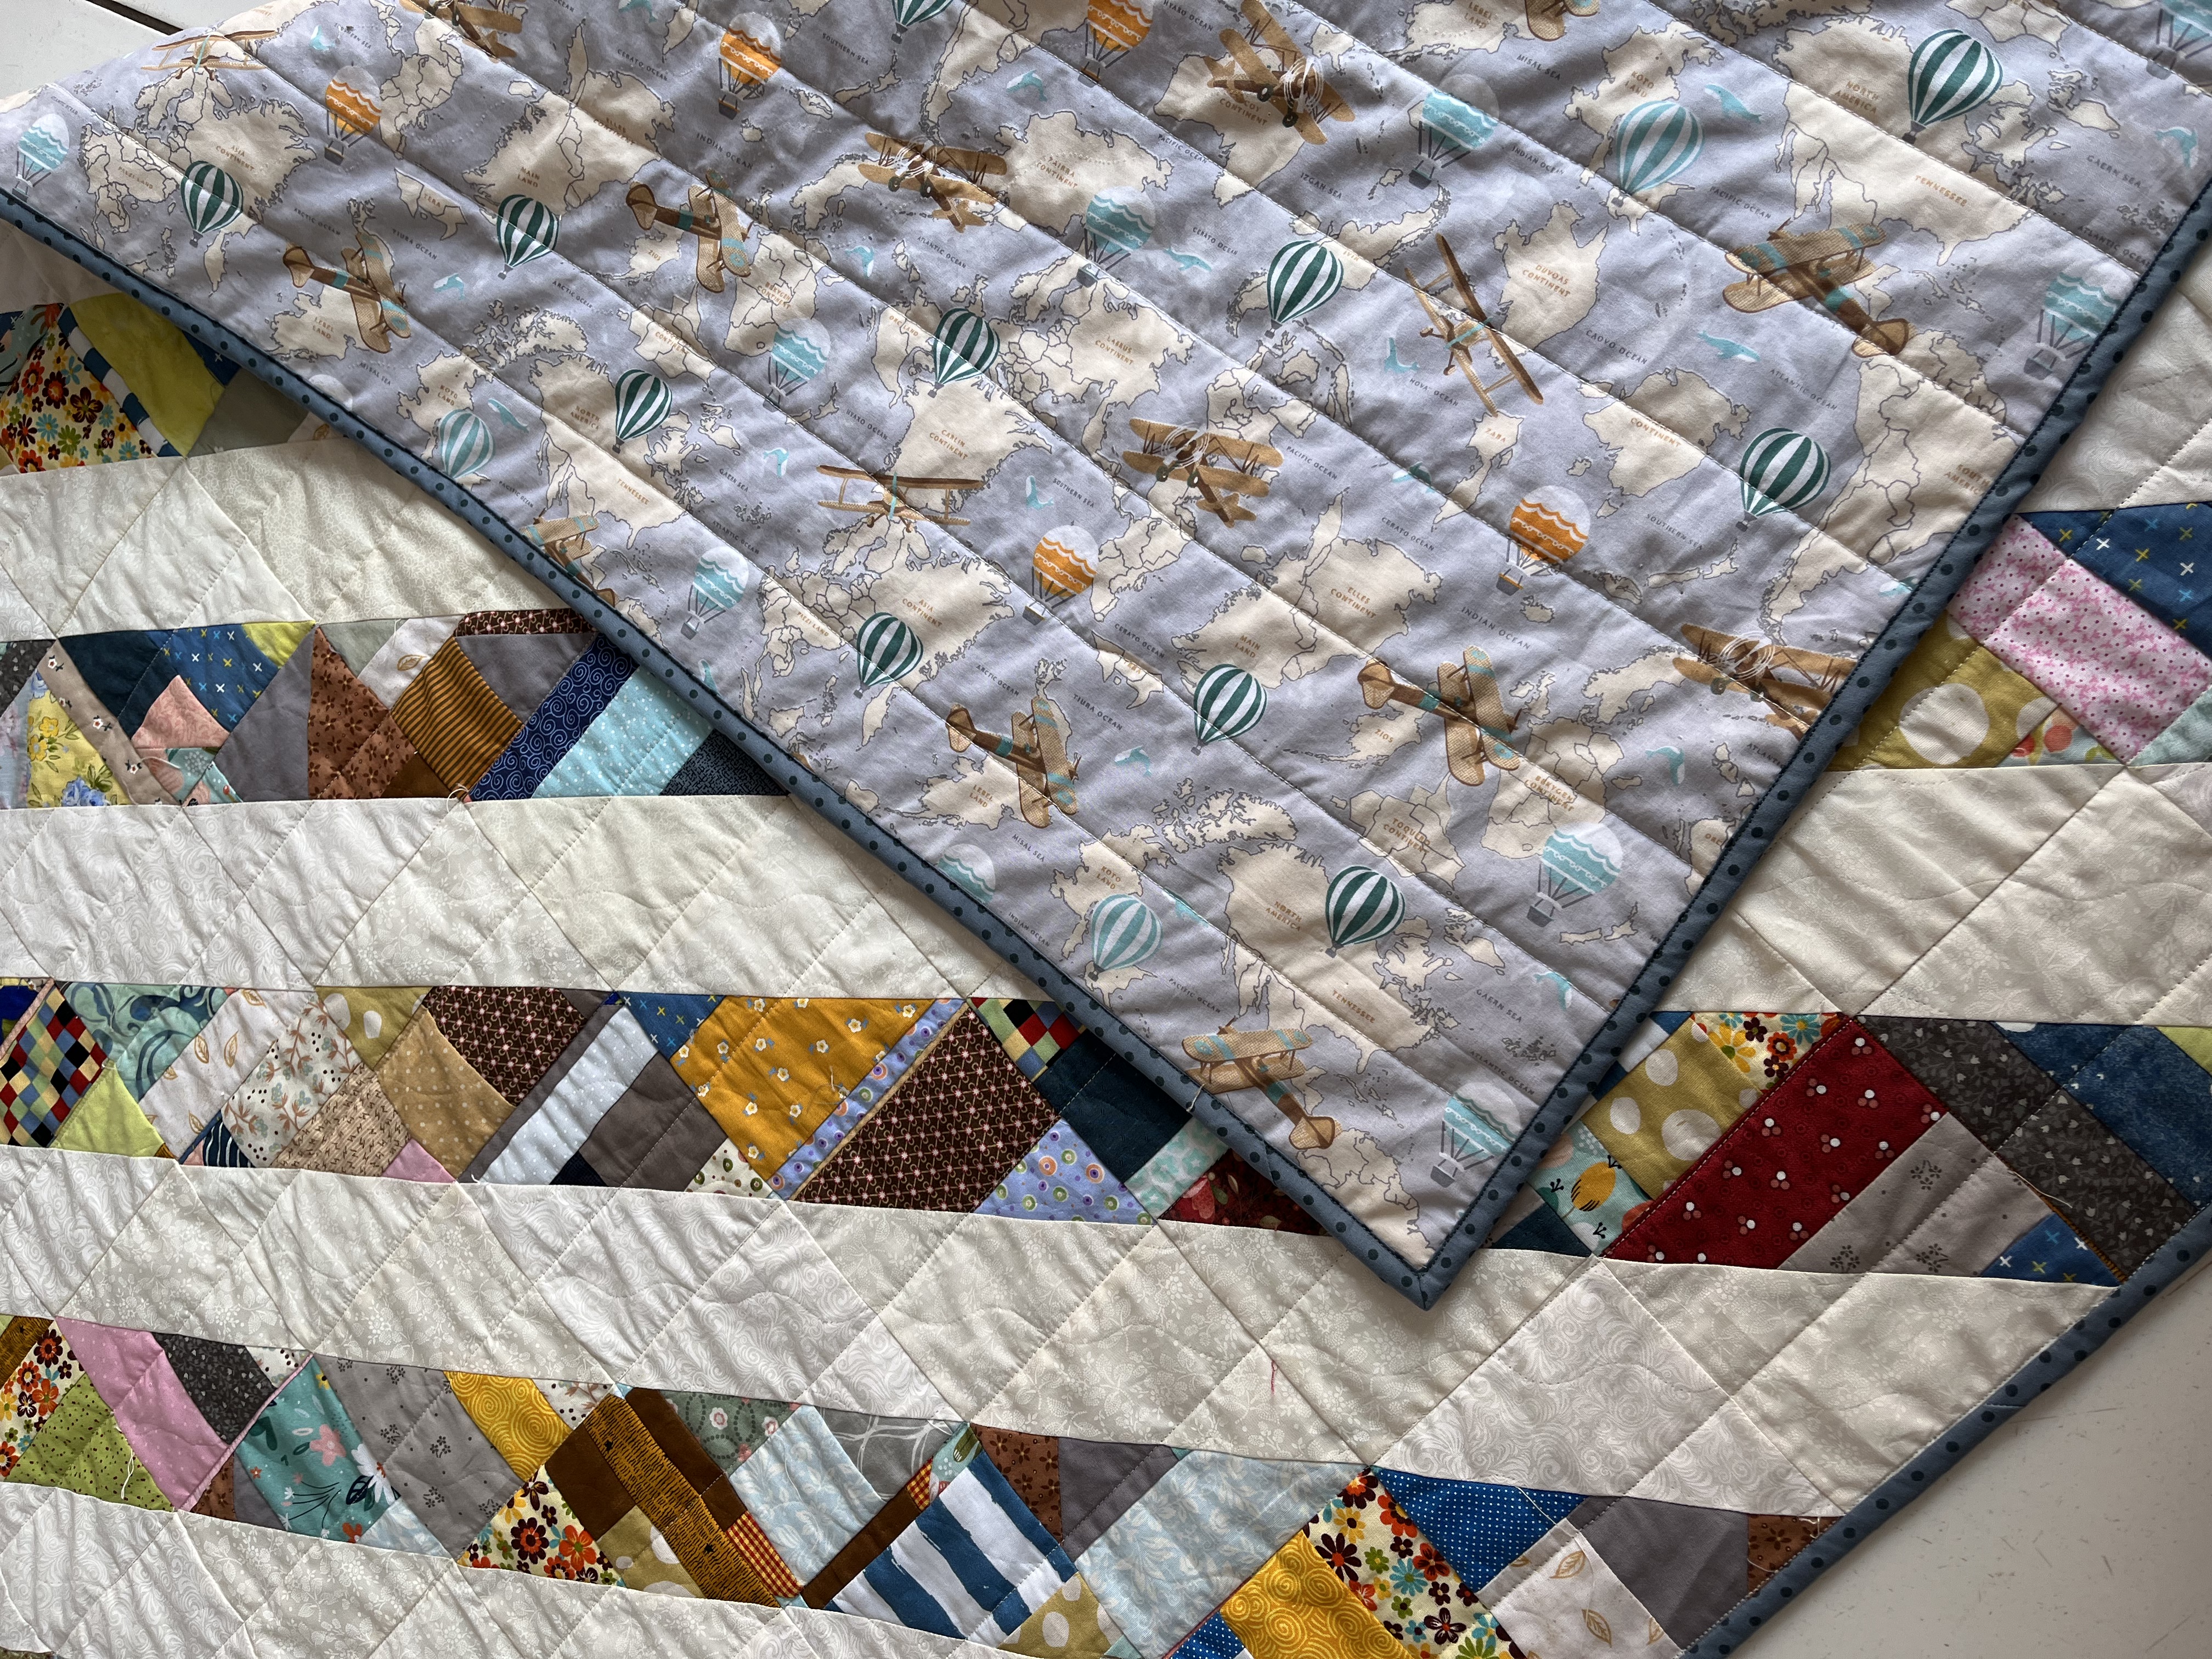
Image 13
There you have it, your beautiful Scrappy Baby Quilt is ready! To better visualize the design formed by the HSTs, avoid using patterned background fabric, as the scraps are already very colorful. I suggest you use very neutral fabrics with light texture, white (it looks great) or solids.
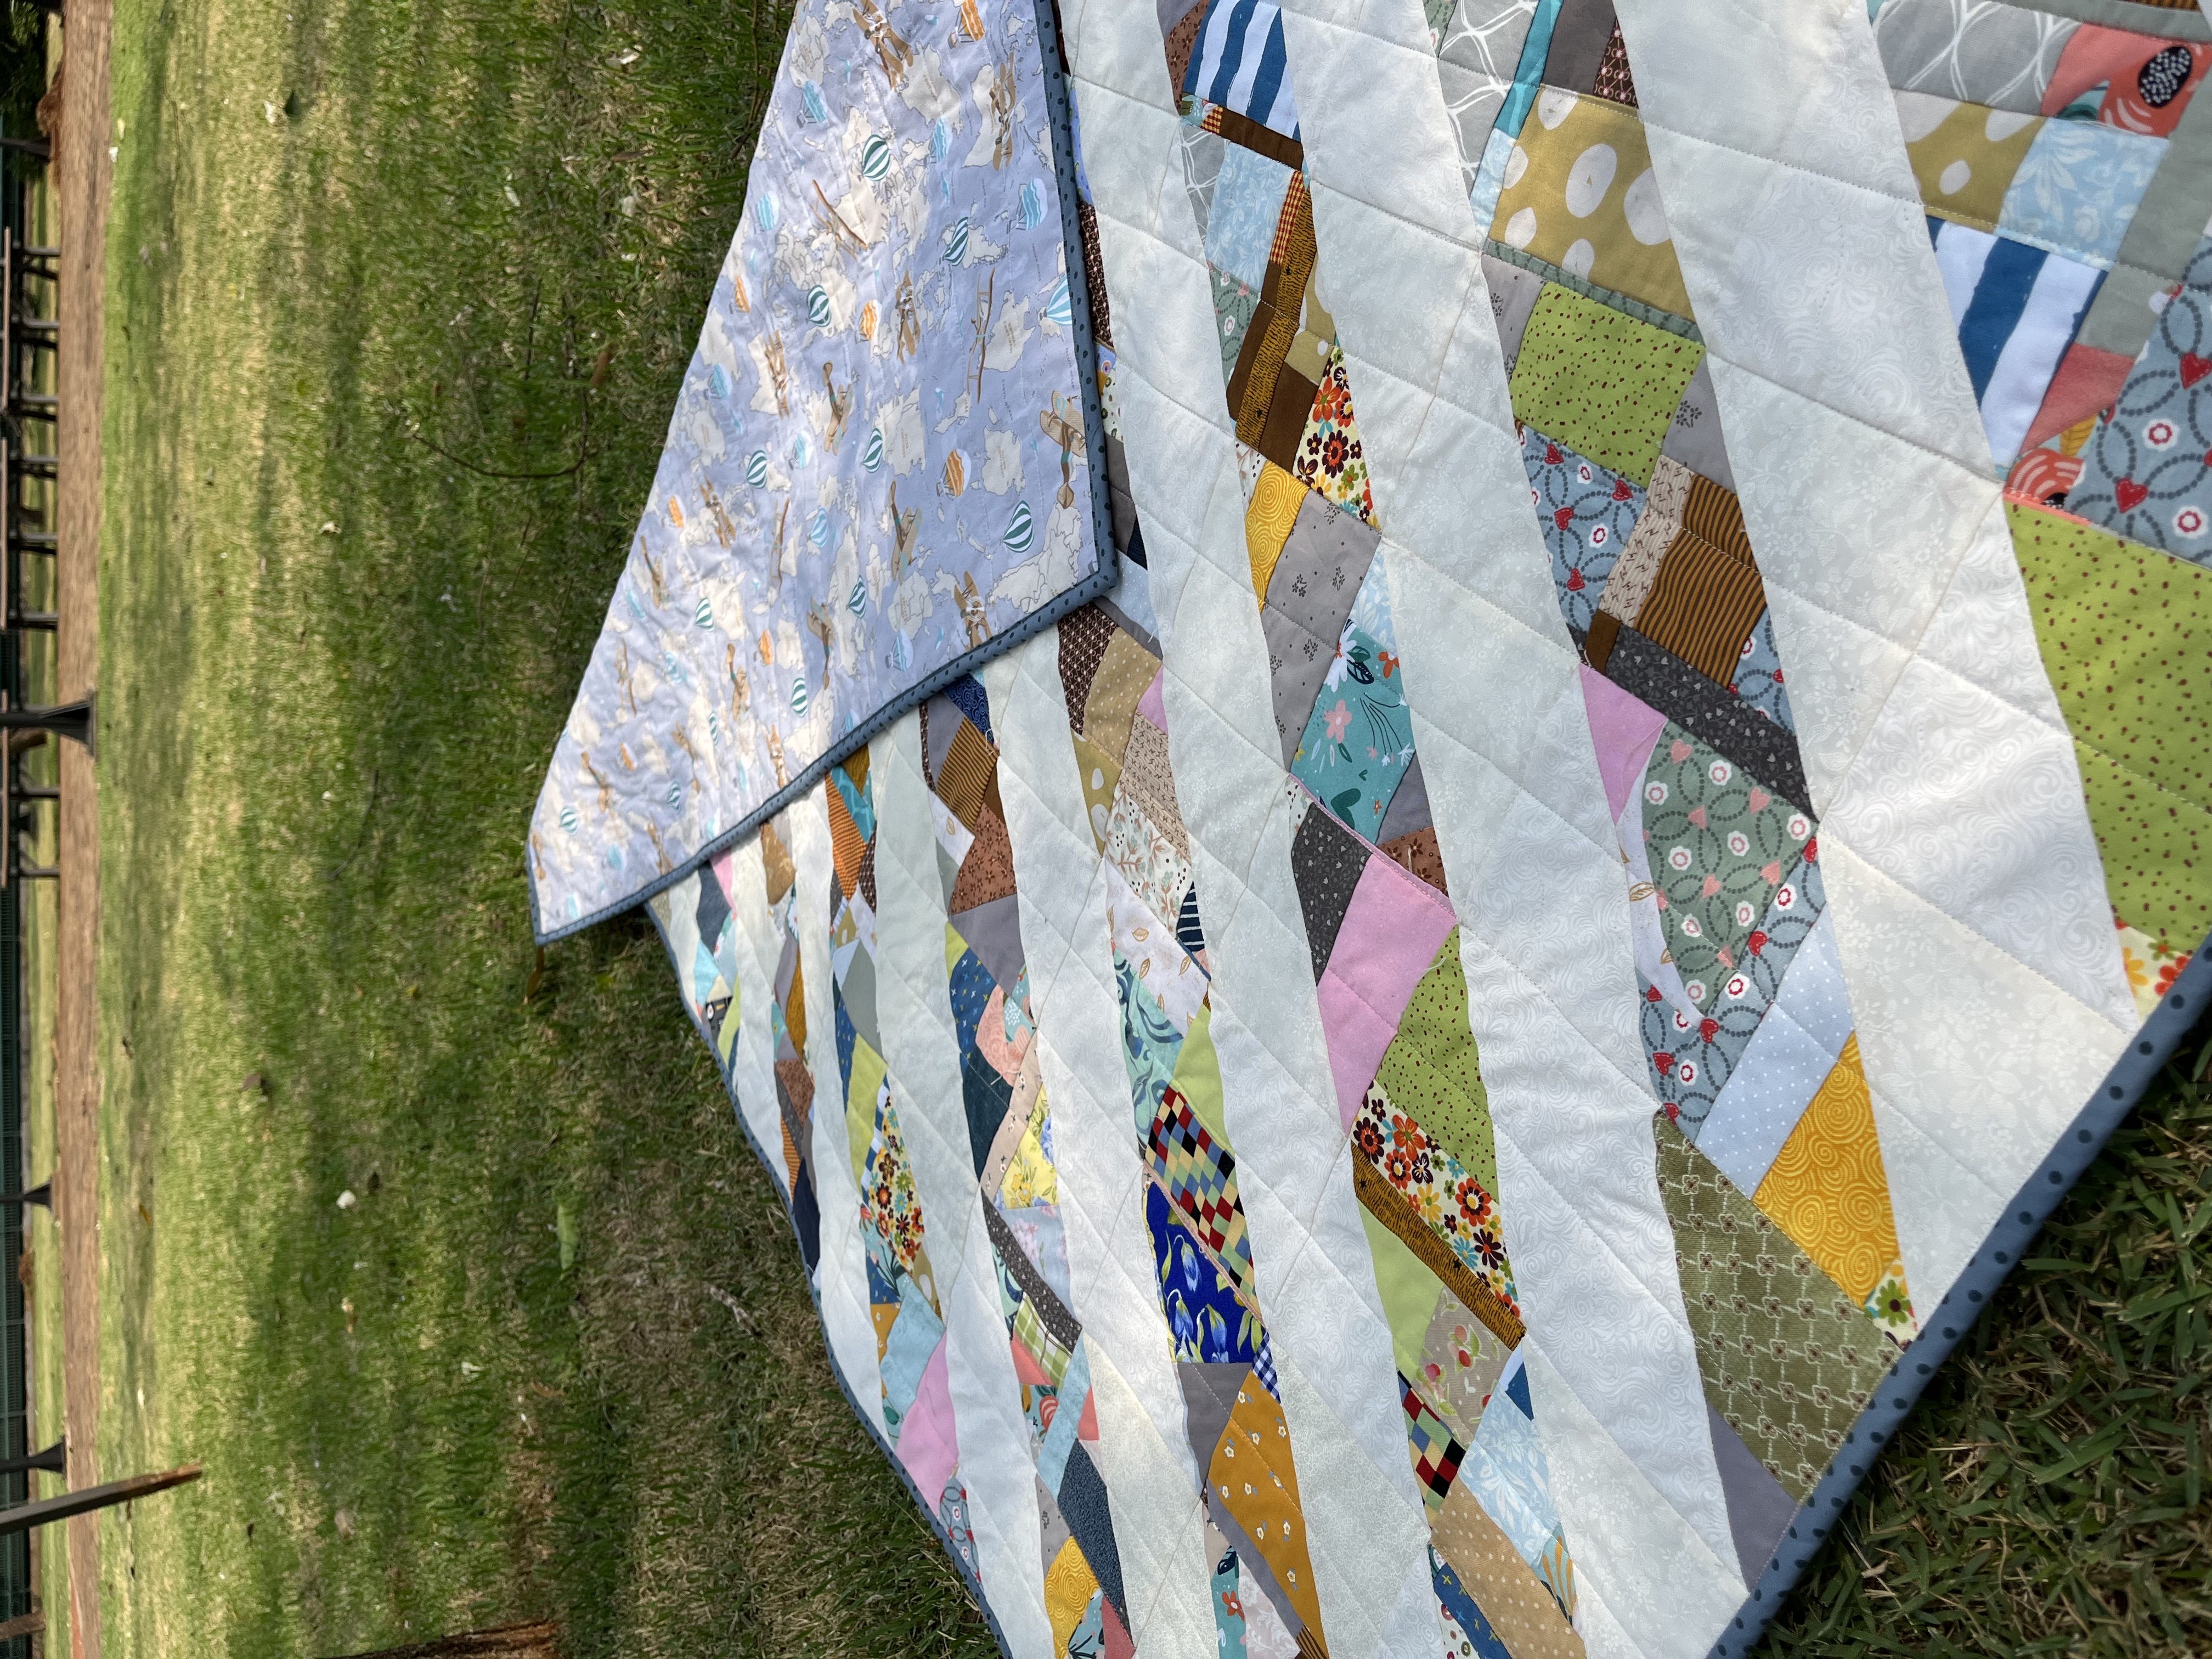
I hope you enjoyed it and share it with others!
Share on social media using #lovescrappybabyquilt and @taniamogariquilter and I'll be happy to share on my profile! Thank you and see you next time!
Happy sewing with love and inches,
