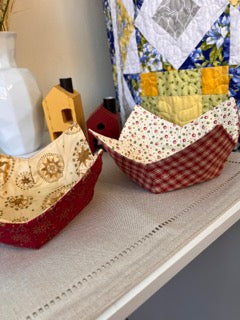
Snack Basket
Hi quilters,
Every year, at Christmas, I make Gingerbread Cookies for the boys at home. They love them and so do I! Gingerbread is a traditional Christmas cookie in North American countries! Ginger means ginger and bread means bread! And before you ask, yes, it is a cookie that has ingredients: ginger, cinnamon, cloves and spices. Maybe you're wondering what these cookies would taste like, right? It can't be that tasty, it's just ginger and cloves, lol!
But the boys and I love this flavor and smell! It's just a matter of habit! It also leaves the whole house smelling of cinnamon and cloves, which I love!
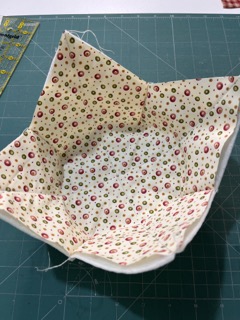
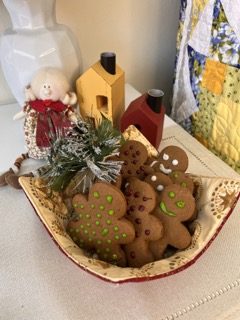
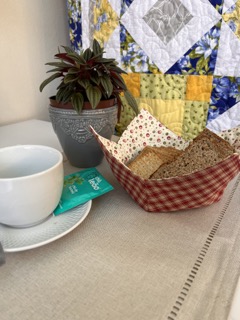
This year I decided to make a pot or basket out of fabric to put these cookies ready to leave on the table or counter, so that the kids can pass them around and take the cookies as they please! It's super easy to make and can be used for an afternoon snack, for sure! You can put sliced bread, toast, cheese bread and so on!
In addition to its many uses, it is easy to store and wash! Follow the step-by-step instructions below and have fun!
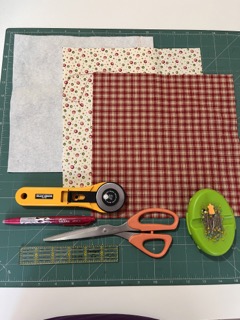
MATERIAL REQUIRED:
- 02 10"x 10" squares with different prints;
- 01 10"x 10" square of blanket (I used thin blanket R1)
- scissors
- pin
- marker
- ruler
- cutter
HOW TO MAKE IT:
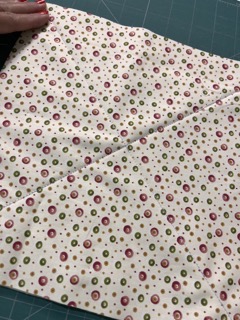
- Make diagonal lines on one of the fabrics (inner fabric of the basket) on the right side. Place the fabric on the blanket (on the soft side of the blanket) and sew along the two diagonal lines.
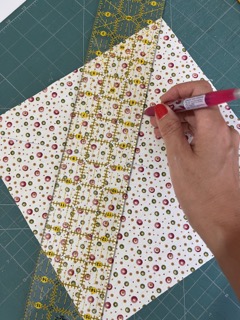
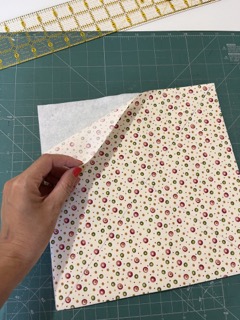
Once the seam is done, remove the line with an iron. Fold the piece in half and use a ruler to make marks 2" from the fold side of the piece and 1" from the edge side. Draw a straight line between these two marks and sew along the line. Do the same on the other side of the piece.
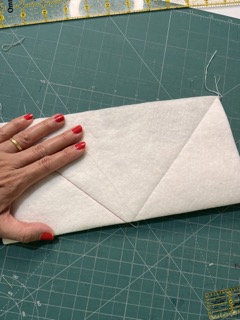
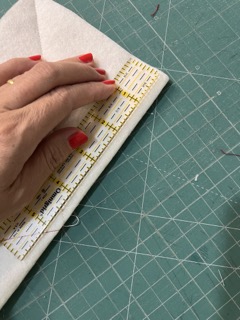
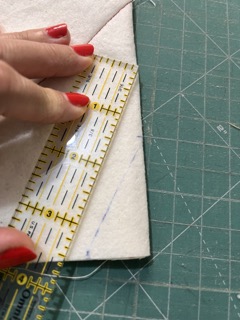
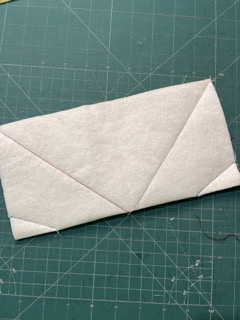
After sewing both sides, cut off the excess ends. Fold the piece in half on the other side and do the same procedure on the other 2 corners. The inside is now finished.
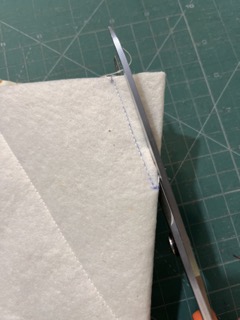
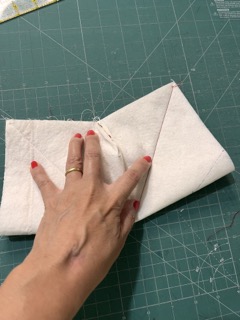
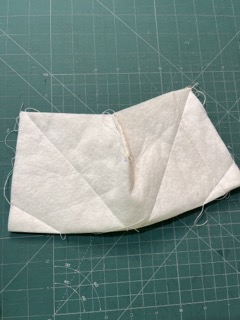
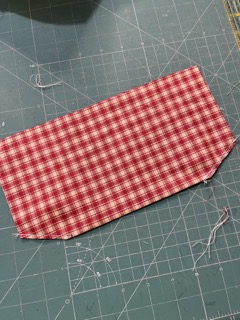
With the fabric from the outside of the basket, we will do the same thing we did with the inside piece, but without the blanket (remember that the lines and seams on these lines are always on the wrong side of the fabric). Fold the fabric in half, make markings using the ruler in both corners, sew along the line and cut off the excess.
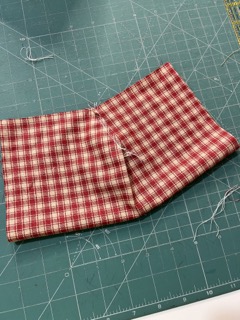
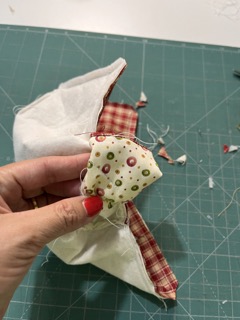
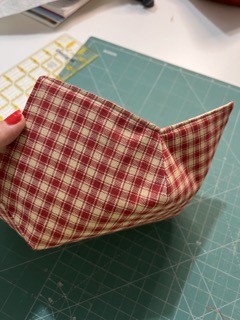
Repeat the process for the other two corners. Fold the piece on the other side, mark, sew and cut off the excess, until you form the basket as shown in the figures below.
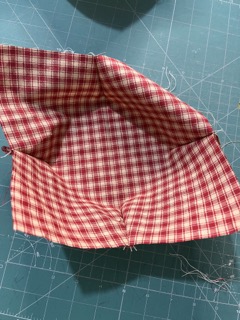
Next step, place the outer piece of the basket inside the blanket piece, right sides together. Pin the two pieces, positioning the seams of both pieces correctly so that they are aligned and then pin, if necessary, around the piece. With a 1/4" seam allowance, sew a seam around the piece leaving a gap of approximately 2" so that you can turn the piece right side out (I suggest leaving this gap on the straight part of the piece to make it easier).
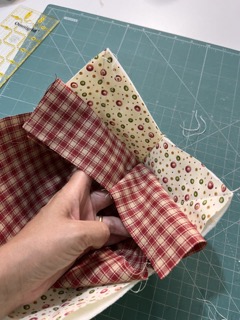
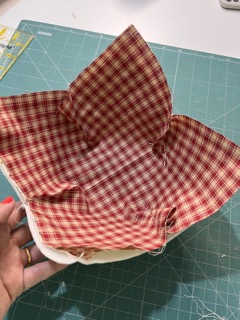
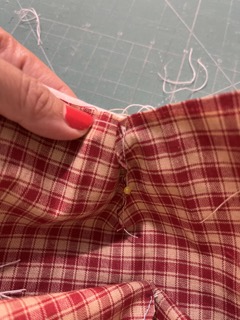
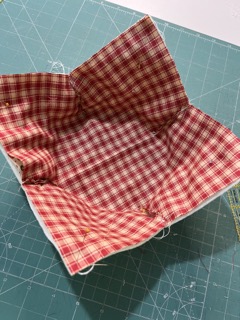
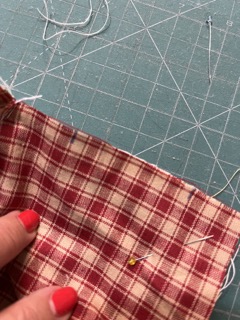
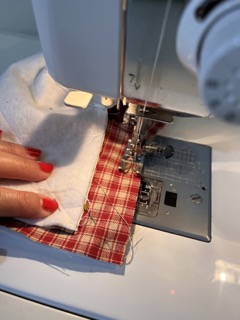
Once you have sewn around the piece, carefully turn it over and adjust the edges with the help of something with a point, but always being careful not to puncture it. To better adjust the basket, I like to iron the piece and the edge where the seam is. Now just sew very close to the edge to close the 2" hole and finish the piece (pay attention to the colors of the bobbin threads and the foot in relation to the colors of the fabrics). Here is a basket for snacks that you can use whenever you want. Have fun.
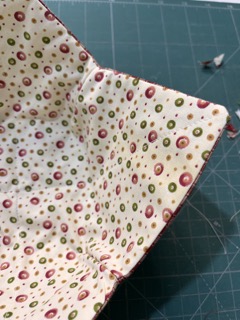
Share your work on social media by tagging me (@taniamogariquilter), I will be happy to help you.

2 comments
Amei! Muito lindo. Obrigada!
Amei muito lindo.parabens