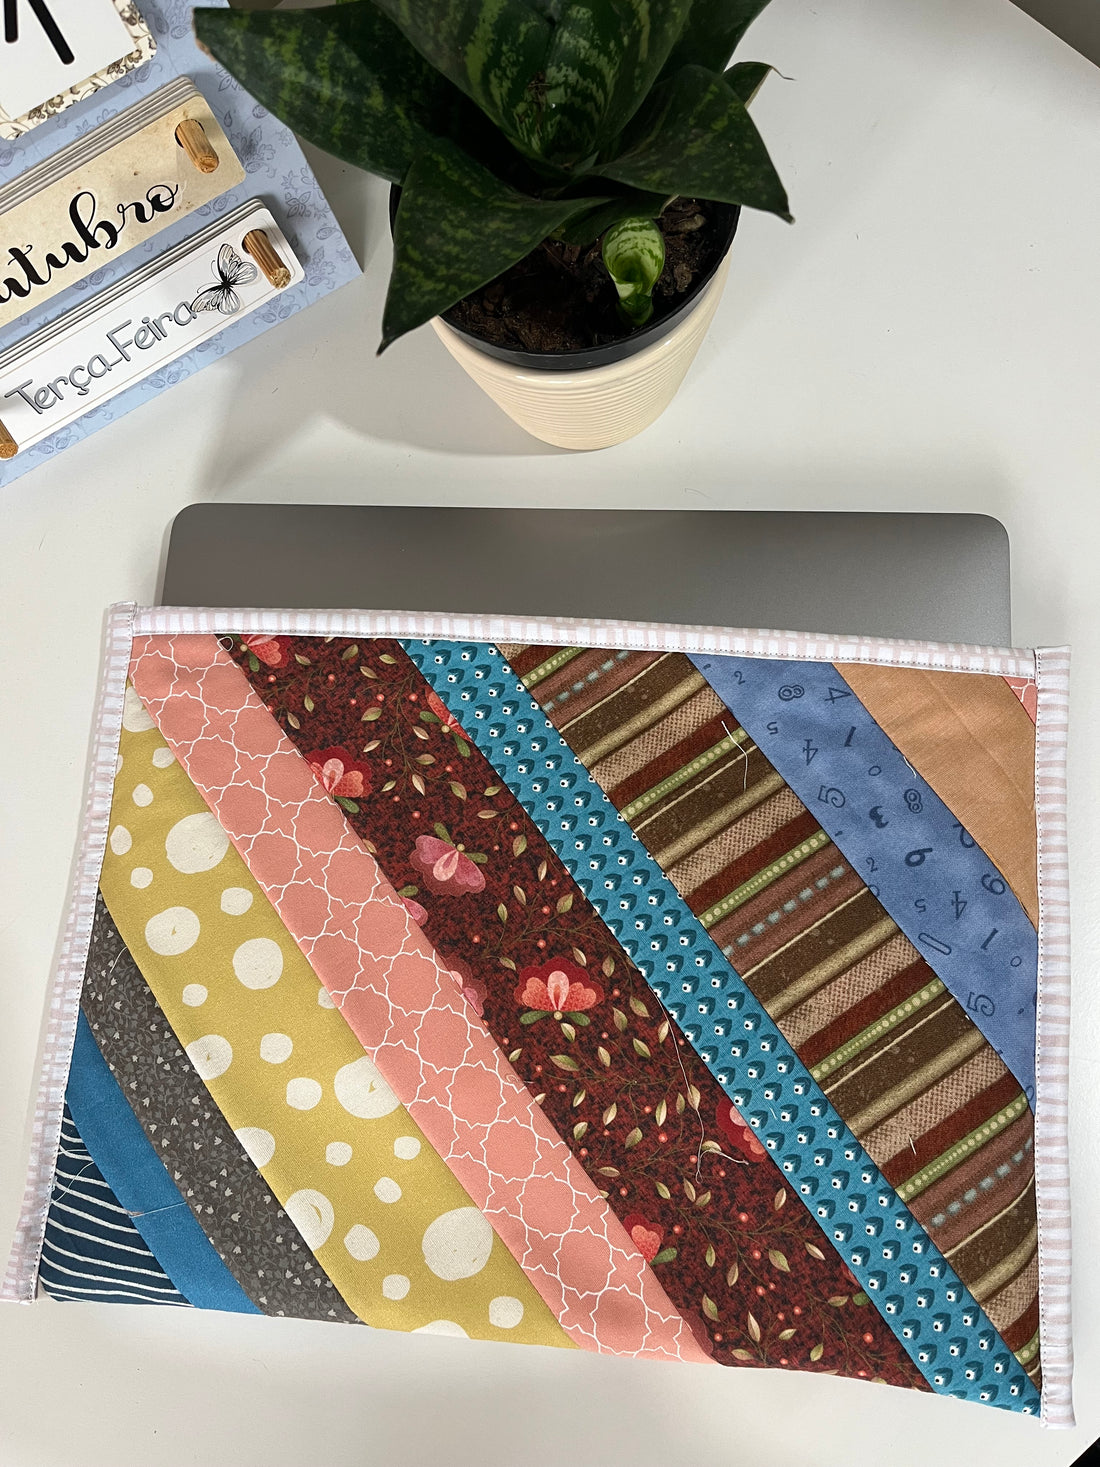
Scrappy Laptop Case
Scrappy Laptop Cover is very easy and practical to make. That project you will do in the blink of an eye and you can make several to give as gifts to everyone or to sell!
Let's get to the tutorial! It's a "quilt as you go" project (the piece is already quilted as you do it!).
The construction of the piece is based on just a rectangle where you use scraps of fabric that you already have, in strips, that are at least 2" wide, random, without worrying about the composition and combination of the prints, but there is also nothing stopping you from using a composition that you prefer and then cutting 2" strips of the chosen fabrics.
MATERIAL: for laptop size 12" x 17 " (open).
- 01 lining fabric (14" x 19 1/2")
- 01 poly blanket R2 or R1, Jade or /ambar 200 (14" x 19 1/2") (thick blanket for better protection)
- 01 strip of (2 1/2" x width of the fabric, i.e. 1.50m)
Note: to know what size to take the lining and blanket according to the size of your laptop, simply measure your laptop's width and length (in inches) and add 2" to the width and 2 1/2" to the length. Remember that the length measurement has to be on both sides of the laptop (as you need to include its thickness when folded). See image 1. Therefore, if the laptop measures width x length: 12" x 17", the lining and blanket will be 14" x 19 1/2".
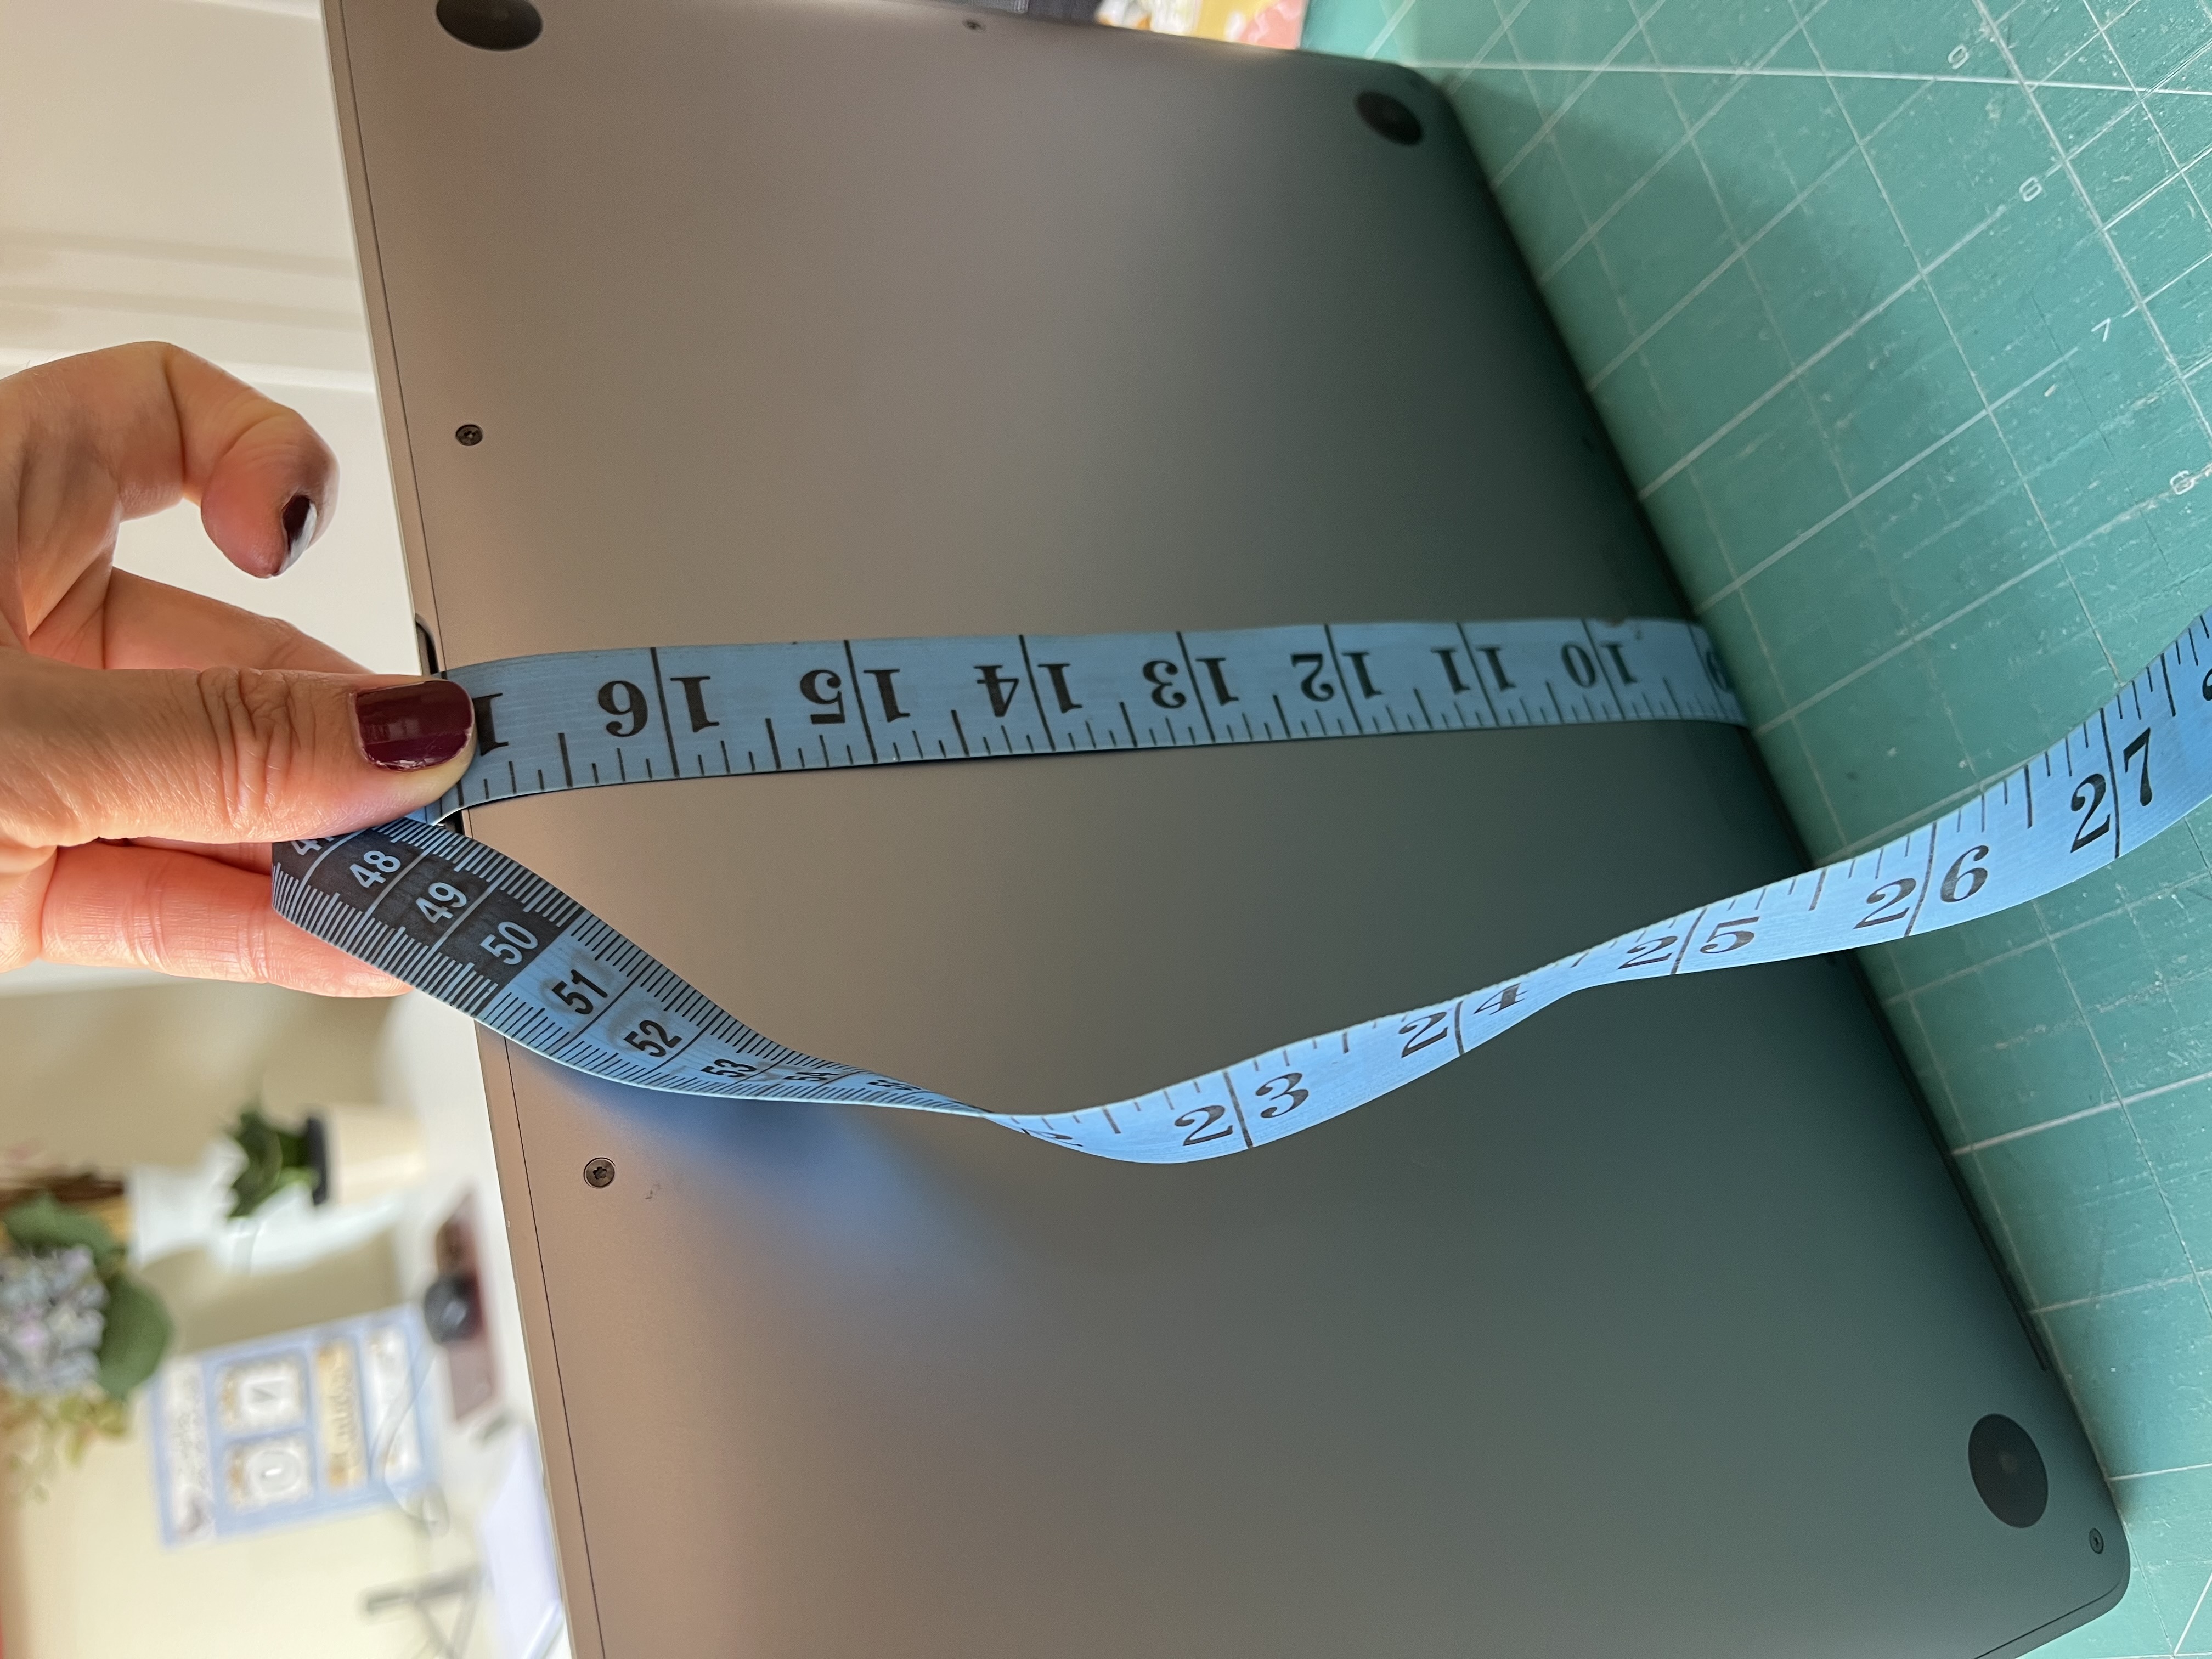
Image 1.
EXECUTION STEPS:
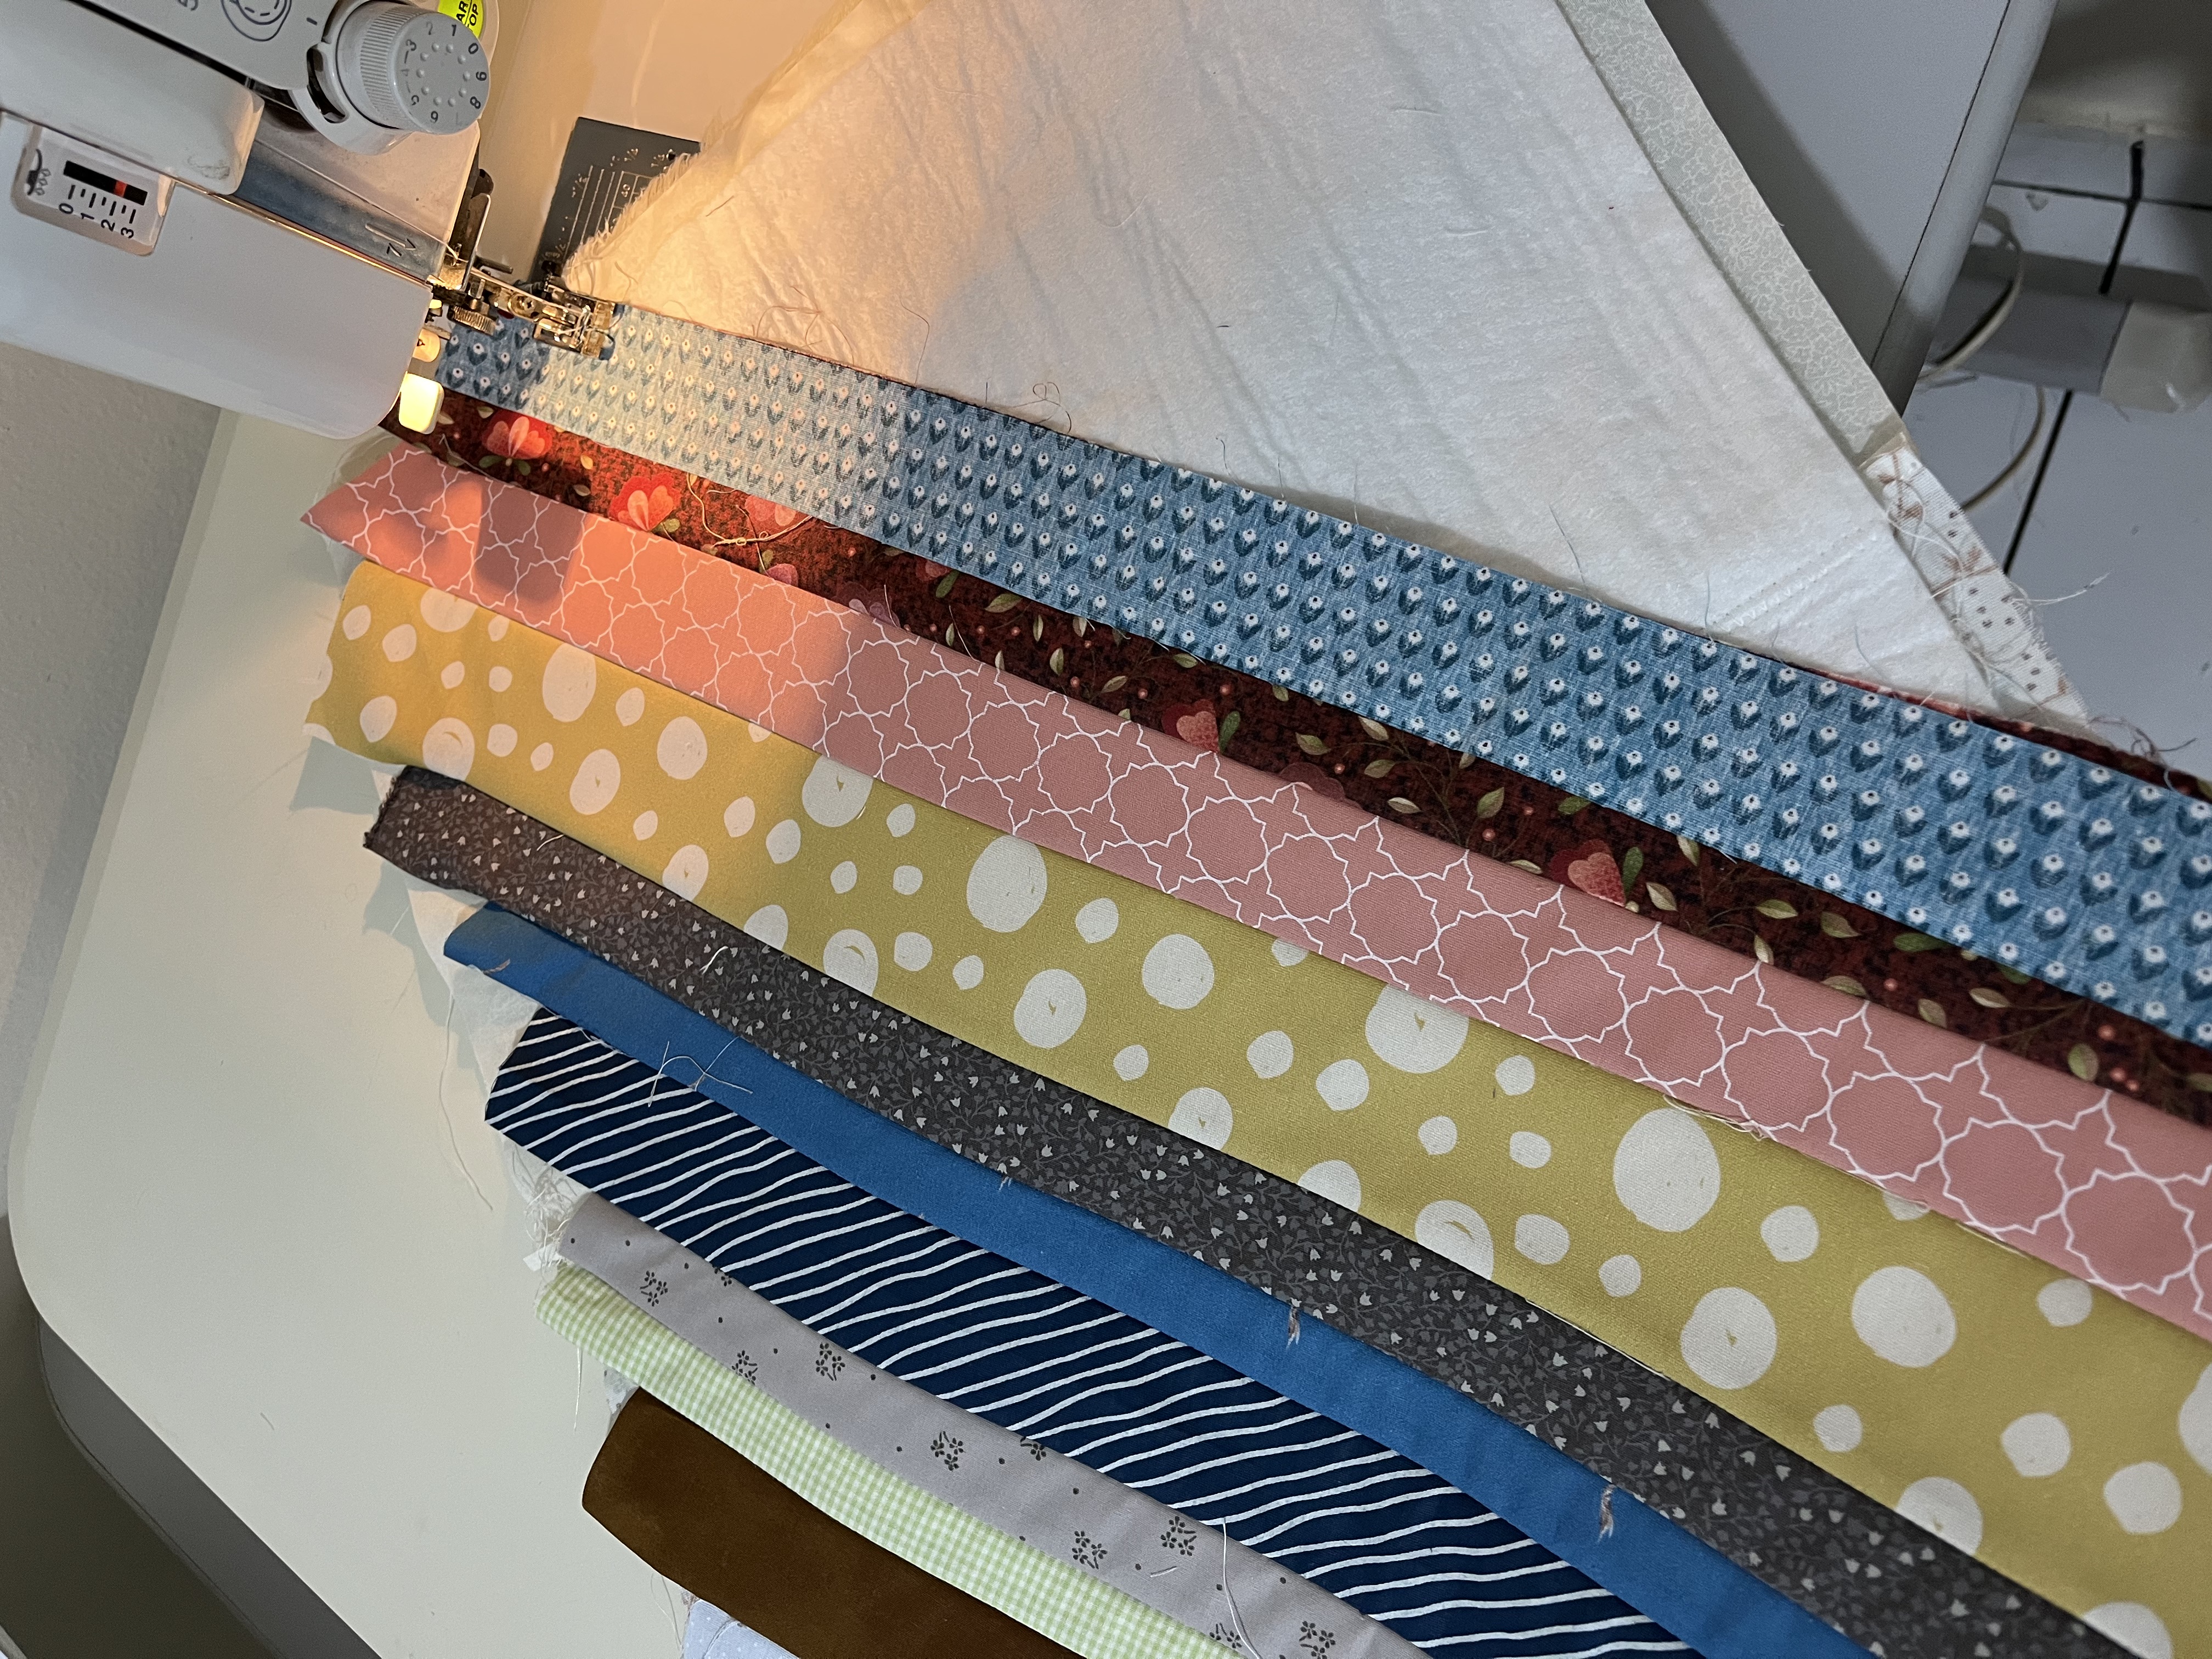
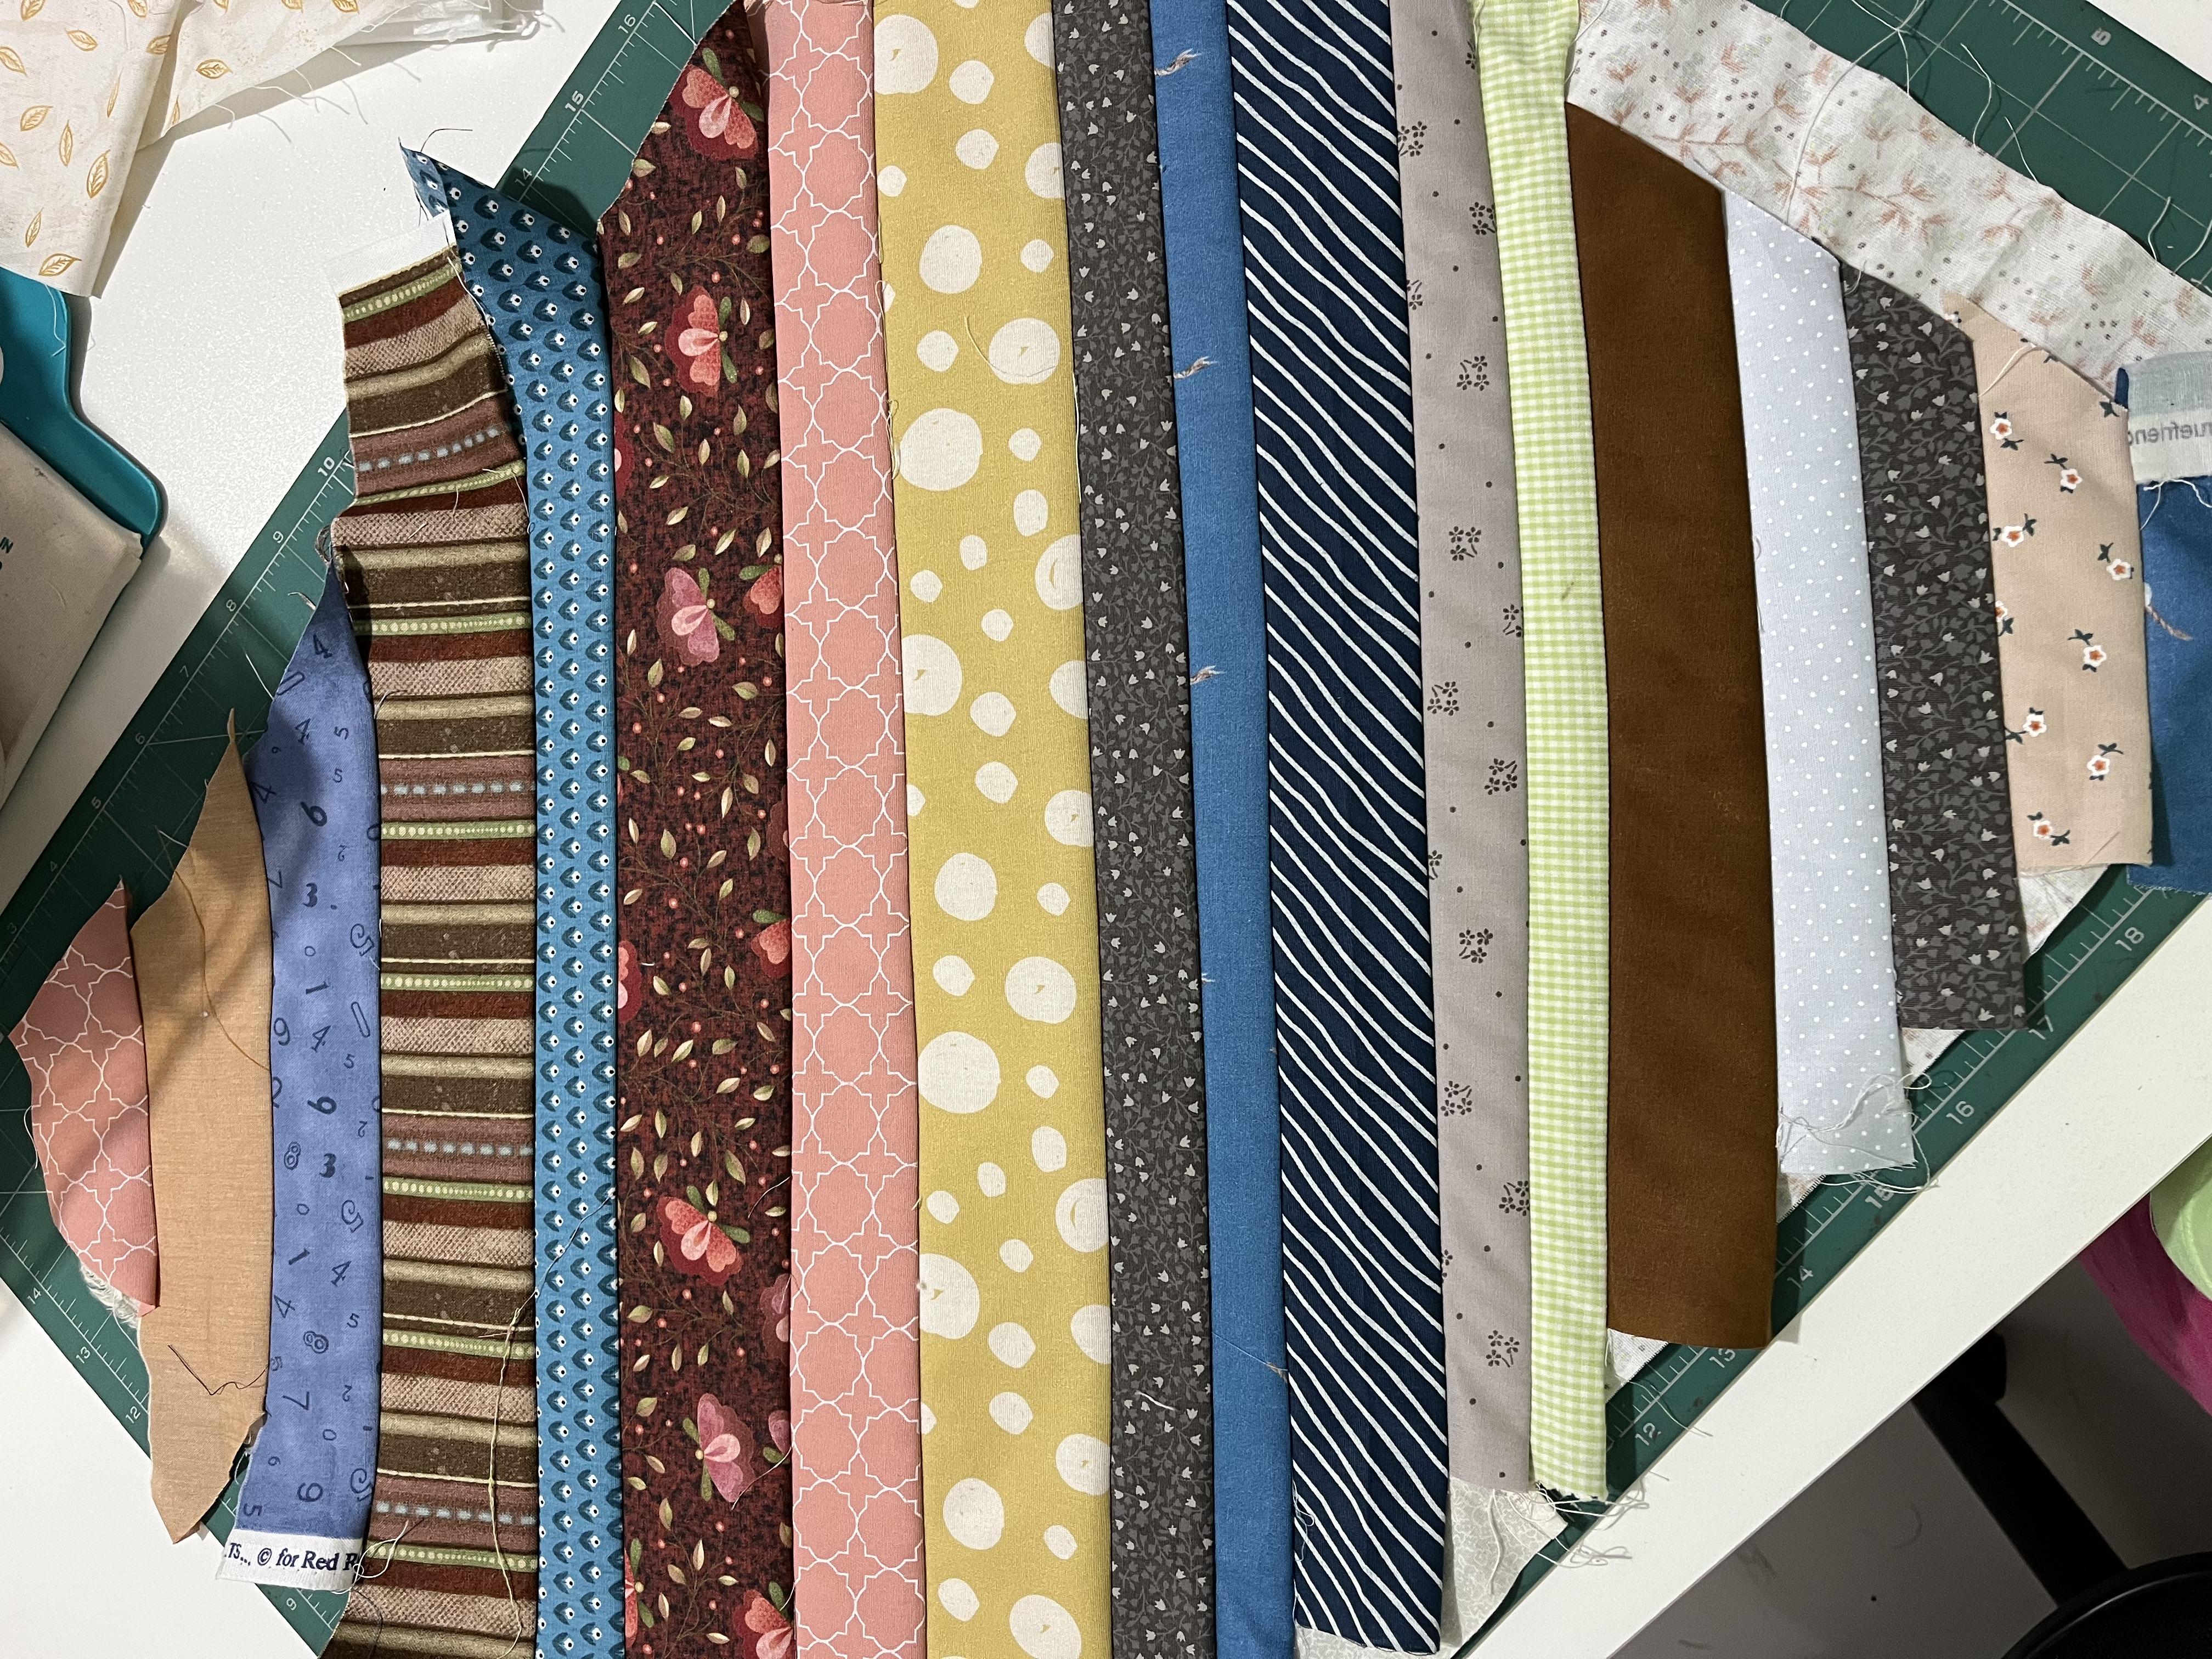
a) As the cover is made QUILT AS YOU GO, place the batting on the lining with the wrong side facing and then sew the strips over the batting with a 1/4" margin until the entire rectangular piece is covered. See Images 2 and 3.
b) Trim the piece to 13 1/2" x 19" (in my case). Here you will trim 1/2" in width and length. In other words, you will make the piece 1 1/2" wider and 2" longer than the laptop measurements.
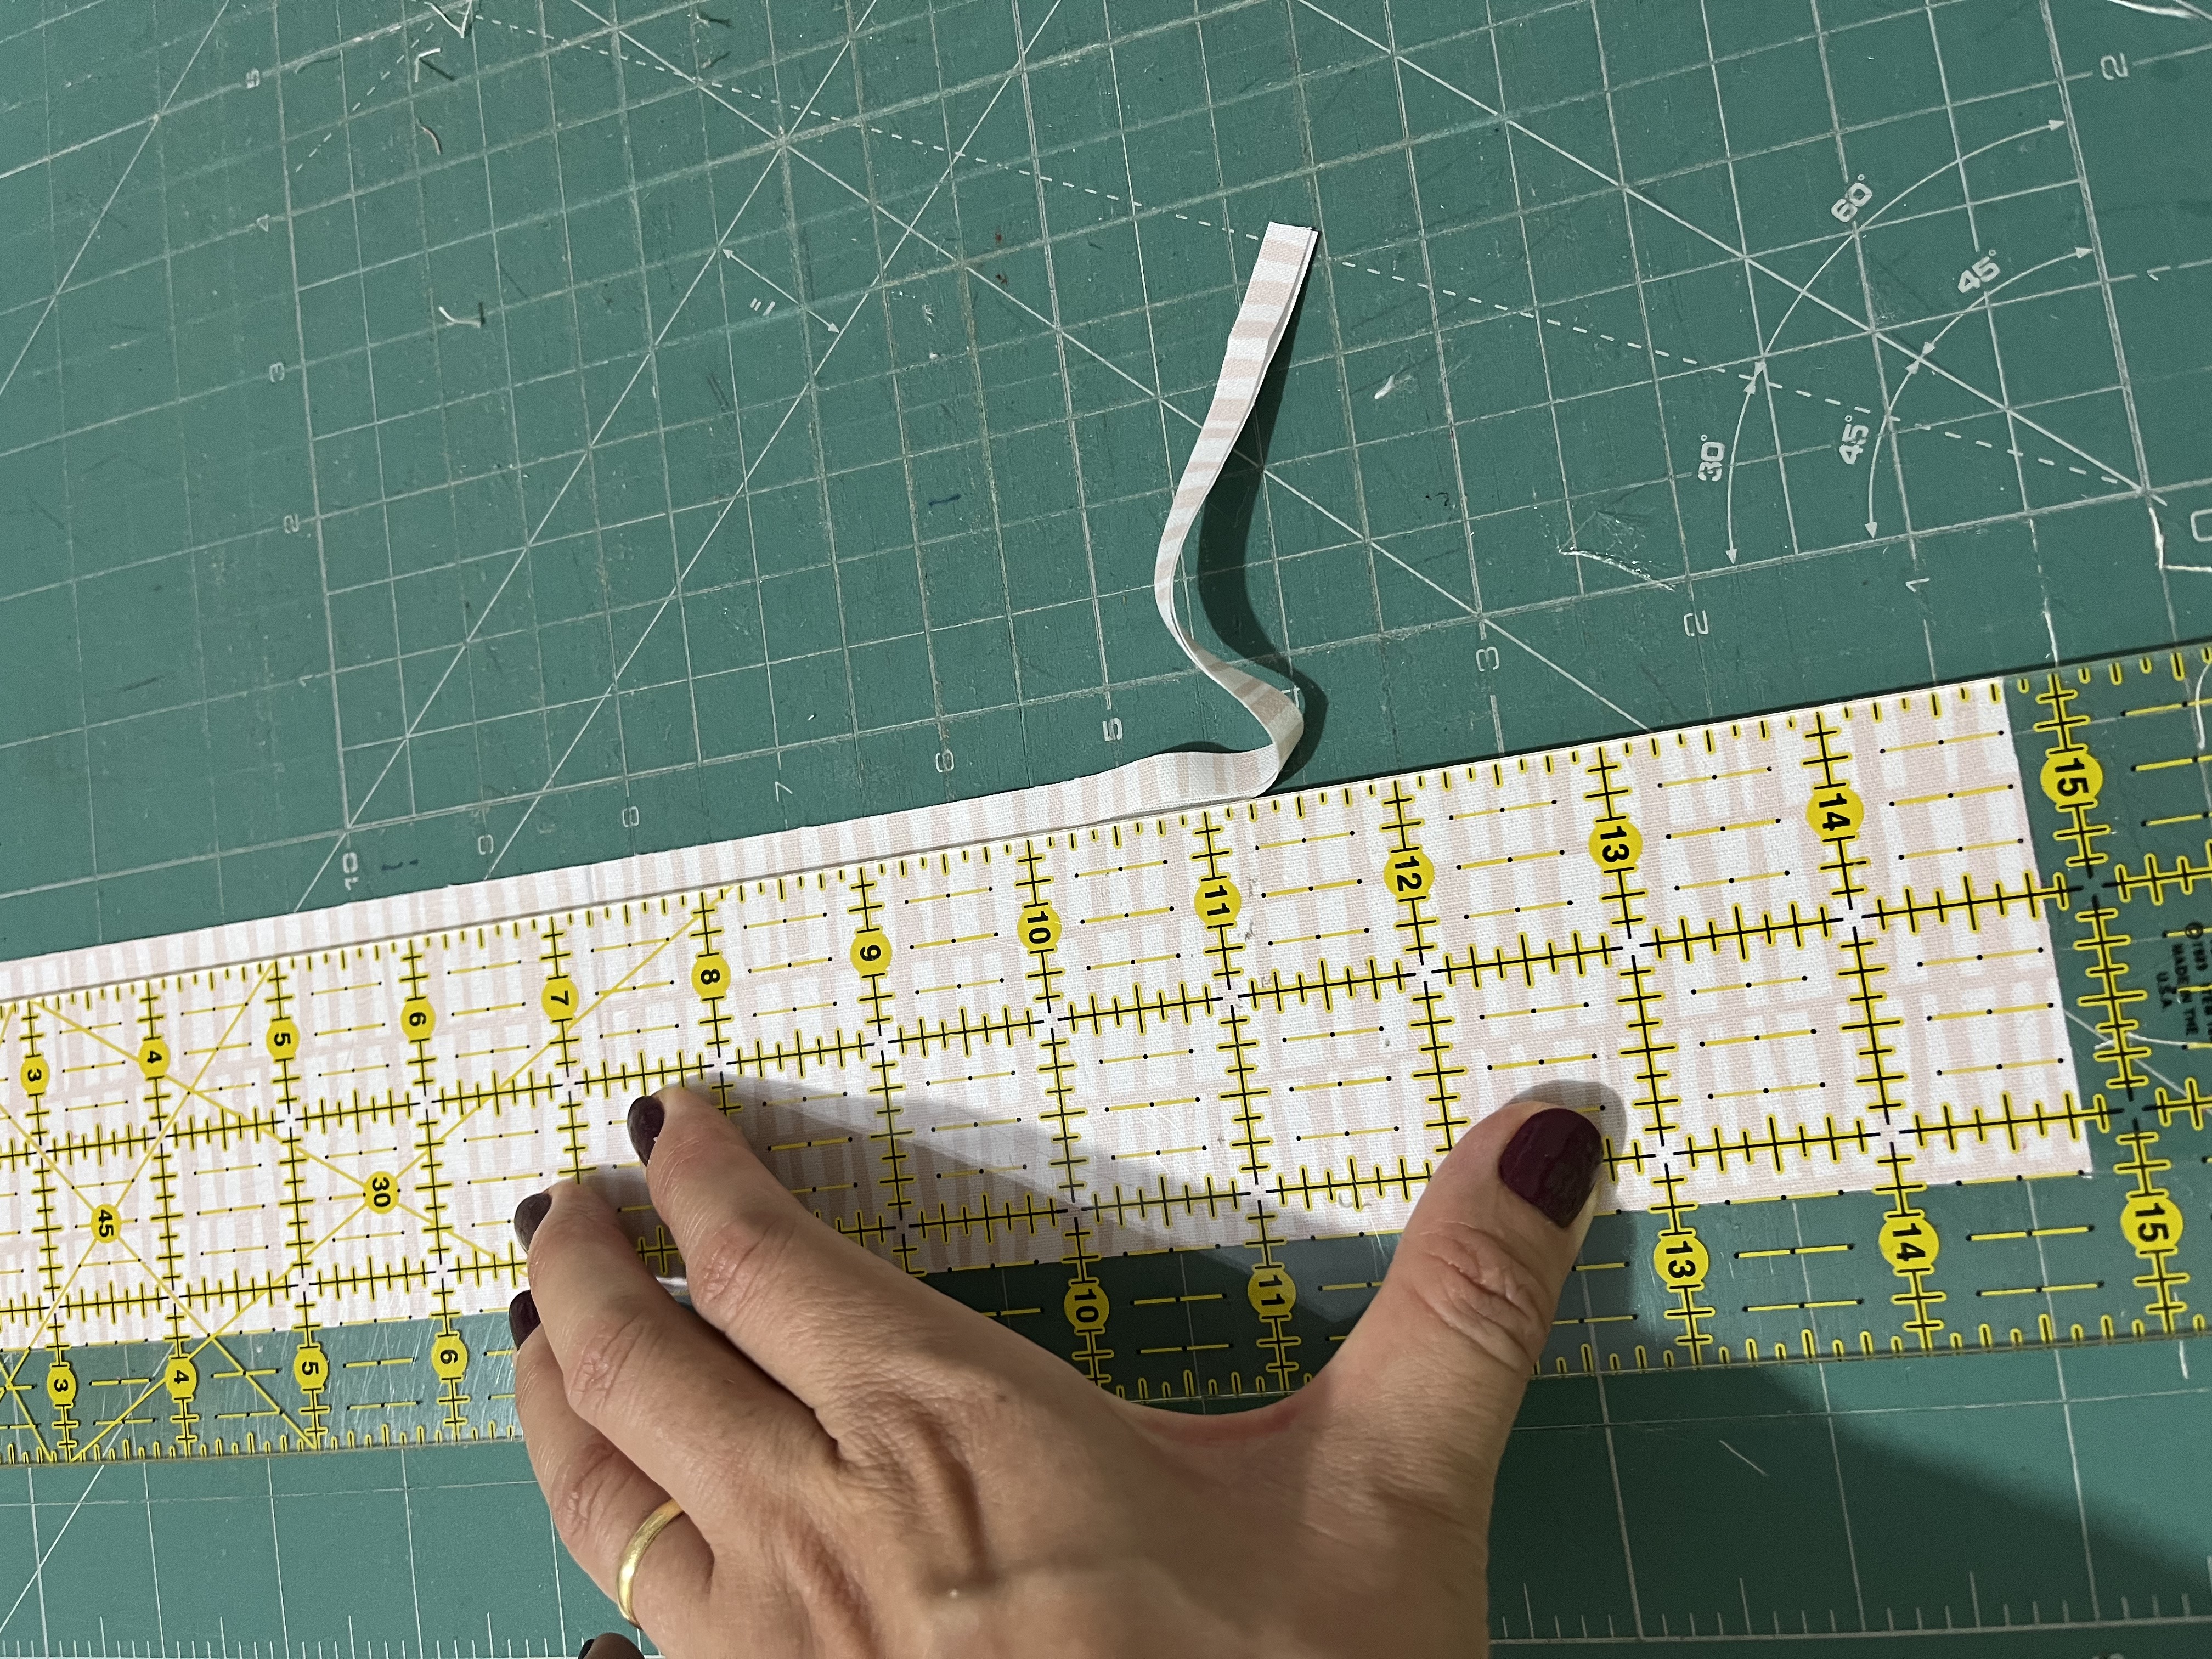
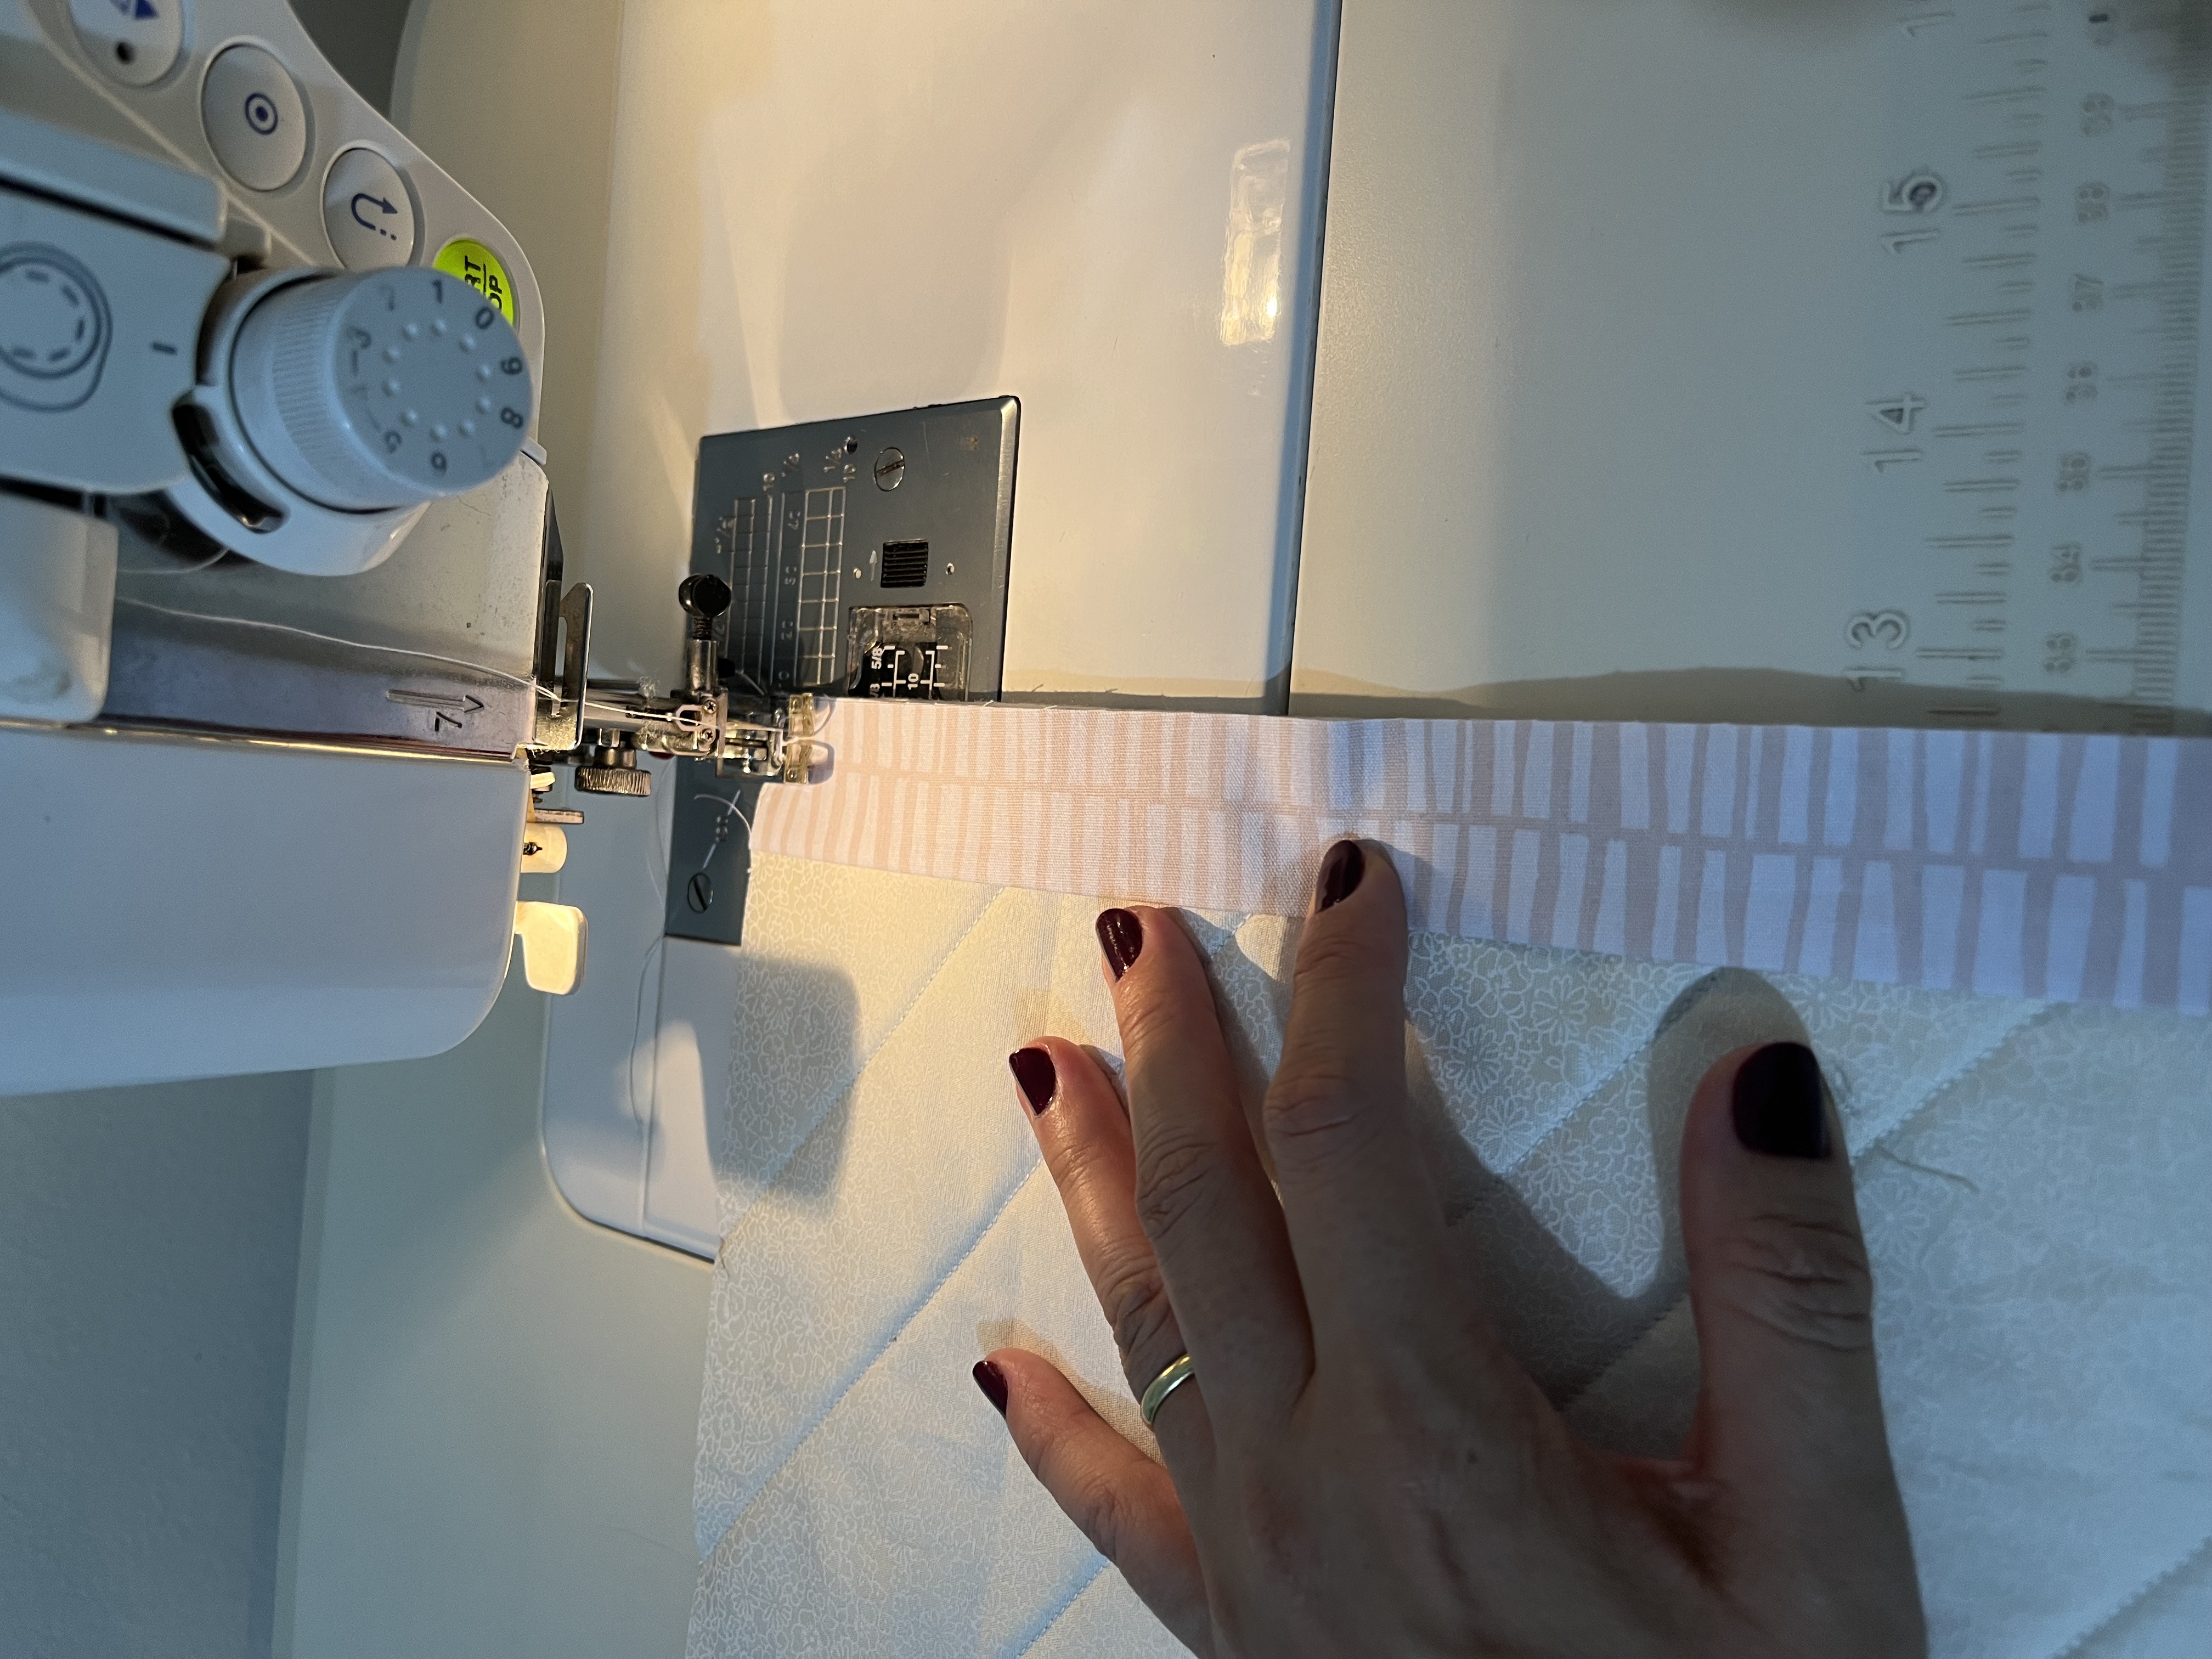
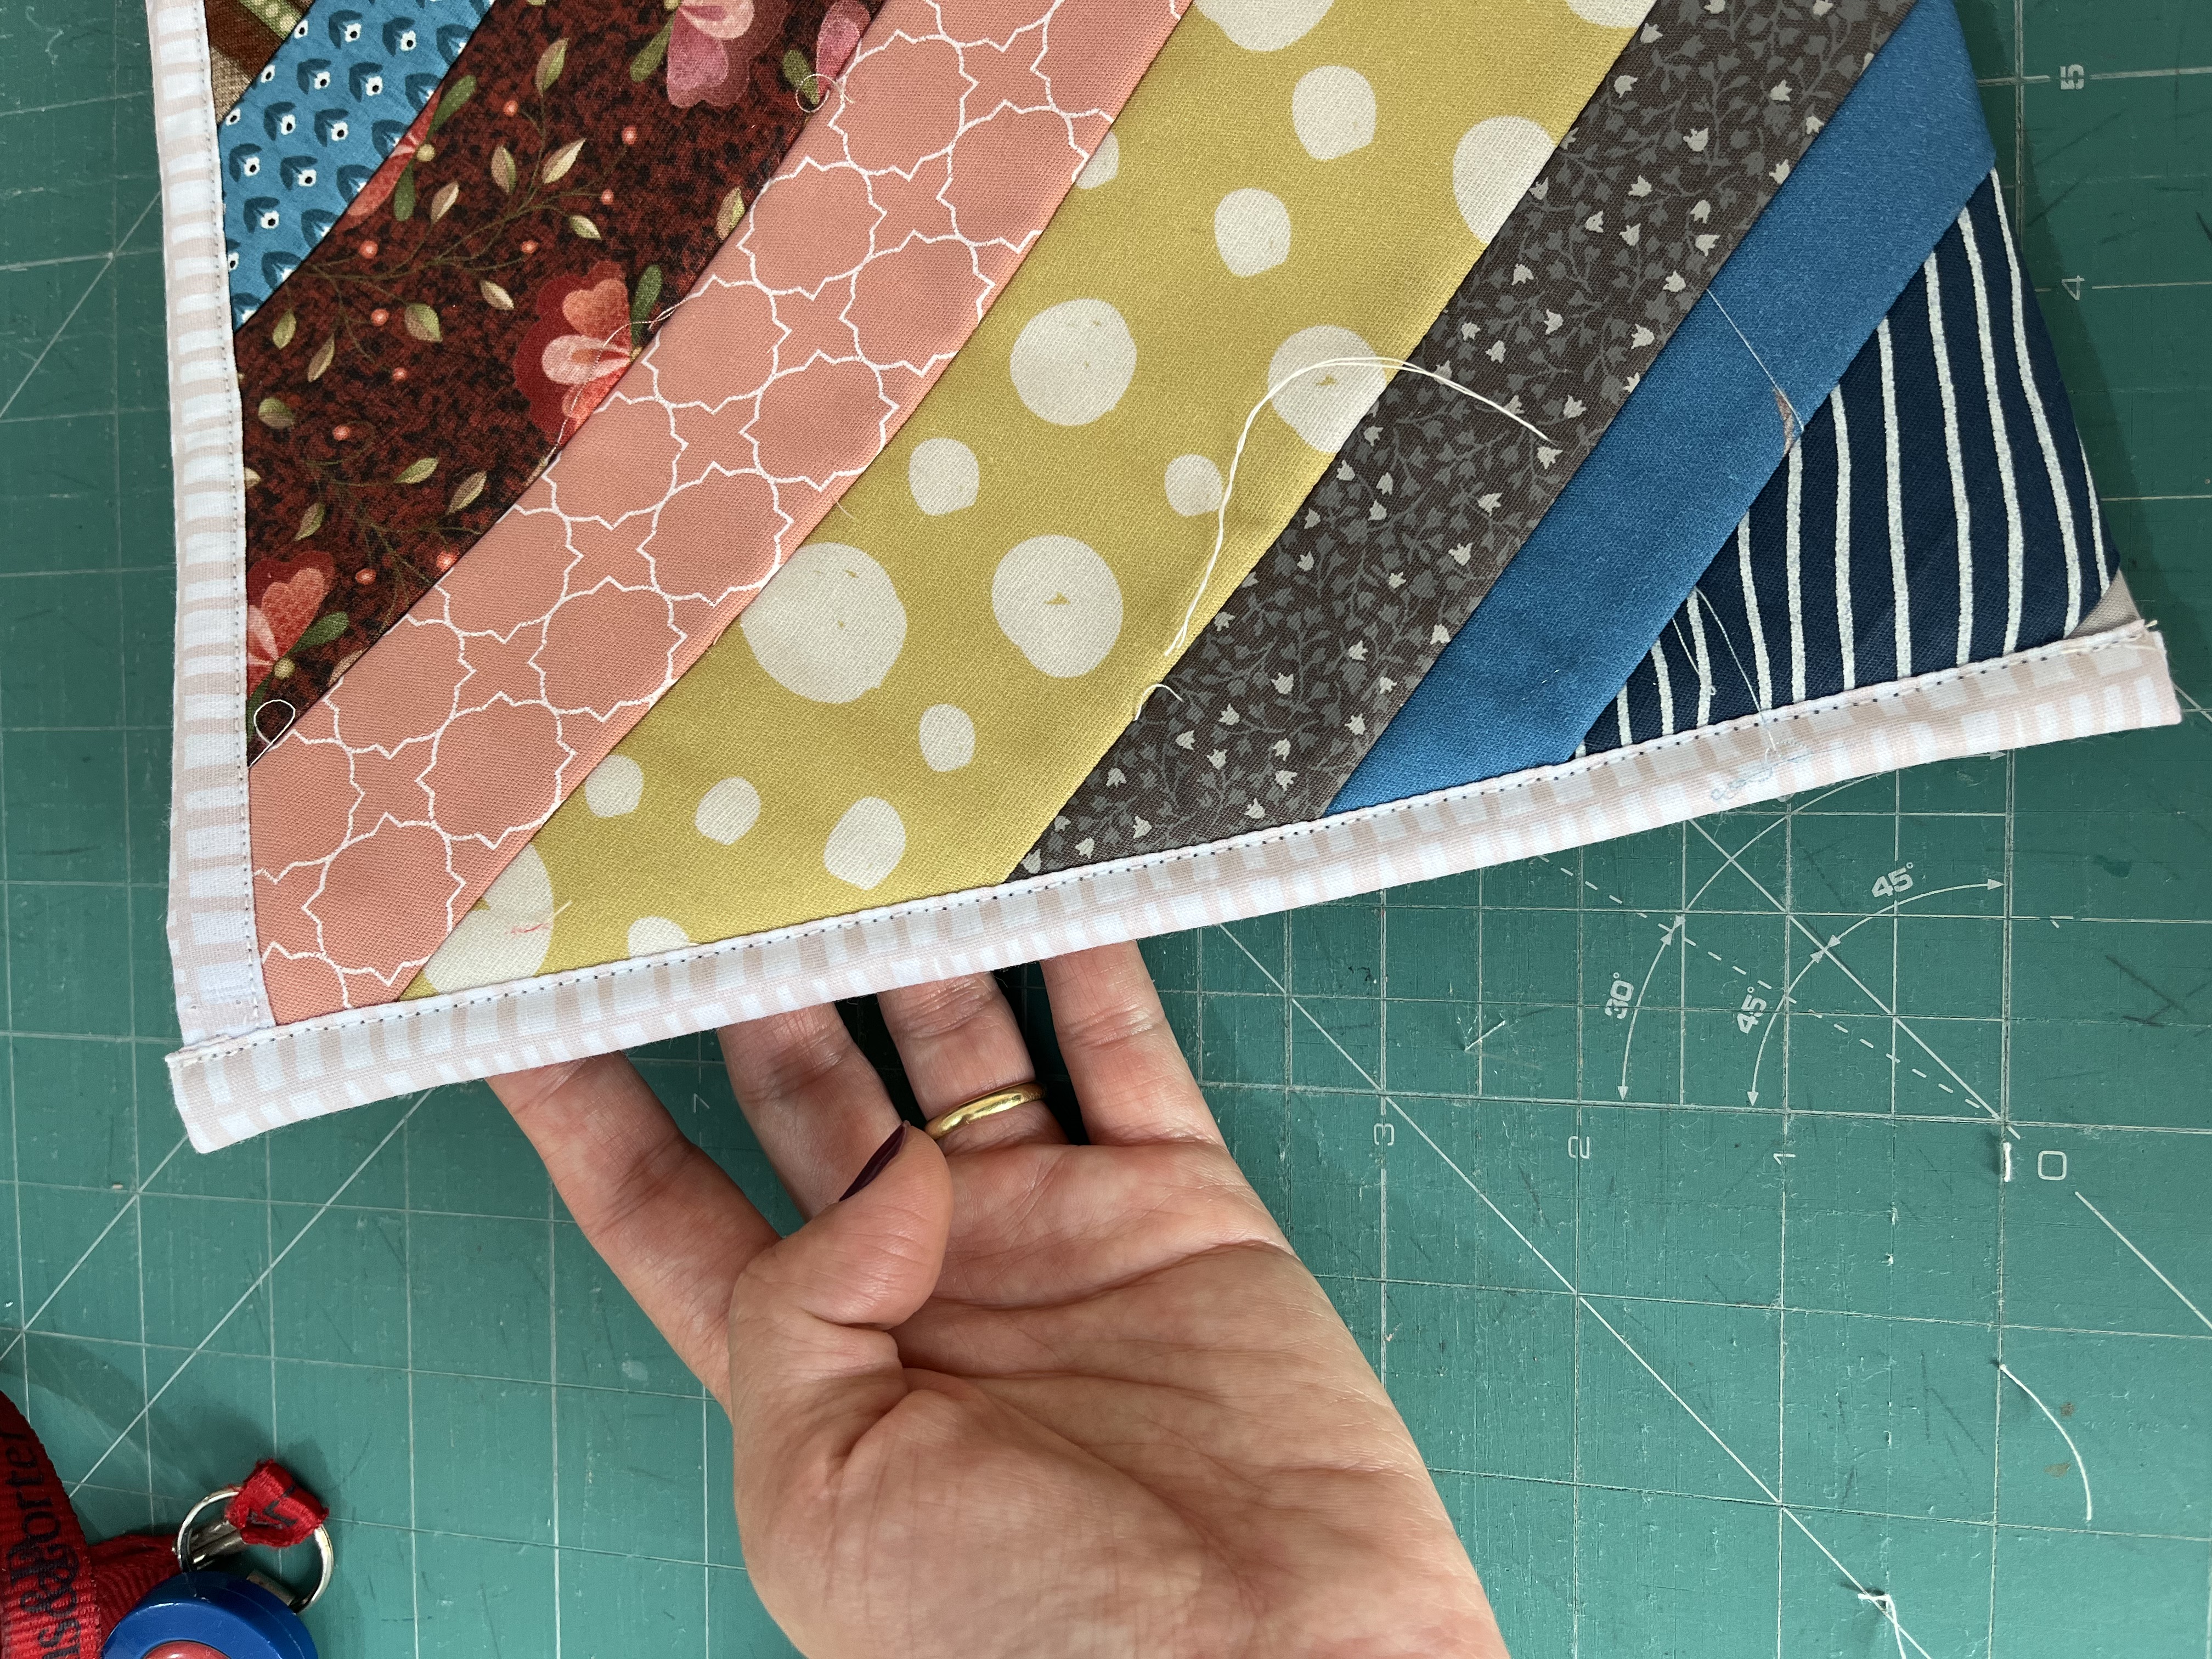
c) After trimming, now add the finishing touches. Take the 2 1/2" x LDT (width of the fabric) strip and subcut 2 rectangles of 13 1/2" (width of your piece). Trim the strips to 2 1/4" (the finishing strip was cut to 2 1/2" because when closing the piece on the sides, it will be thicker with 2 blankets, which is why the strip was cut wider at the beginning. Image 4. Crease each strip in half and add the finishing touches on each side of the width of the piece, images 5 and 6.
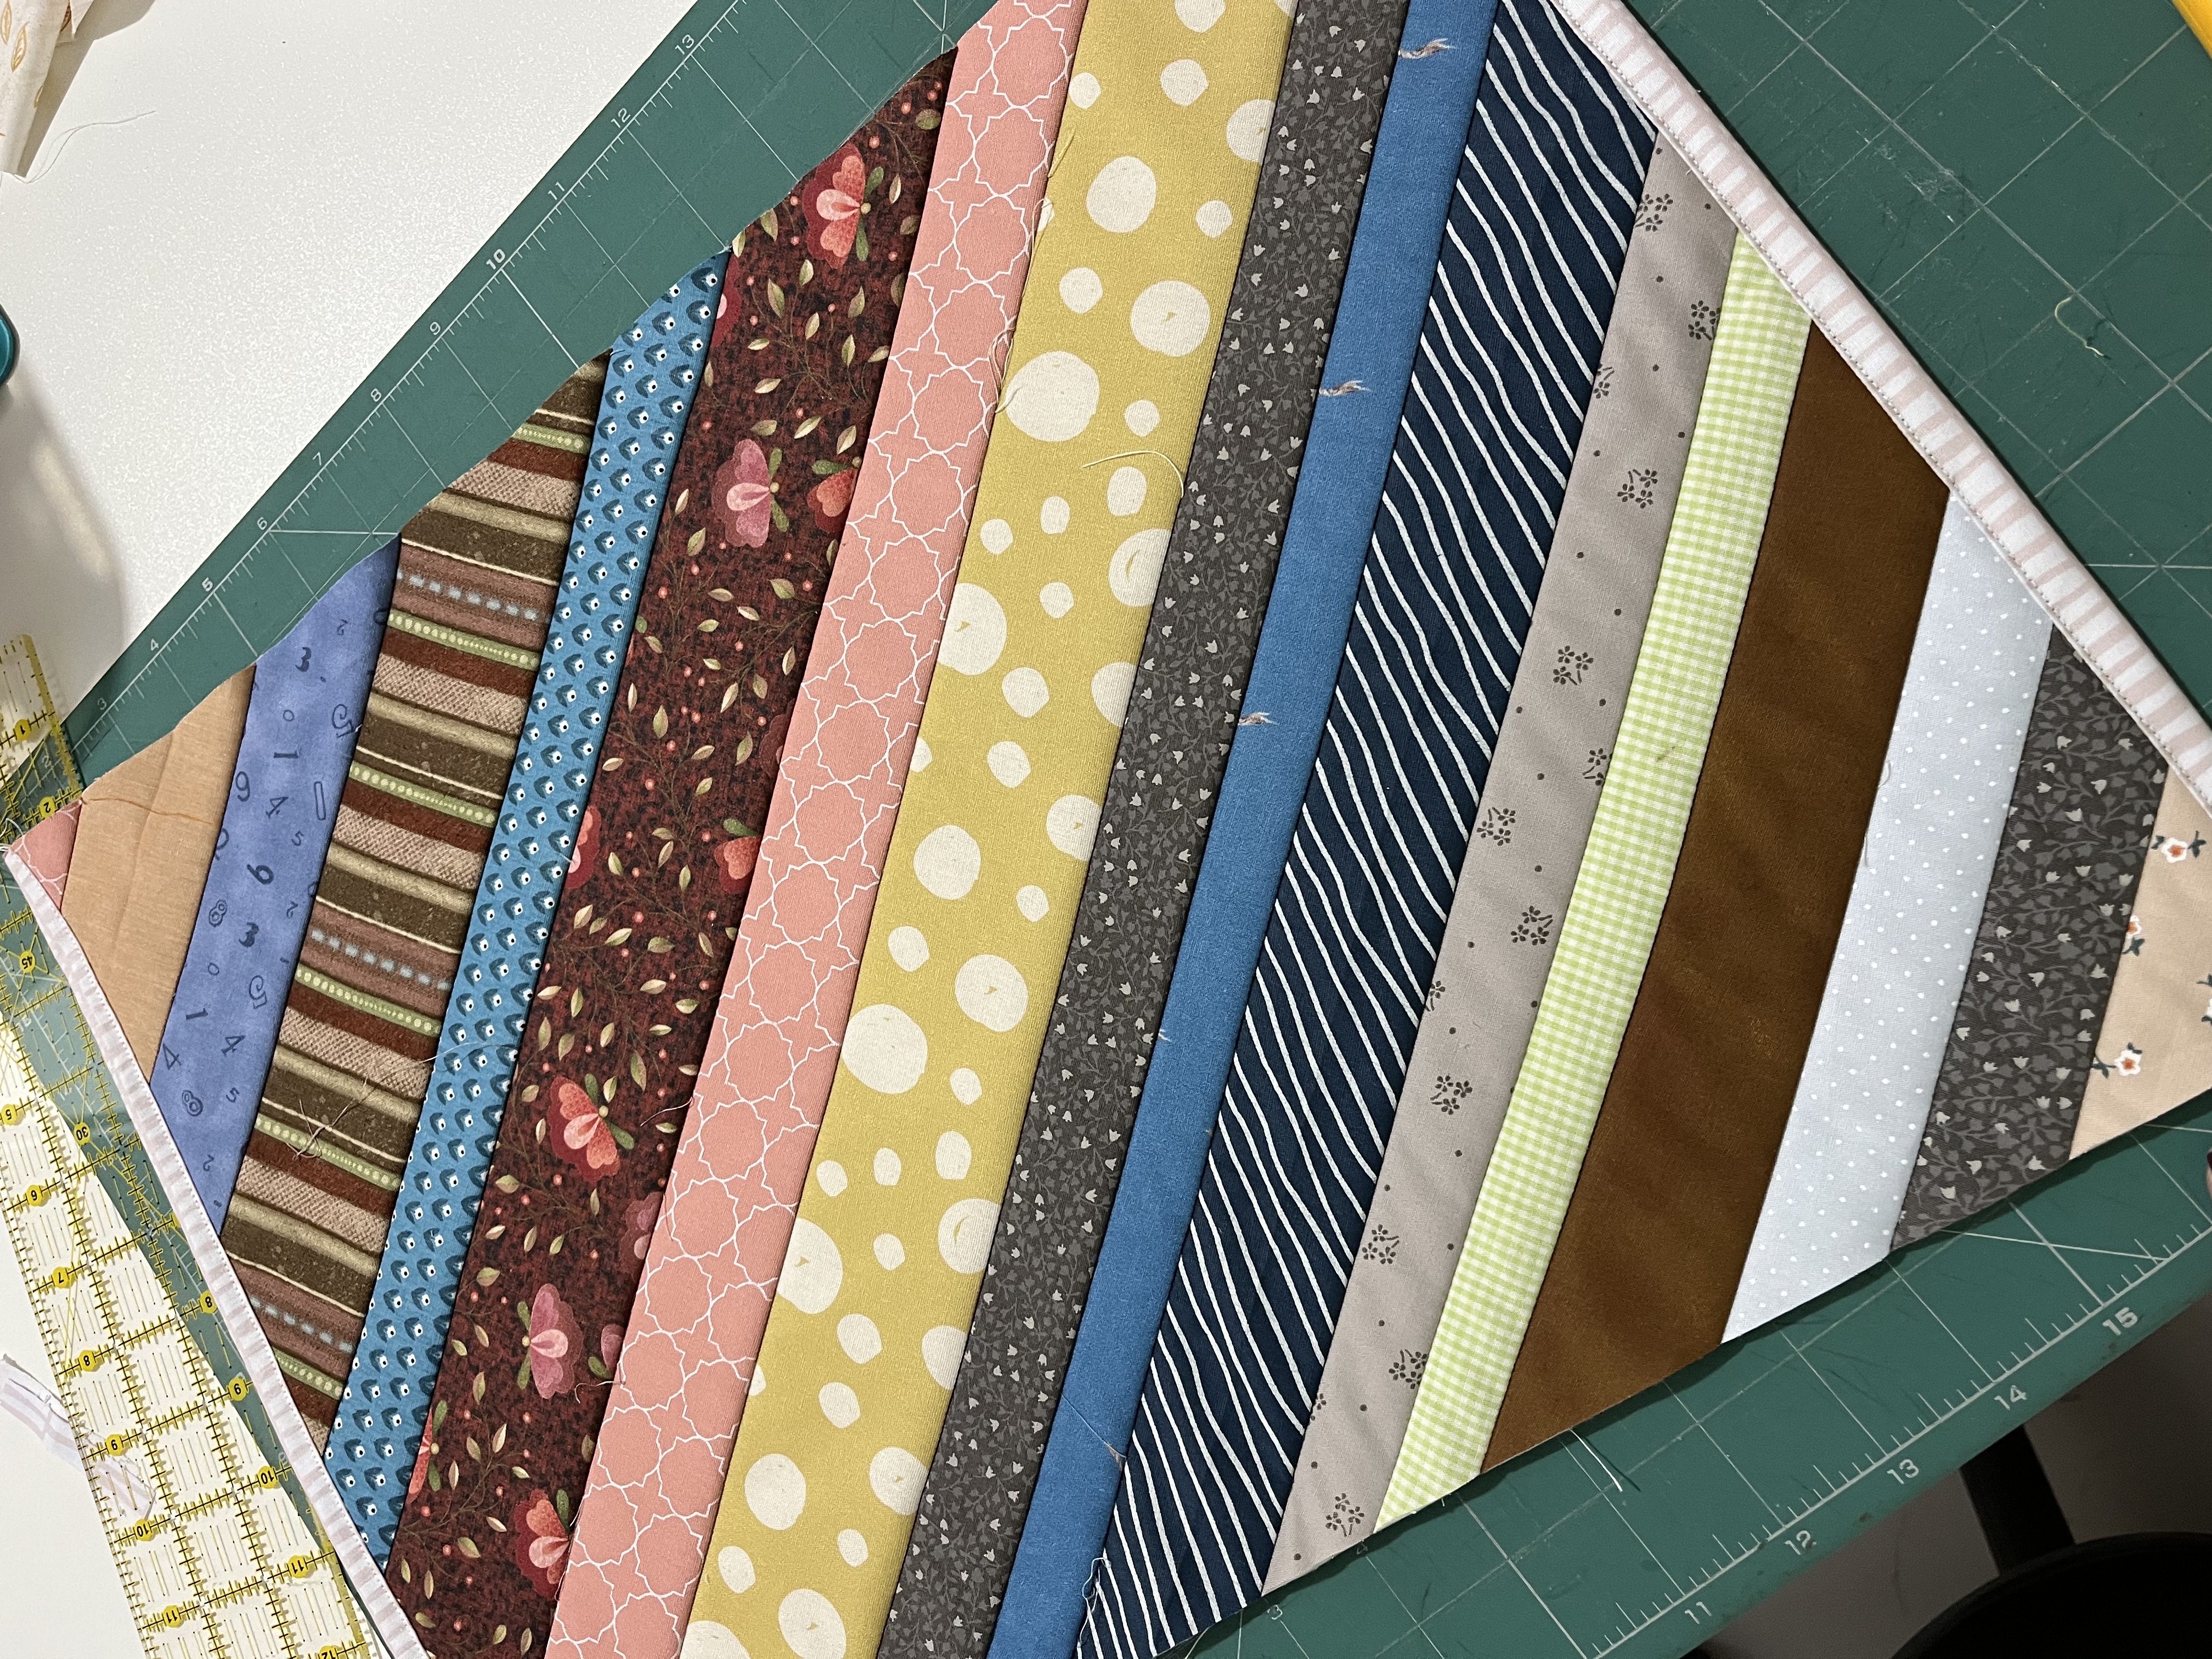
d) To finish the side, fold the piece in half and measure its folded size. Image 7.
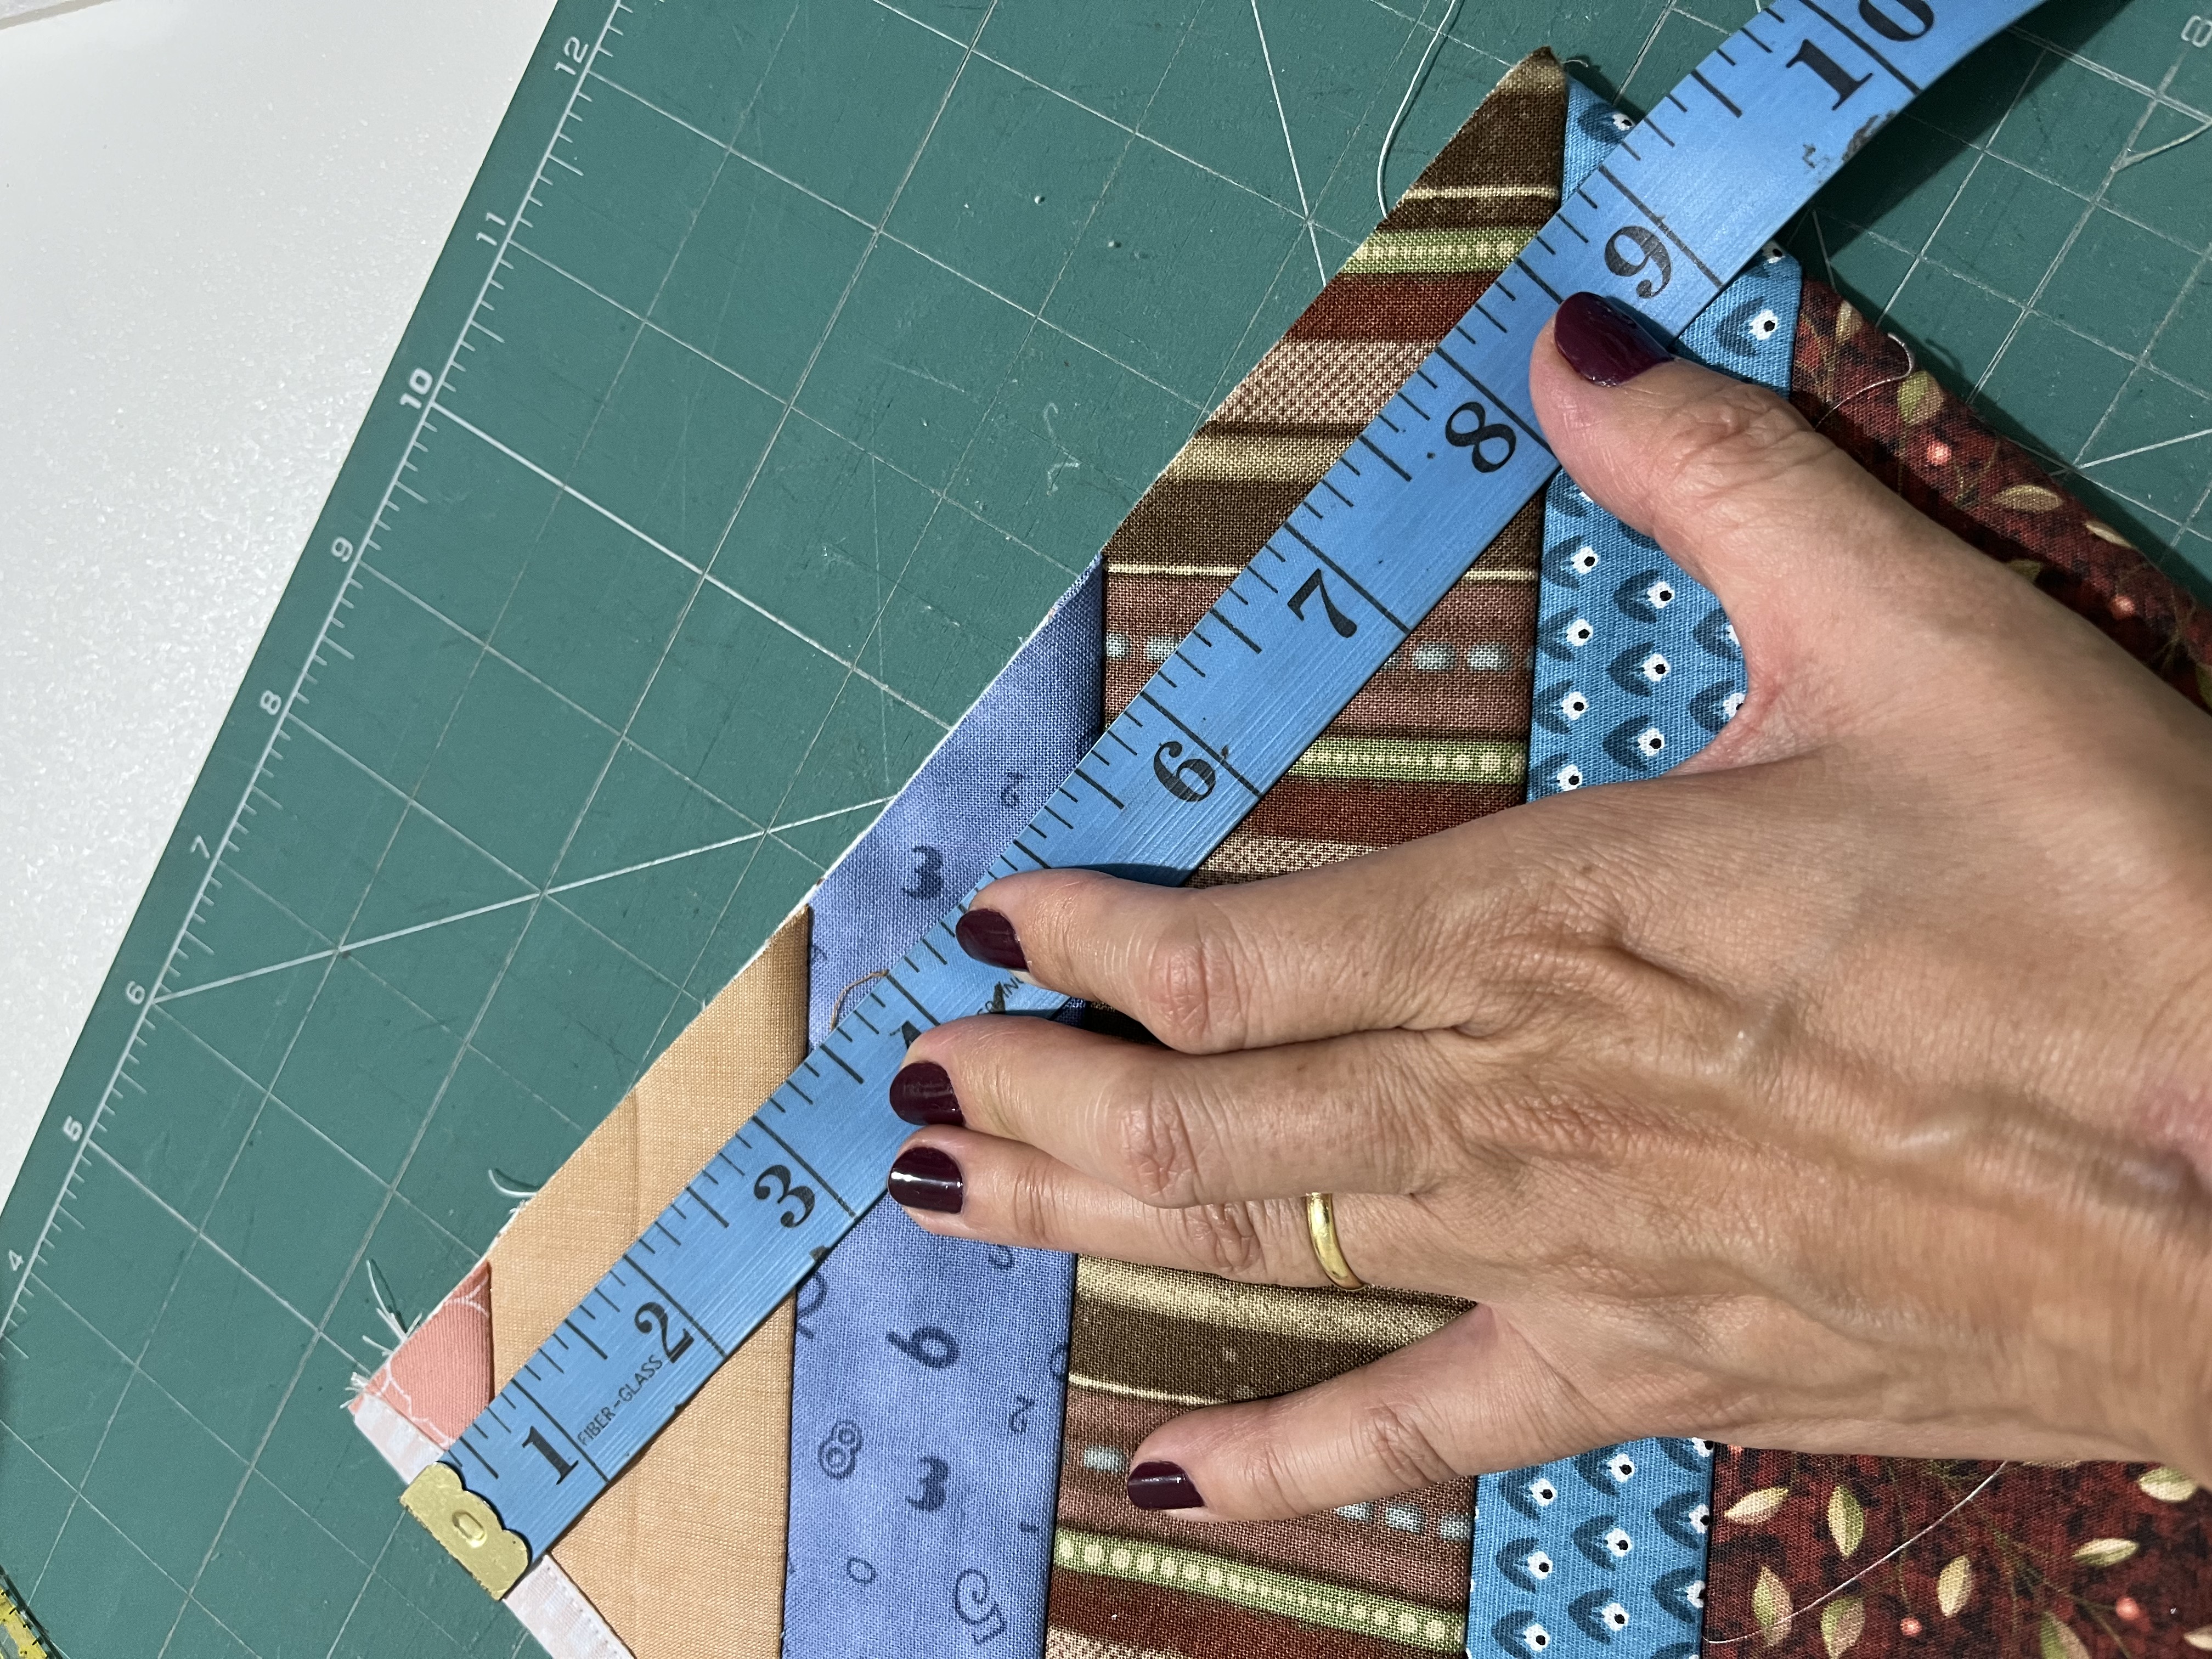
e) Subcut 2 rectangles measuring 2 1/2" x 10 3/4" (length of folded piece + 1 1/2").
f) When placing the side finish, finish off the two upper and lower corners, as shown in images 8, 9 and 10.
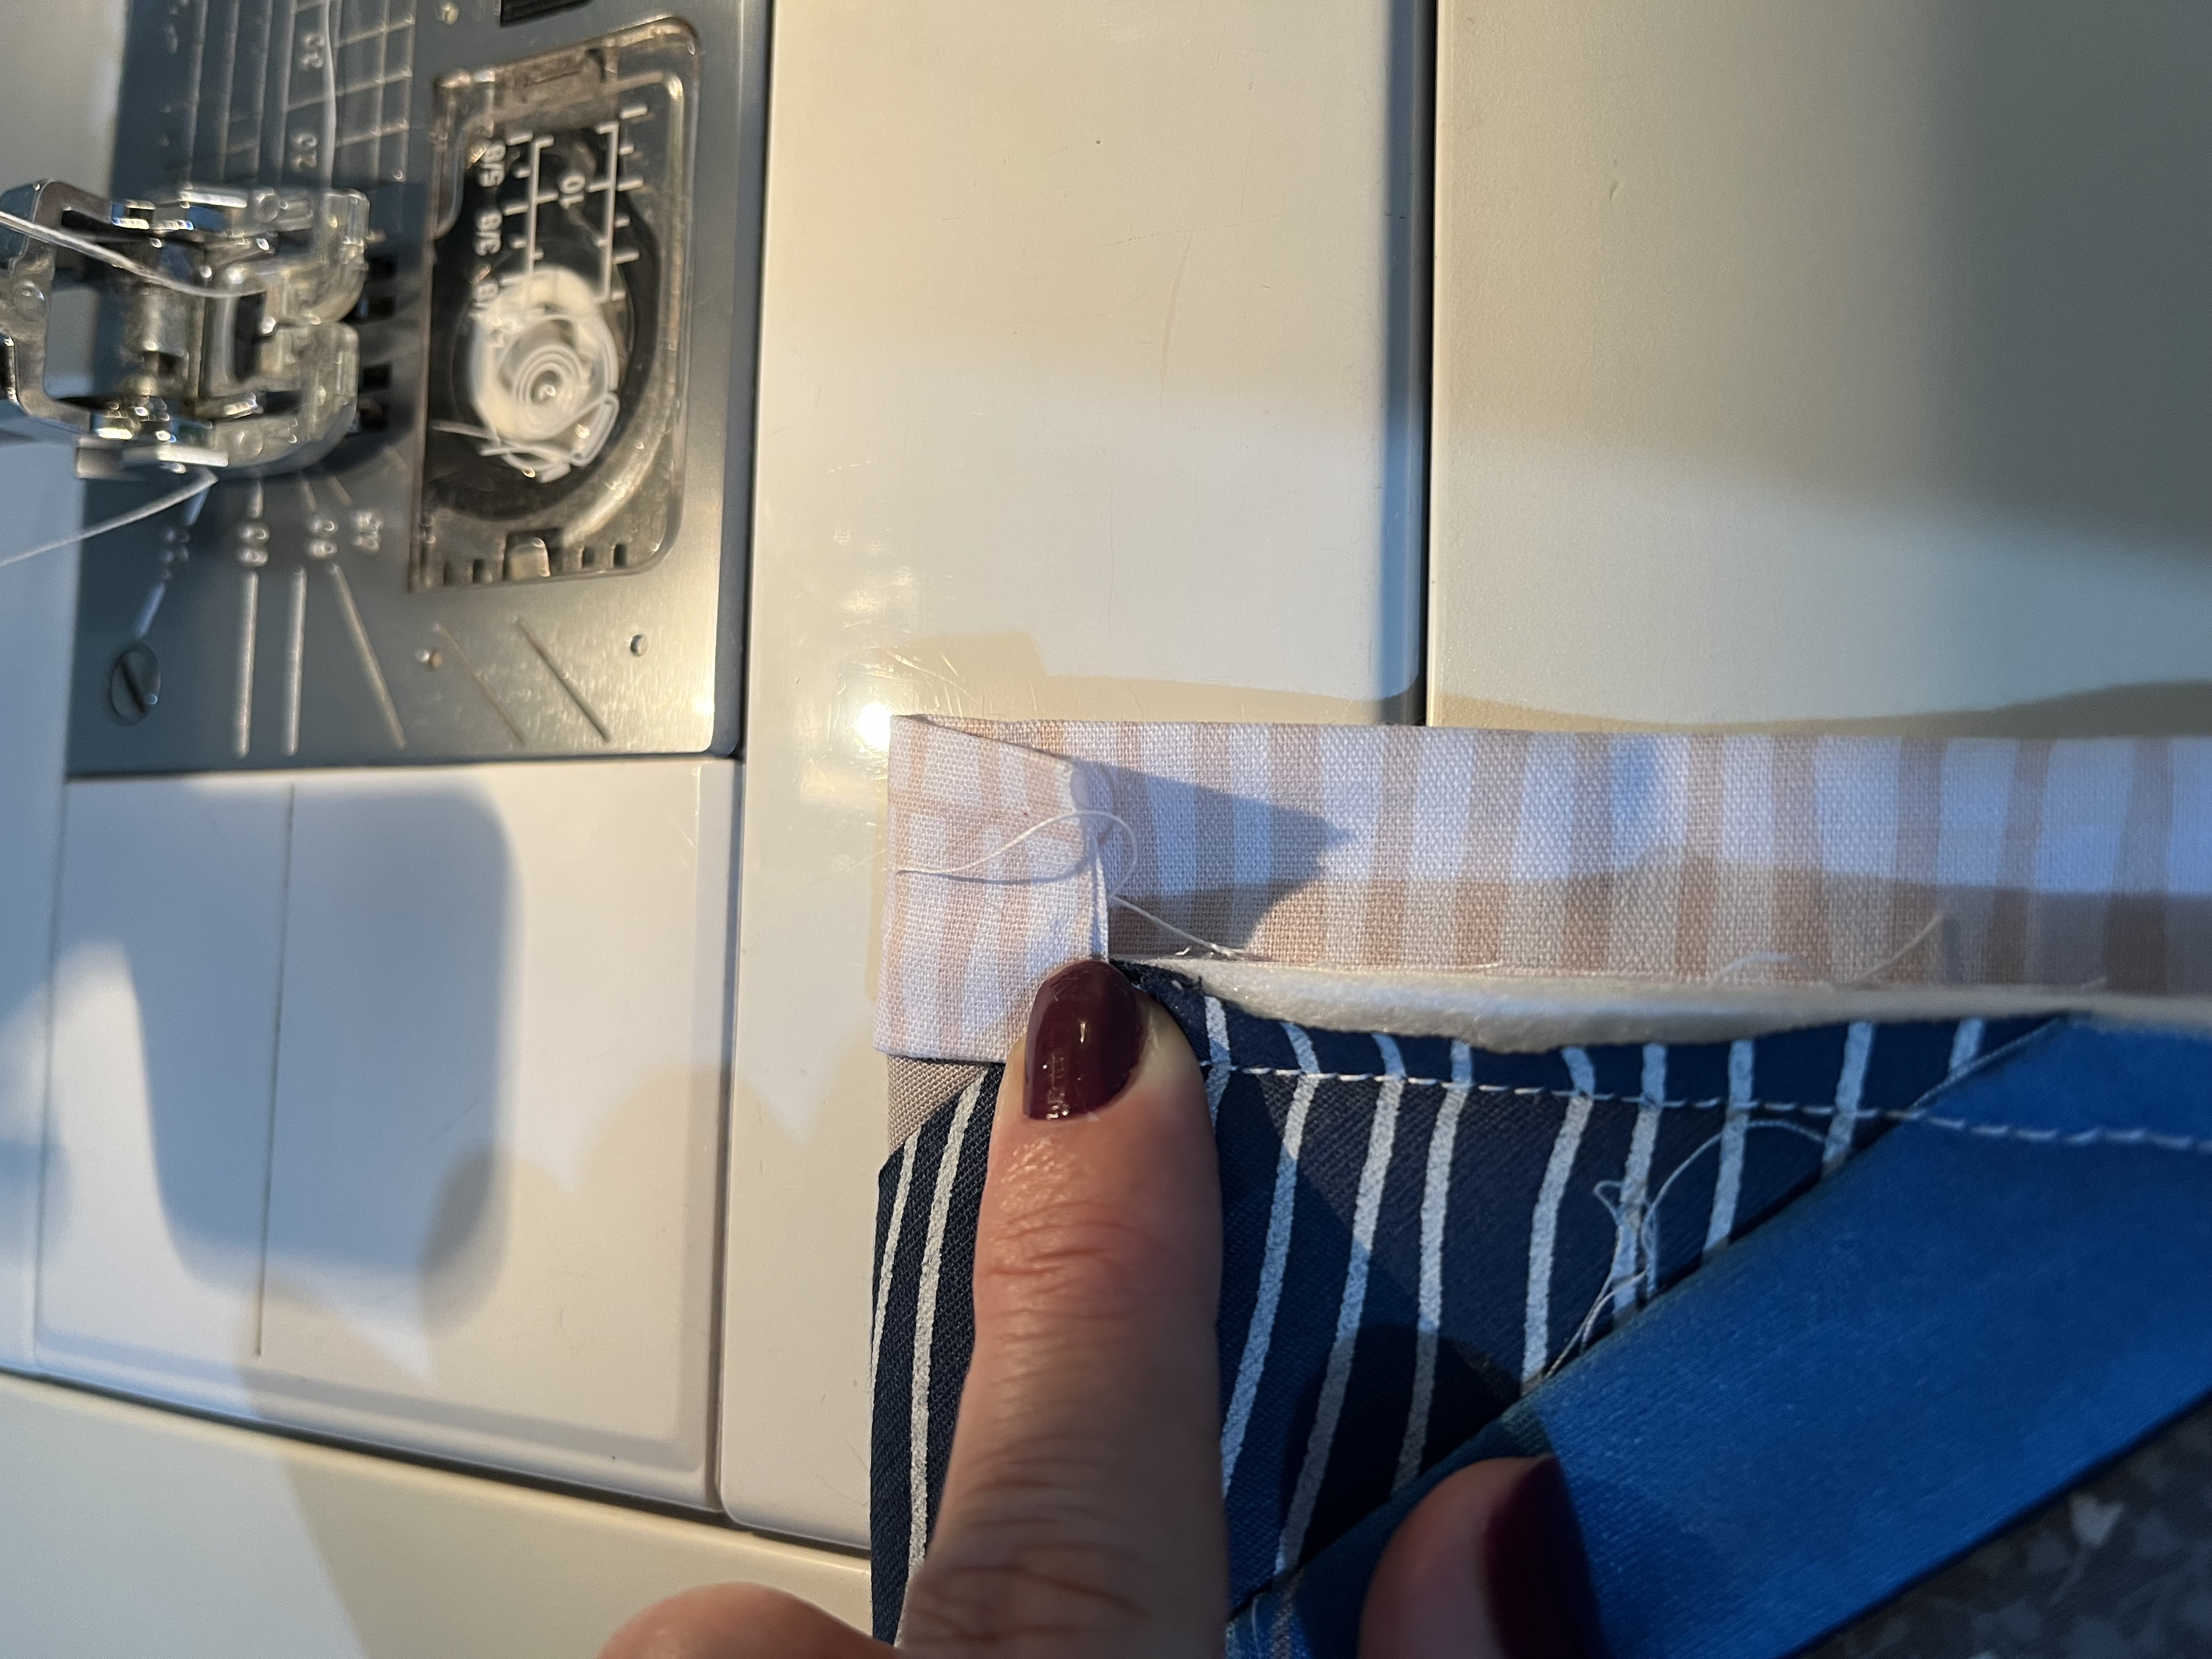
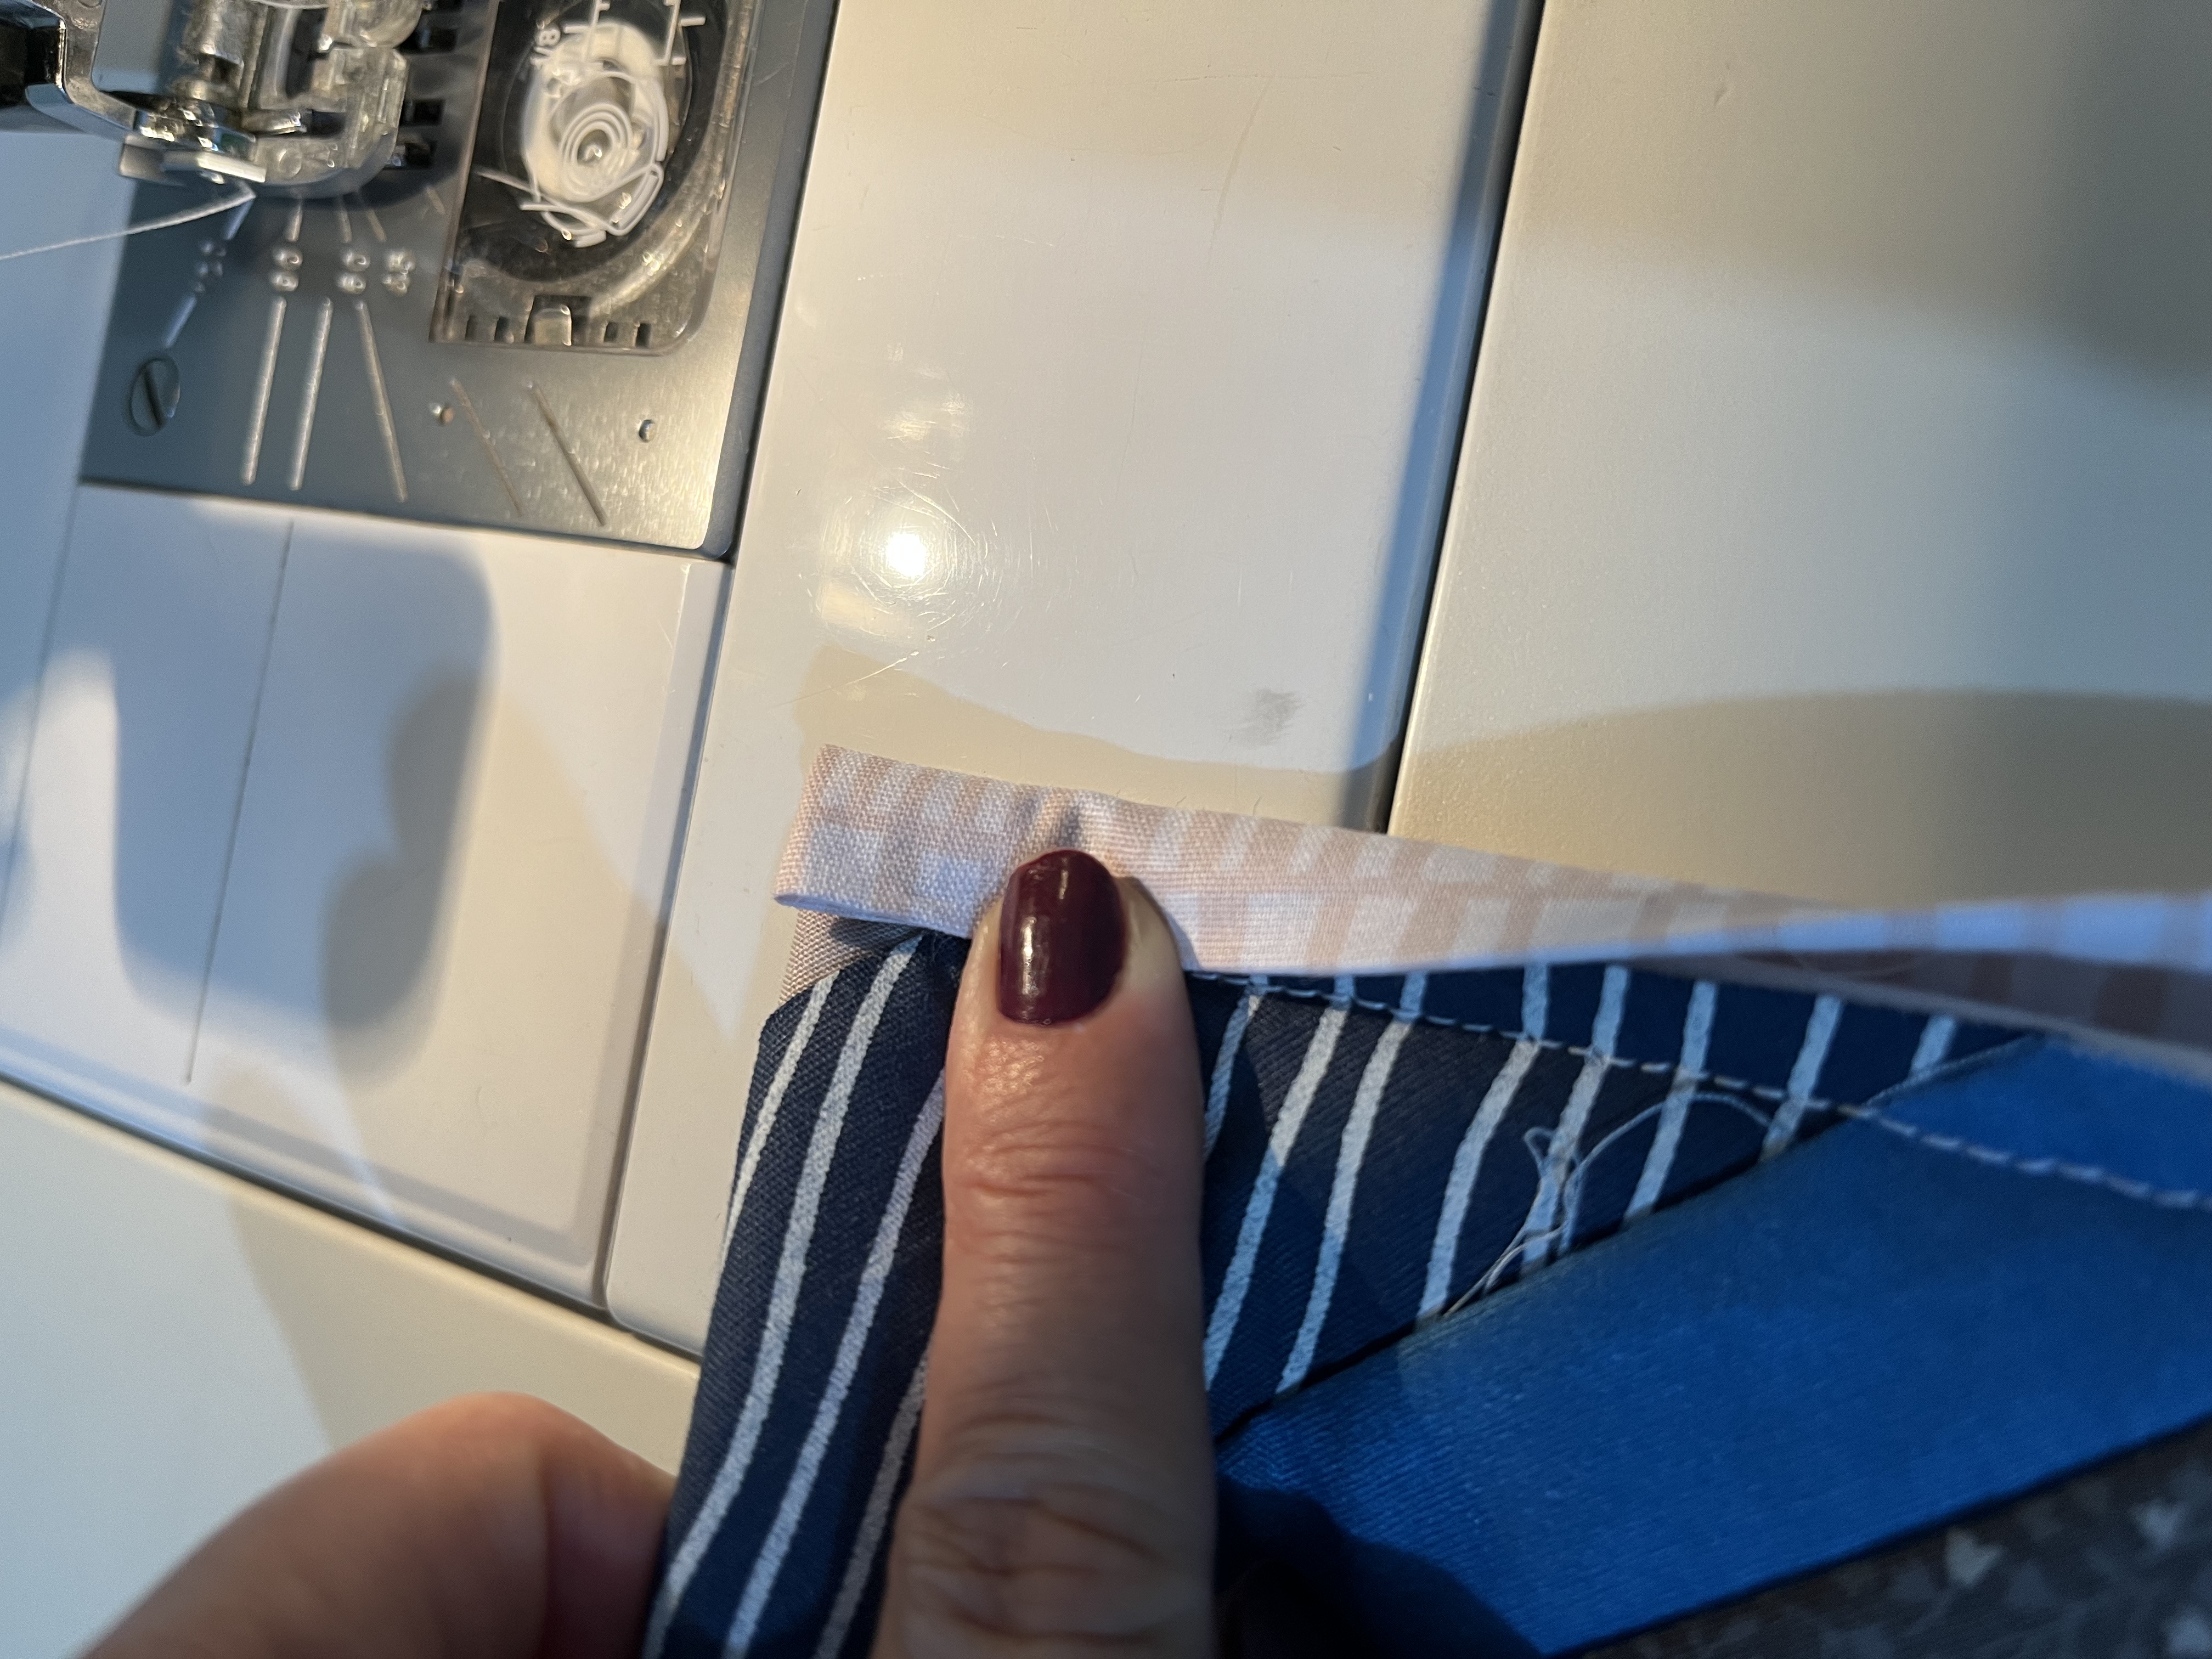
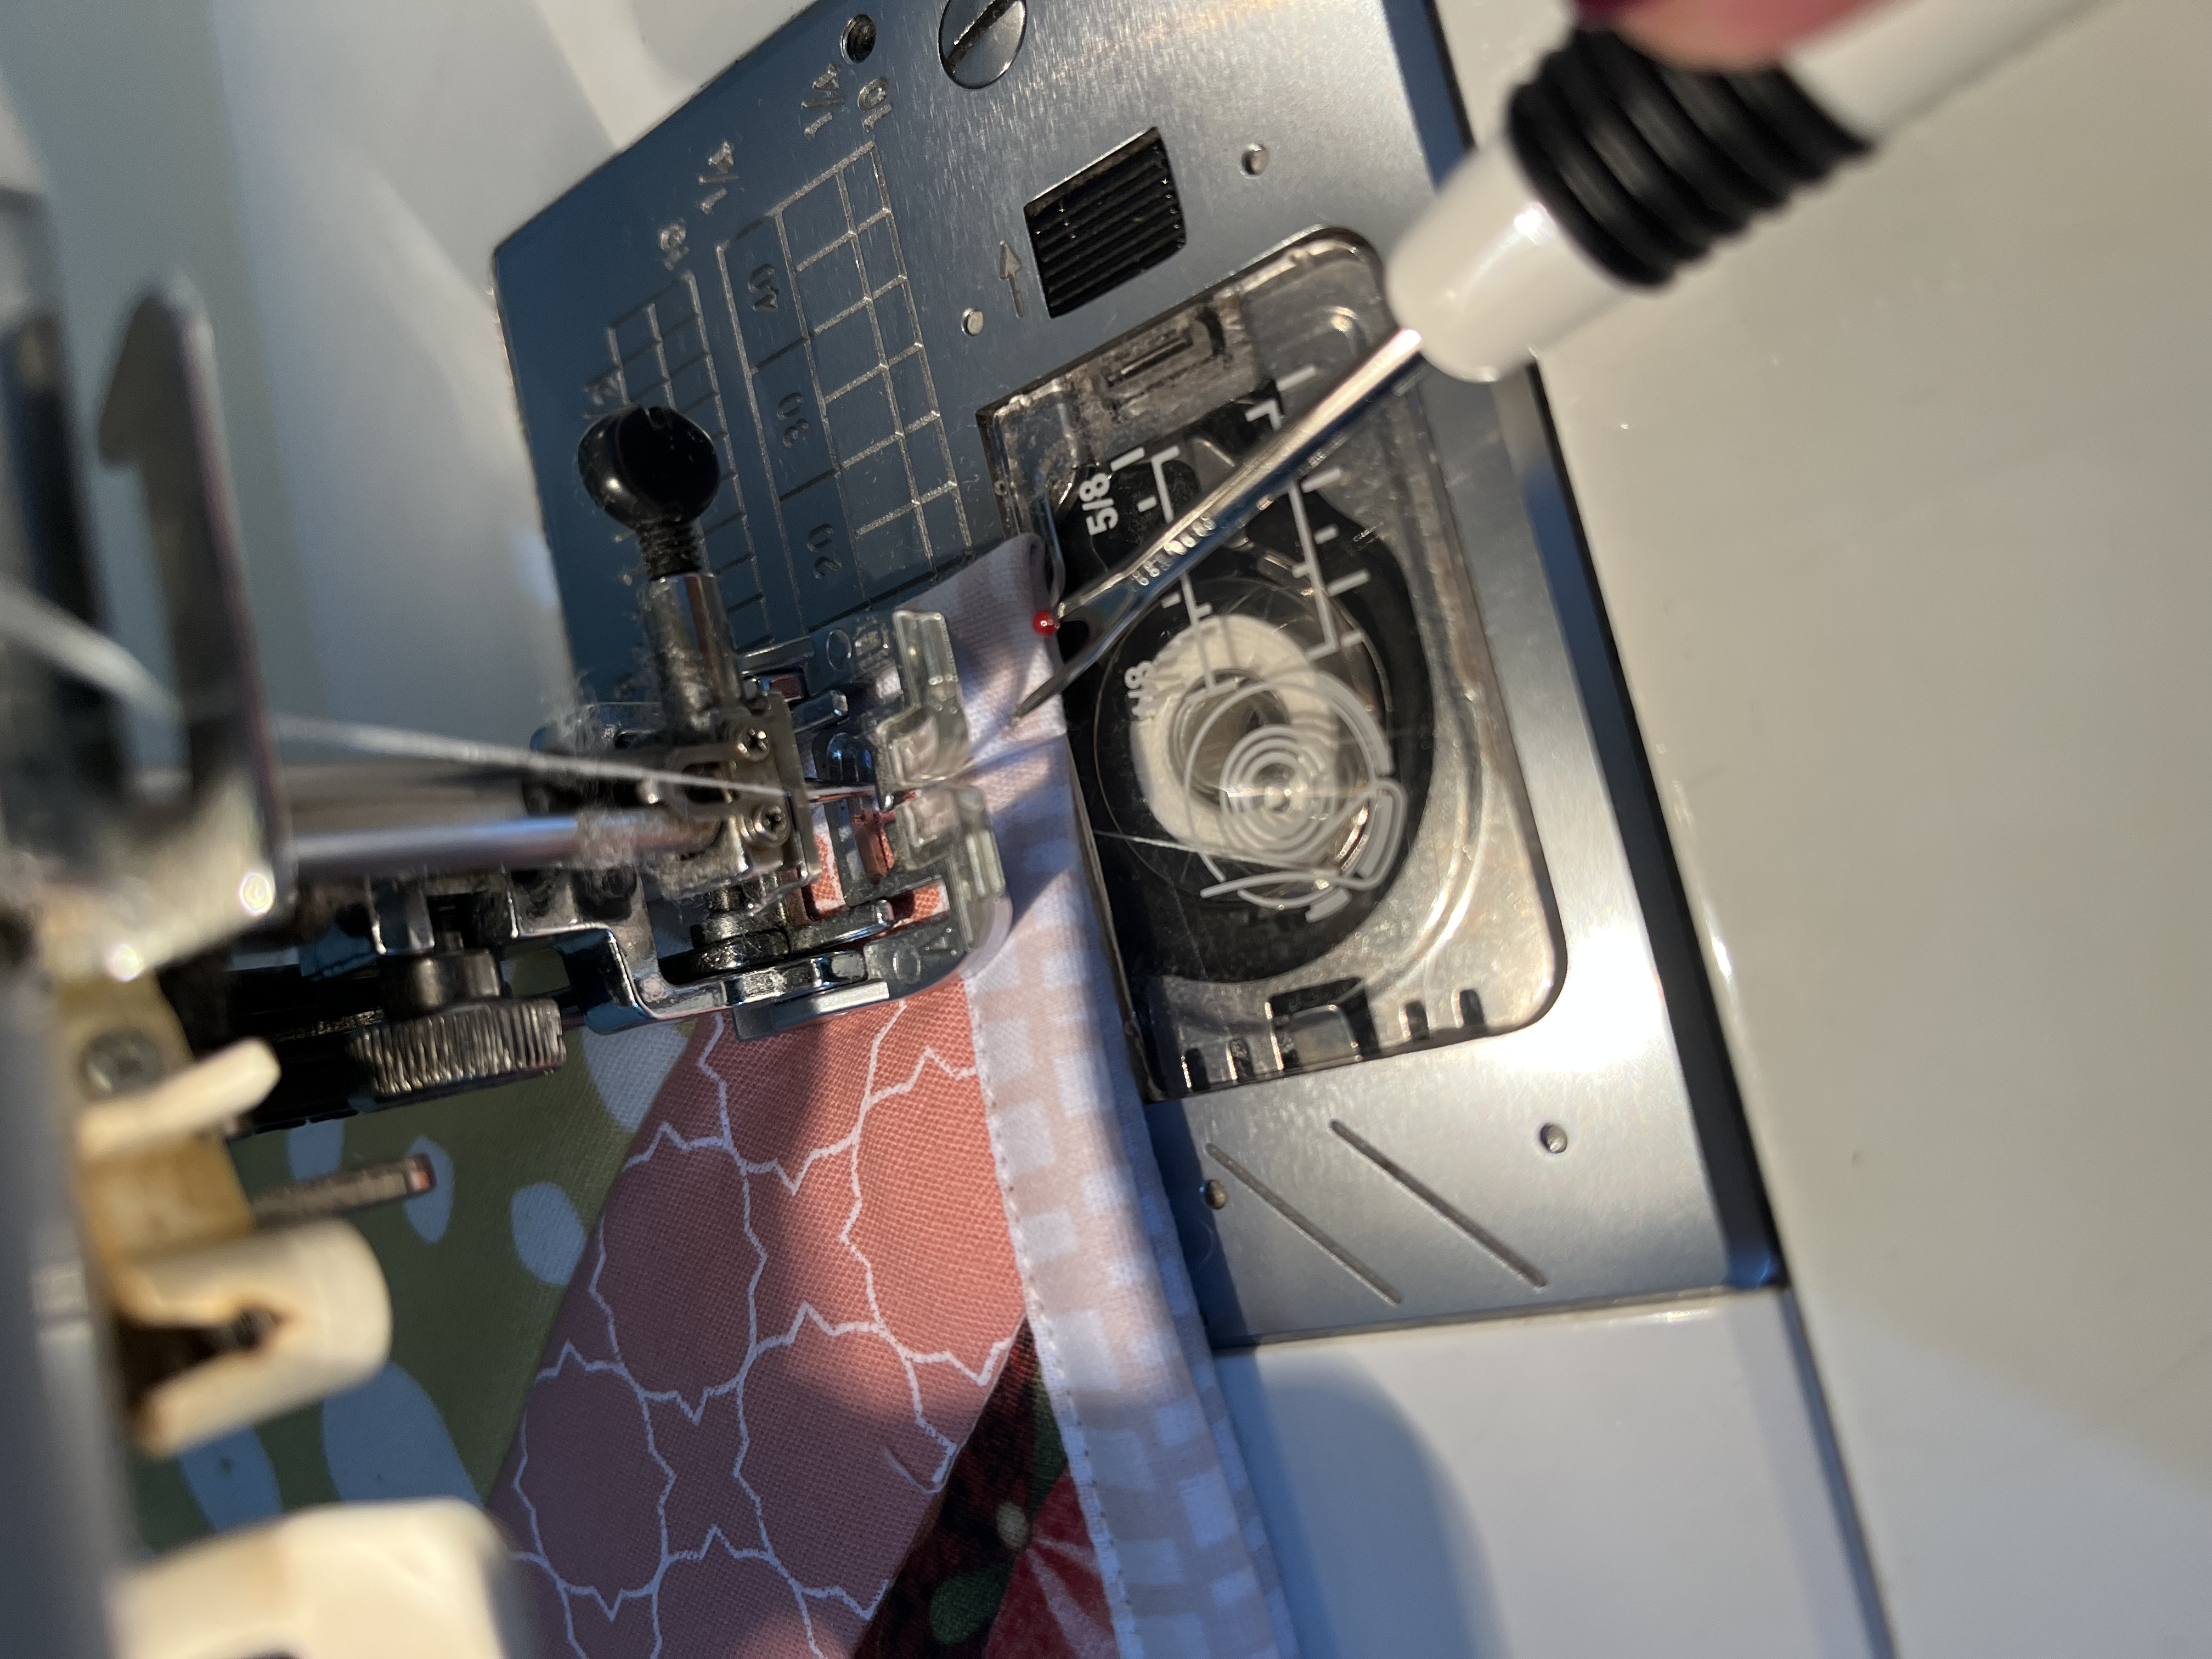
DONE, your cover is finished! Just remove the excess lines and use it! Easy, right? I hope you liked it!
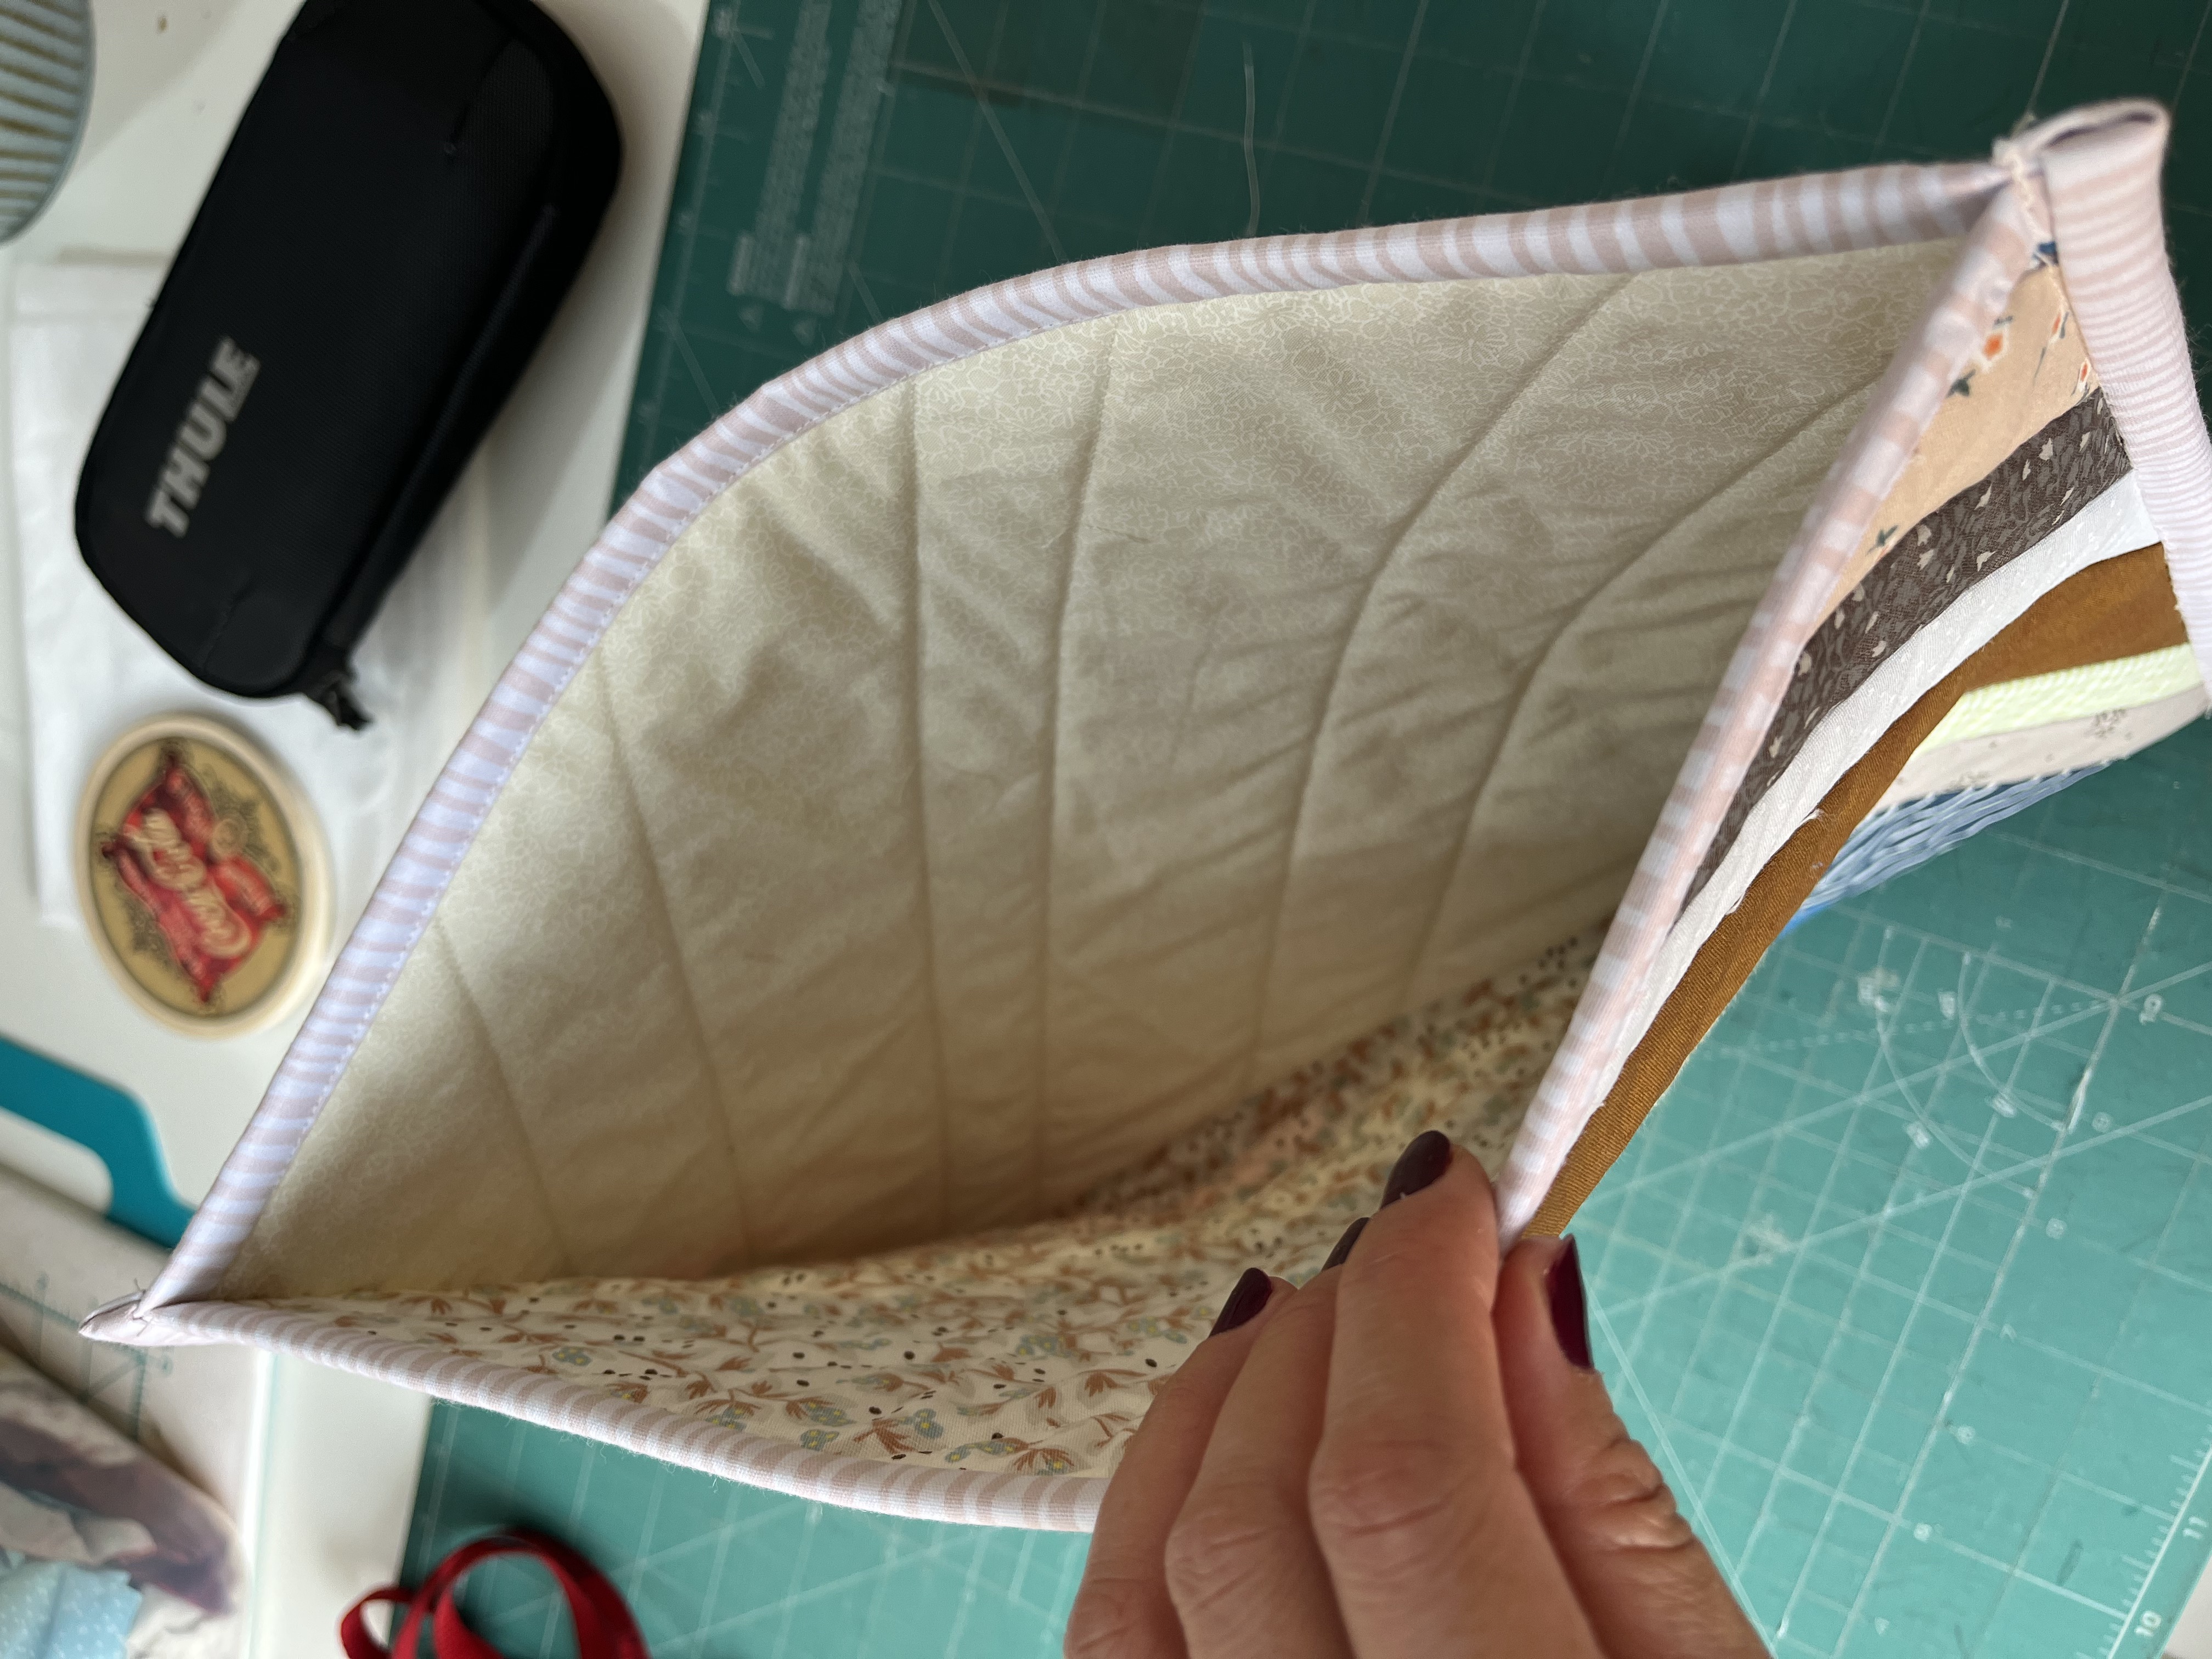
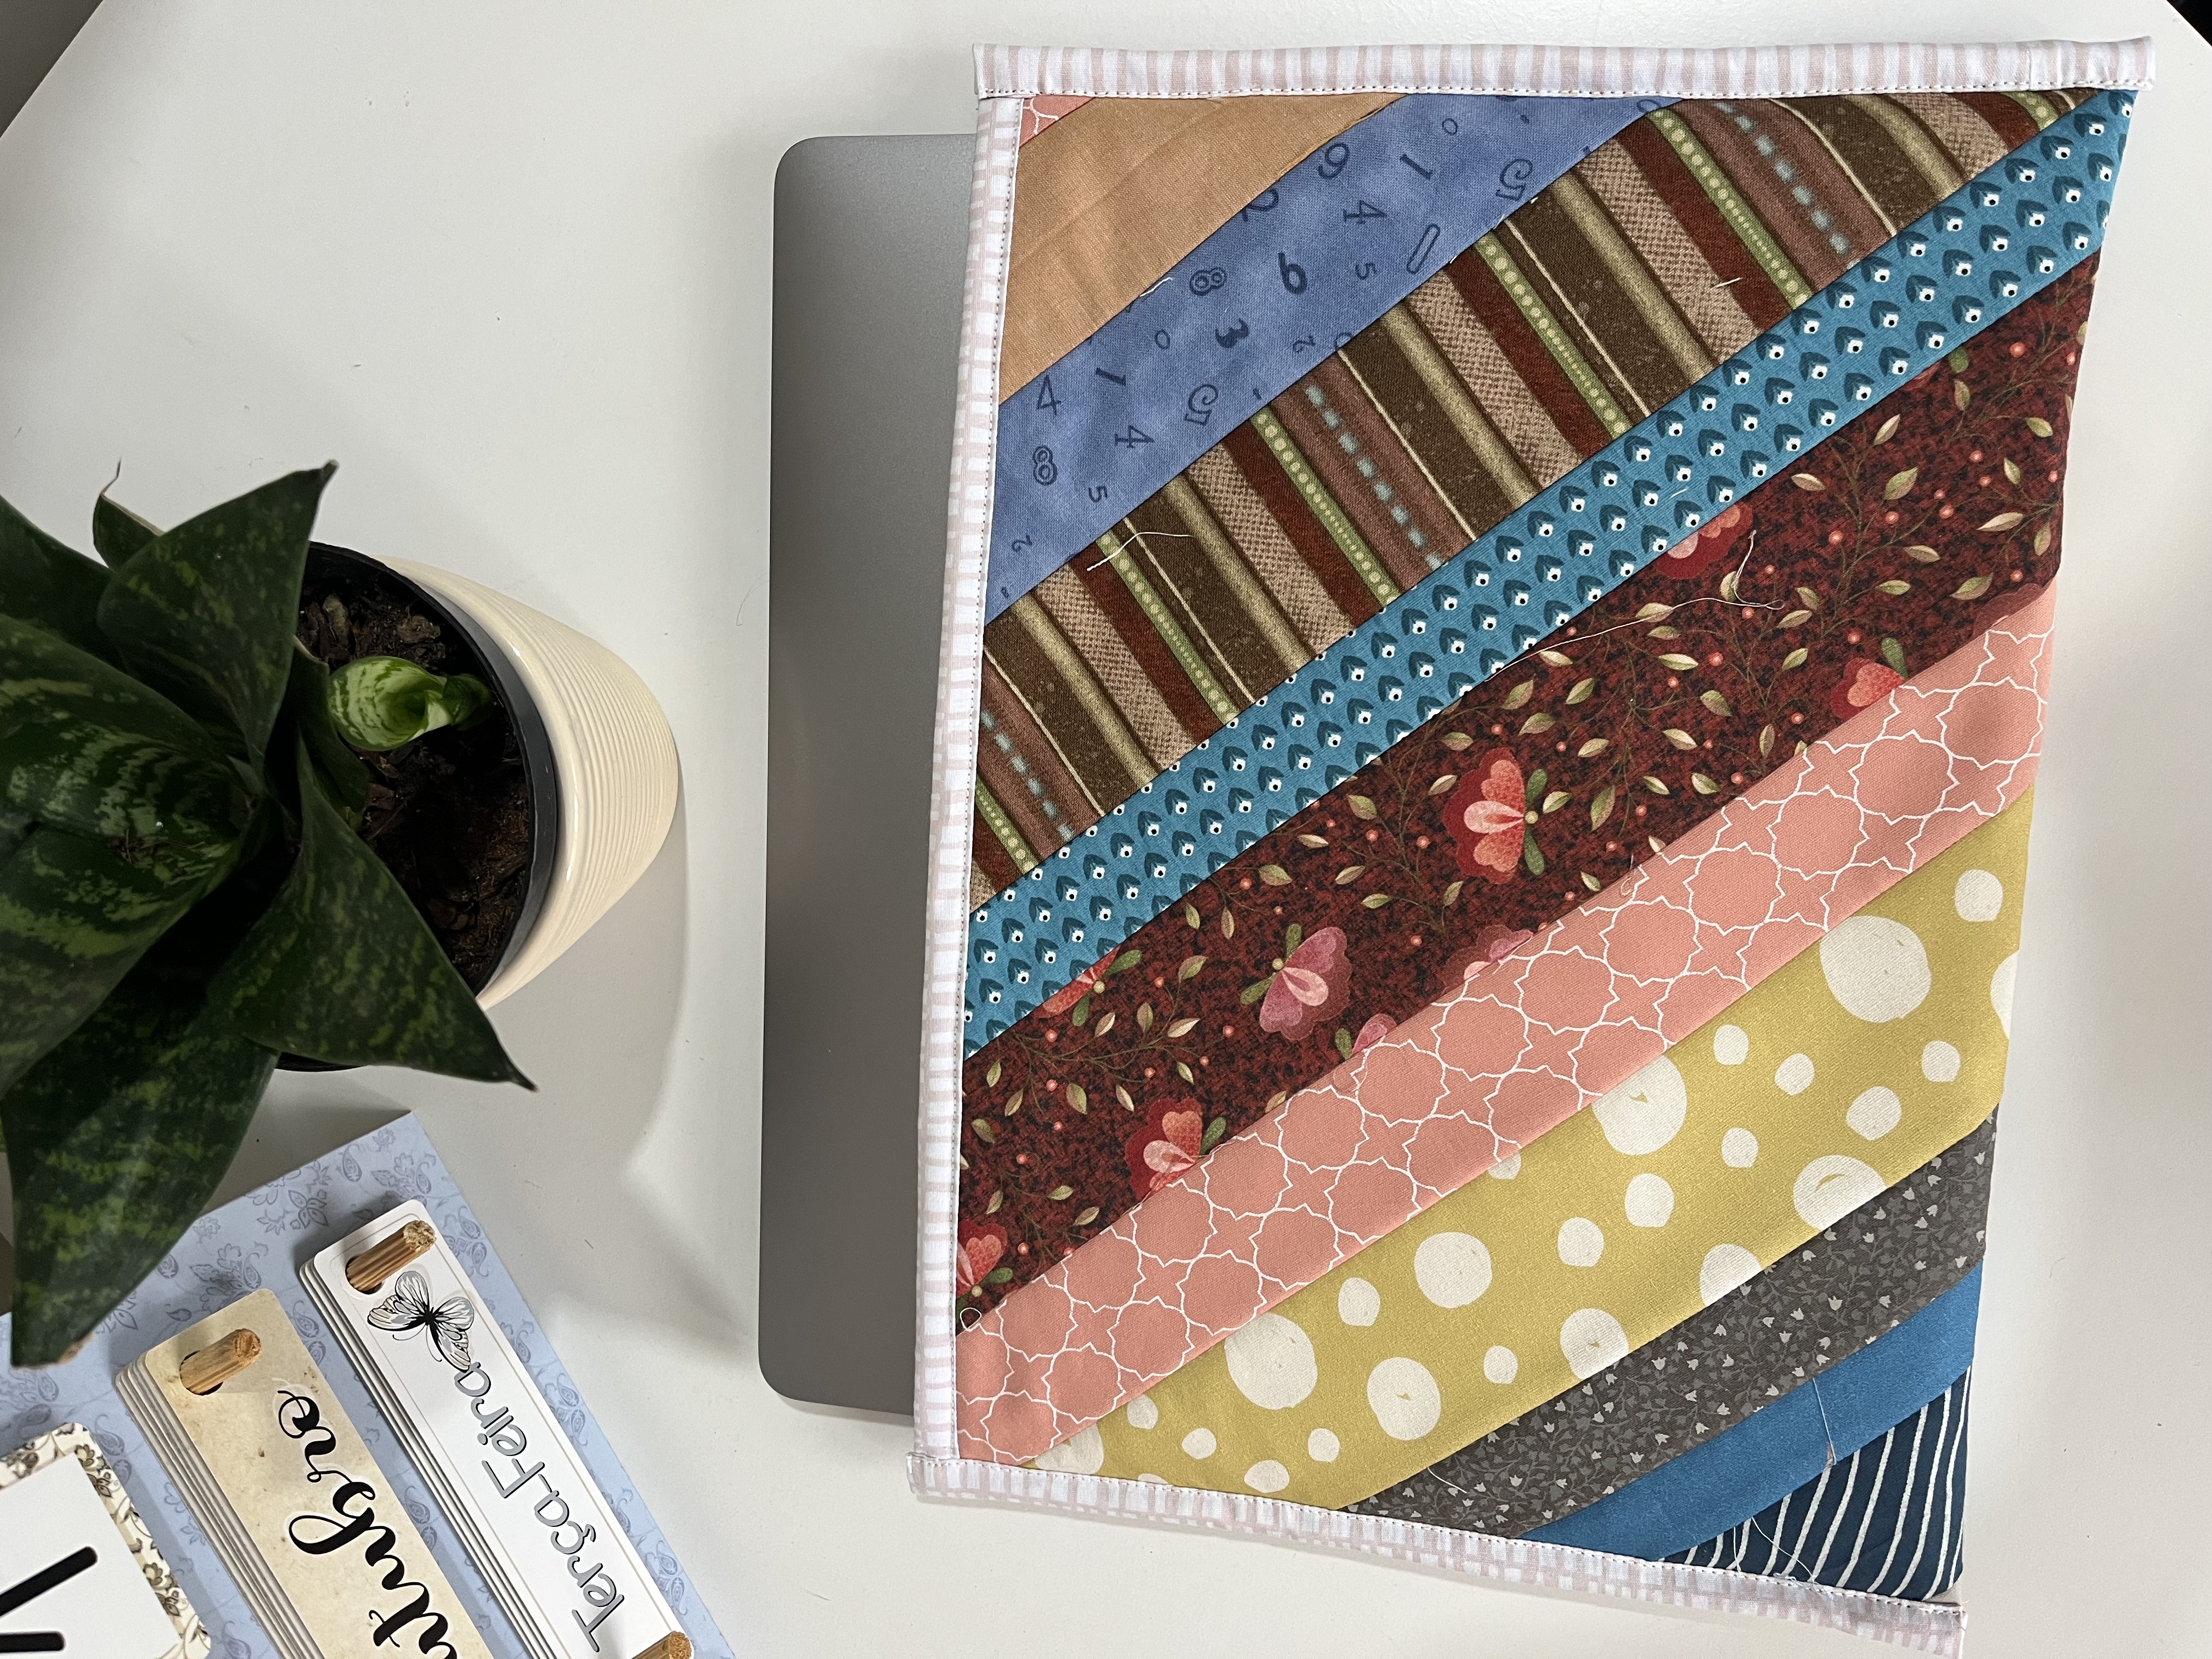
I hope you enjoyed this cover! It can be made for laptops, tablets or any object that needs to be protected during transport! Enjoy your scraps, as it is a quick and easy way to make one!
Share on social media by tagging me! I'll be happy to see your creations and share them too! @taniamogariquilter
Happy sewing with inches and until next time!
